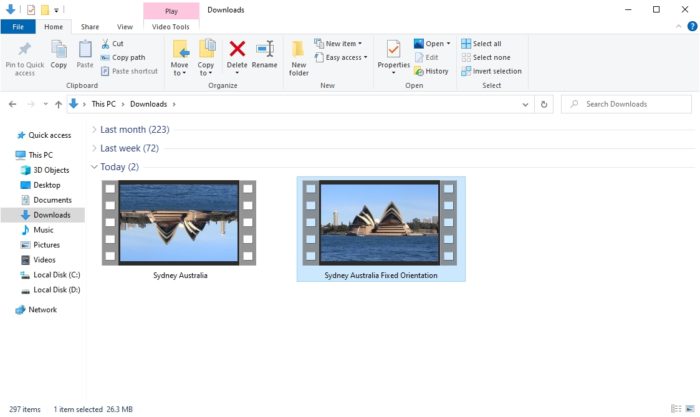
With the camera technology improving and becoming inexpensive, it’s easy to see people ditch their digital cameras and opt for a smartphone as a more practical way to shoot a video. Therefore, it’s not uncommon to see inverted videos on the internet as smartphones can get confused between recording in a vertical and horizontal orientation.
While fixing the orientation with a typical video editor app is a no-brainer choice, a video player software like VLC is capable of rotating the video when you watch it. Not only that, but the software can also be used to fix the issue, and effectively reorient the video without the need for traditional editing software.
This article will show you how to do these two things.
How to rotate a video in VLC for desktop
The easiest way to rotate video in VLC is simply by changing the way it’s playing the video. This guide will not change the video whatsoever but every time you play any video in VLC, the software will automatically rotate the video.
1. First, open the video with VLC Media Player.
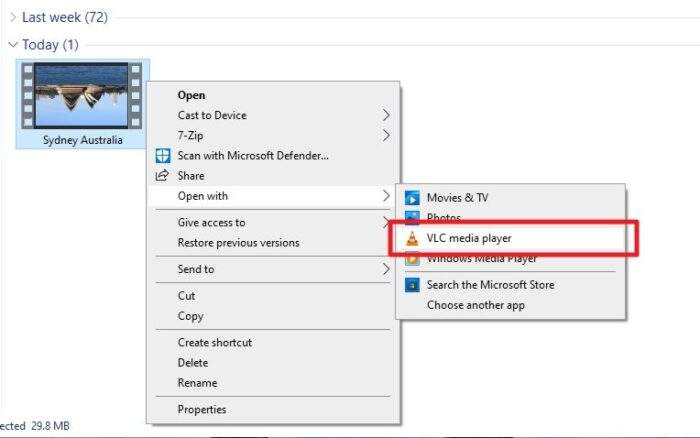
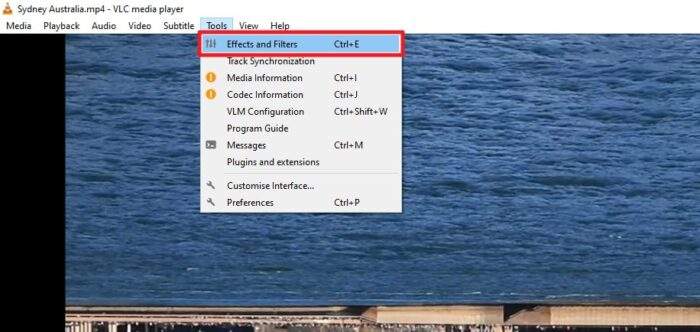
2. Next, navigate to Tools > Effects and Filters.
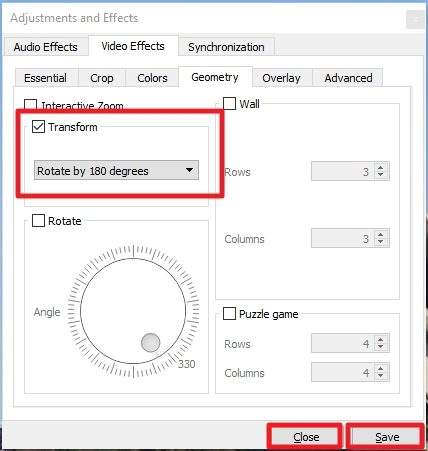
3. Head to Video Effects > Geometry.
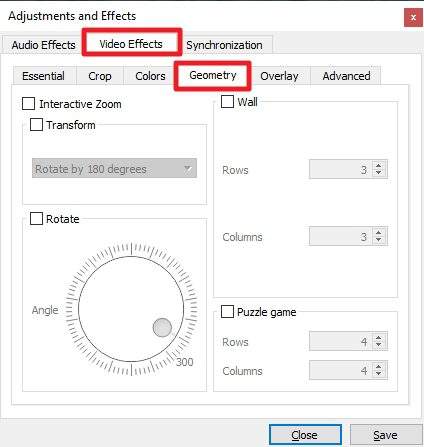
4. Tick the Transform checkbox and select the rotation setting. Don’t forget to click Save and Close.
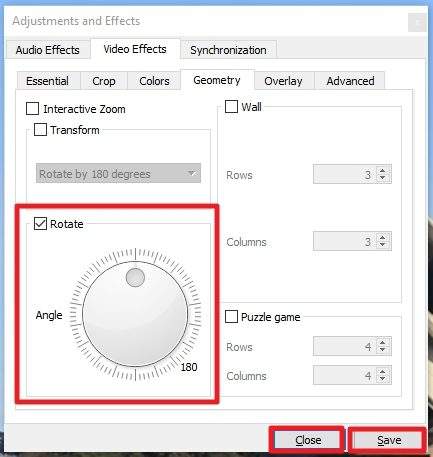
5. You could also use Rotation, the knob-like control to rotate at a specific angle.
6. Now, enjoy the rotated video.
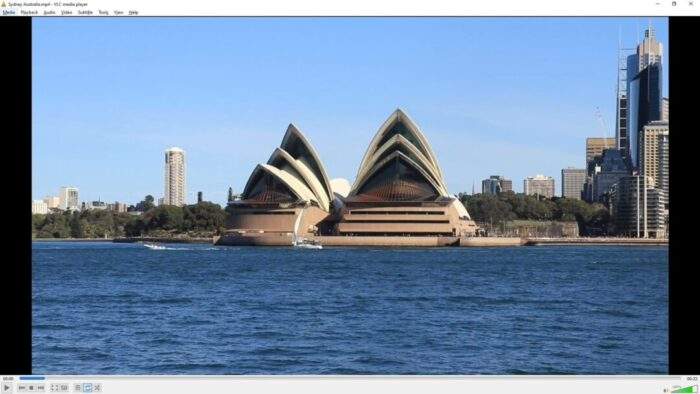
As a note, don’t forget to revert the setting once you done with it.
How to save/render the rotated video
Unlike the previous guide, the following guide is basically performing small editing to the video. VLC will help rotate the video and thus it will play with the right orientation on any video player and any device.
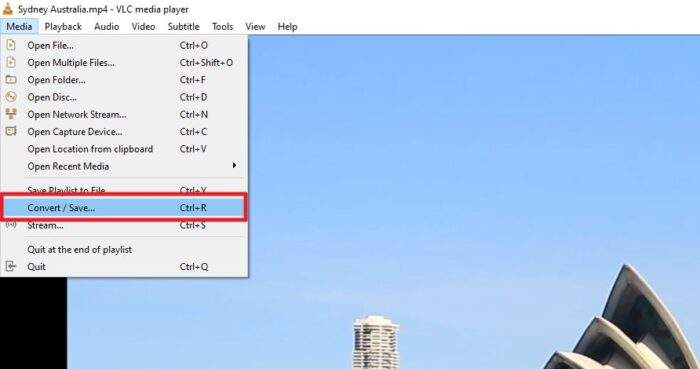
1. On VLC Media Player, go to Media > Convert / Save…
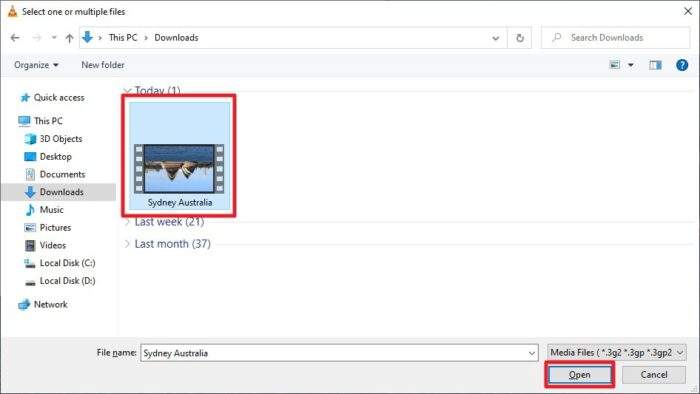
2. Here, we have to Add the video manually.

3. Locate the video and Open it.
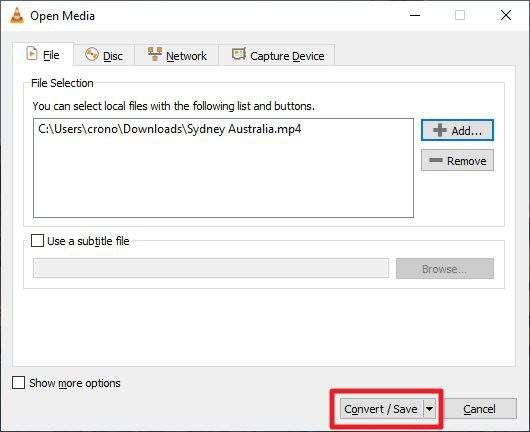
4. Now, hit the Convert / Save button.
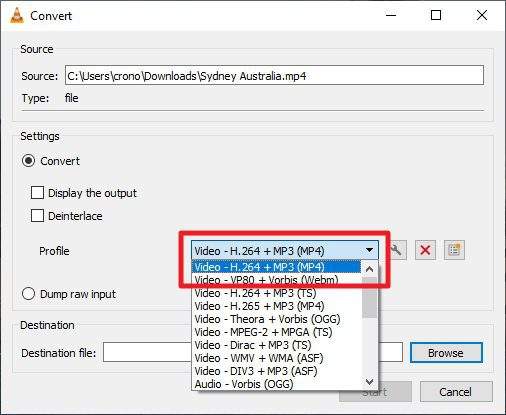
5. Select the video format. The H.264 + MP3 (MP4) is the most preferable format, but feel free to choose anything else.
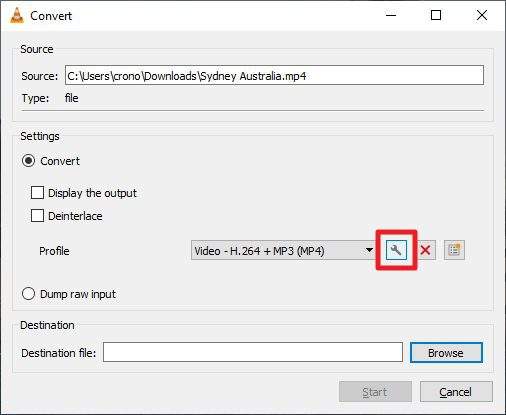
6. Click Edit selected profile, represented by a wrench icon.
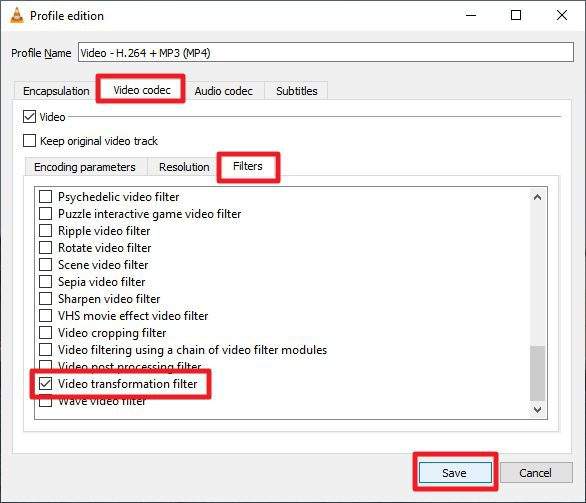
7. Go to Video codec > Filters > Video transformation filter > Save.
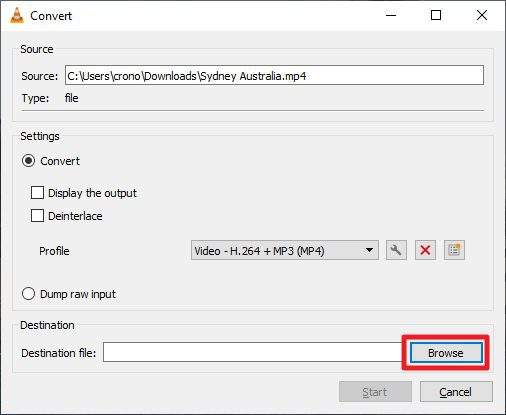
8. Click Browse to select the destination location.
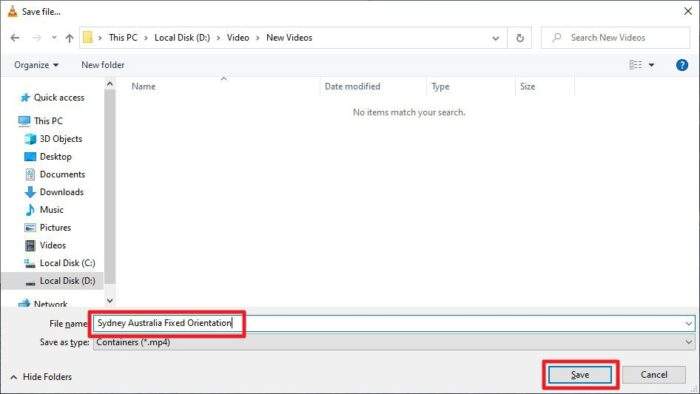
9. Give a new name to the video and hit Save.
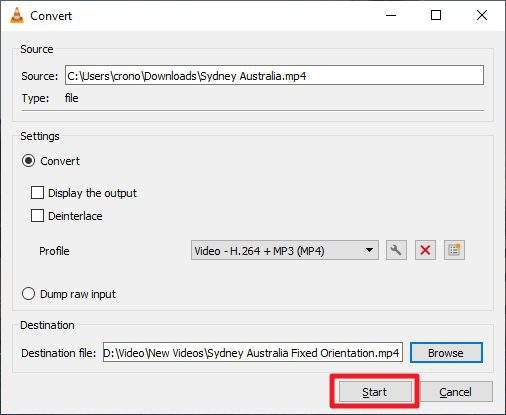
10. Finally, click Start to initiate the rendering process.
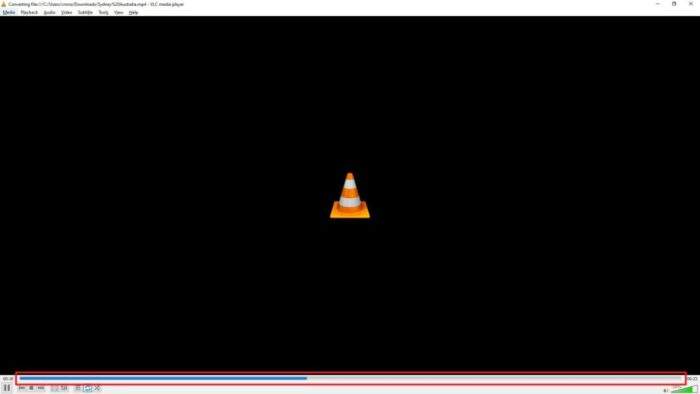
11. The progress is defined by the video bar. Wait until it reached the end.
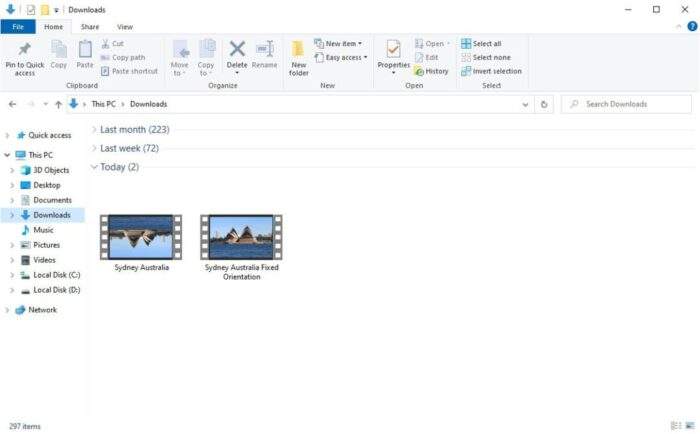
12. Now, you have the video orientation corrected.
That’s all. No need to buy a fancy video editor for a such trivial task. Just for information, Windows 10 built-in Video Editor can rotate a video among other basic editing stuff.
