0:00
in this video I'm going to show you on
0:02
how you can create a transparent overlay
0:05
in cona the overlay effect is extremely
0:08
helpful when you are trying to make the
0:11
text or trying to make an object on top
0:13
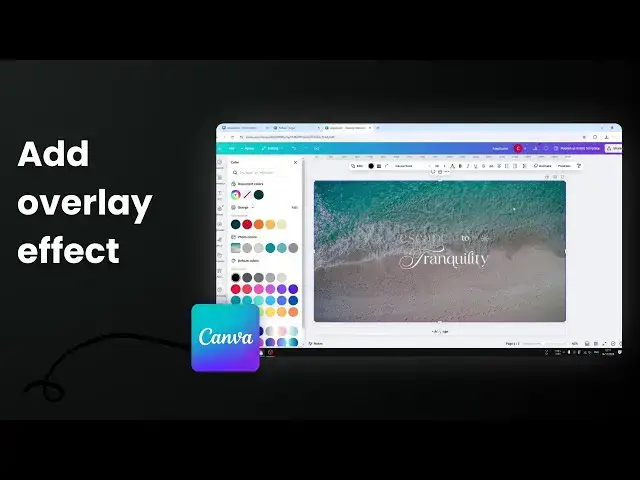
of something to to stay visible in this
0:16
example I have this nice background
0:19
however the background is kind of uh
0:22
have the same color with the text and
0:23
it's making the text to be basically
0:26
difficult to read especially from afar I
0:28
can still see the text but it's not very
0:30
nice and this is not a great looking
0:33
design so I have to put something uh to
0:36
between the picture between the
0:38
background and this text so the text can
0:42
stay visible now I'm going to insert an
0:44
overlay and the way you can do it is by
0:46
going to elements and you want to search
0:49
for shapes and you could use any shape
0:52
but in this case I'm going to create an
0:54
overlay that will cover the entire area
0:57
and that's why I'm going to be selecting
0:59
this simple Square you can also use the
1:01
keyboard shortcut sorry the keyboard key
1:04
R to insert that instantly so let me
1:07
show you how you can do that I'm going
1:08
to use uh let me remove this
1:12
first okay there you go so you can press
1:15
the keyboard key R and that will bring
1:17
this uh square shape and it's very
1:20
useful if you want to use this very
1:22
often now let's encapsulate all the uh
1:28
the element all the the cover basically
1:30
and then we want to change the color
1:32
into something it could be white black
1:35
uh orange red it's really depend on what
1:39
you are trying to build uh in this case
1:41
I think black is usually good enough and
1:44
after that you want to set the
1:45
transparency to maybe around 20 around
1:48
30 depending on your design and
1:50
depending on how much visibility that
1:52
you want to get I think around 30 is
1:54
great 20 to 40 is usually The Sweet Spot
1:57
number and when you're done you you want
1:59
to make sure that this overlay is
2:02
positioned between the background and
2:04
the text so you can right click and then
2:07
click layer and then send to uh backward
2:11
if you want to get a better idea about
2:13
the positioning of each layer of the of
2:15
the elements then you can go to position
2:18
click layers and then you will see that
2:19
this overlay is still on top of this
2:22
element and this T so we want to drag it
2:25
down so it will be on top of the
2:27
background and this is the result that
2:29
we got pretty cool right so that's how
2:32
you can create a transparent overlay in
2:34
confam if you uh feel like this video is
2:37
helping you then please consider
2:39
subscribing to this Channel and I'll see
2:41
you on the next video