Up next in 10

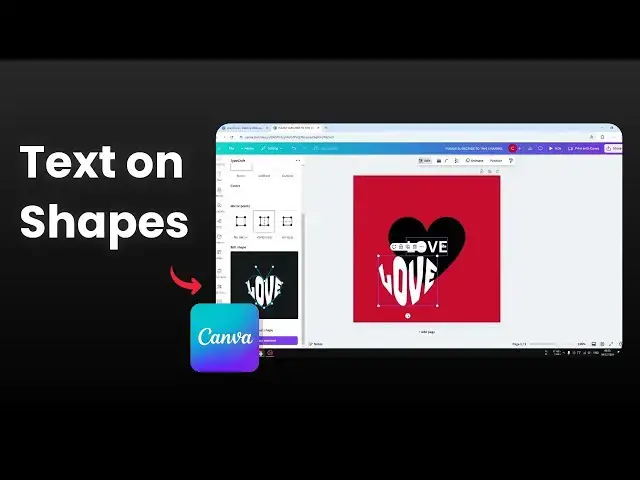
👉 Learn how to easily attach text to shapes in Canva to enhance your designs. This video will guide you through the steps to create eye-catching visuals by integrating text seamlessly into various shapes.
🎙 Microphone: https://geni.us/KVRt
🦾 Boom arm: https://geni.us/FU6y
💻 Web hosting: https://geni.us/BestWordPressHosting
❤ Subscribe if you find this video helpful:
https://www.youtube.com/@asapguide?sub_confirmation=1
Show More Show Less View Video Transcript
0:00
hi in this video I'm going to be showing
0:02
you on how you can attach text to shape
0:04
in canva so essentially we want to try
0:07
to shape or mold the text box into the
0:10
shape of a different object in this
0:12
example I'm I will try to change this
0:15
text box into the shape of this hard
0:18
icon and in order to do that we need a
0:21
third party app that's fortunately
0:23
available in Kaa so let's get into it
0:28
okay the first thing that you need to do
0:29
is you have to go to the apps menu and
0:32
then search for an app called type
0:37
ccraft and then you have to install it
0:39
uh if you are doing it for the first
0:41
time you are going to be prompted with
0:42
the message open you have to click the
0:44
open button and then you will see this
0:46
setting so this is the text this is
0:49
where uh you can put your text I'm going
0:51
to be using the text love and the phone
0:54
is actually fairly limited they don't
0:57
have a lot of phon so you have to stick
0:59
with what available uh in in the library
1:03
but I think this should be good enough
1:04
most of the time and I guess I'm going
1:07
to be
1:09
selecting this type of
1:11
one okay let's go back and for the color
1:14
it's going to be white because I want to
1:16
put put the text right here so I'm going
1:19
to select the white color the style is
1:21
there are three different options uh no
1:23
style uh unfilled and outline so I don't
1:27
want to choose any of that I just want
1:28
to use a basic Style
1:30
and finally there is a mirror point so
1:33
this is where you can adjust where you
1:35
can automatically mirror what changes
1:38
you made in one side for example if I do
1:41
make changes on the horizontal section
1:44
uh the horizontal mirror if I do
1:47
this the other side will follow will
1:50
mirror the action so it's very useful if
1:52
you have a symmetrical design but
1:54
otherwise I do recommend using no mirror
1:57
but in this case I actually going to be
1:59
using horizontal at the beginning and
2:01
then I'm going to disable the mirror
2:03
later so since I want to create hard
2:05
shape I would do
2:08
this and I would do this as well it's
2:11
just making the whole thing a lot more
2:14
uh a lot
2:16
more symmetrical and just faster and
2:19
then I'm going to switch to no mirror
2:21
and I'm going to click and then drag
2:24
this point to the
2:26
bottom and let's enable horizontal
2:29
mirror again
2:31
I just want to make sure that the design
2:32
is as close as possible to the heart
2:36
shape it doesn't have to be perfect
2:38
though but at least you want to get
2:39
something that is about
2:42
right okay I think this is good enough
2:45
and when you're done you can click add
2:47
element to Des
2:50
sign okay now let me remove this XEX and
2:55
let's put it here I'm going to make it
2:57
slightly bigger and and hopefully this
3:00
is going to be uh good enough it doesn't
3:03
have to be perfect but I want to be as
3:06
accurate as
3:08
possible okay so I guess this is the
3:11
closest I can get I can obviously uh
3:13
modify the design a bit to make it more
3:16
uh closer to the actual shape of this
3:19
icon but I think this is good enough so
3:22
anyway that's how you can essentially
3:24
mold or change the Xbox shape into
3:27
whatever shape that you want so there
3:30
you go uh if you find this video to be
3:32
helpful please consider subscribing to
3:34
this Channel and I'll see you on the
3:36
next video