0:01
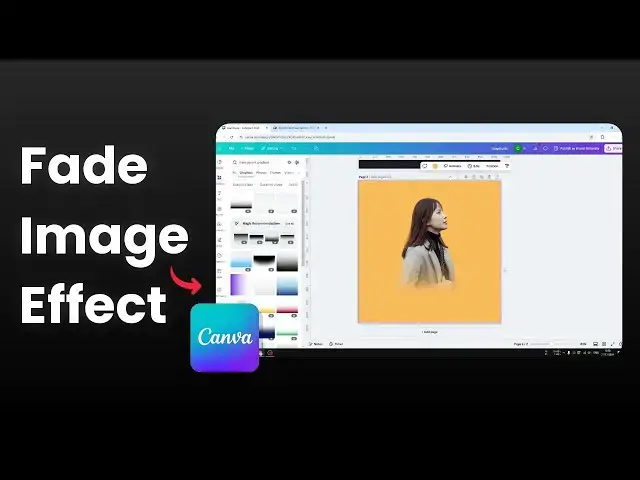
hi in this video I'm going to show you
0:03
on how you can create a feding effect to
0:05
a picture in canas so a feding effect is
0:08
essentially just a transparency effect
0:10
that allows you to see what's behind the
0:13
object for example I have this picture
0:15
and in the background there is a Sunset
0:18
and if I set the transparency let's say
0:21
I'm going to click on this image and set
0:23
the transparency to be let's say 30% now
0:27
we got a fairing effect so this is the
0:29
basic of the Fate effect in conf but
0:32
it's not very interesting so I want to
0:34
show you something else that is a bit
0:36
more attractive and looks more fun so I
0:39
have this picture this is the same image
0:41
as before except now the background is
0:45
orange and I'm going to add a gradient
0:48
effect that is kind of transitioning
0:50
from a color into transparent so the
0:53
first thing I'm going to do is I'm going
0:54
to remove the background for this
0:55
picture and I'm going to make her a
0:58
little bit bigger let's put it
1:01
here and I'm going to adjust this as
1:06
needed okay I think this is good
1:11
enough and after that let's navigate
1:13
elements and then you want to search for
1:16
transparent gradient that's a keyboard
1:19
that we are looking for and navigate to
1:21
The Graphic section you will see plenty
1:23
of different colors but don't worry you
1:24
could pretty much pick any color in this
1:27
example I'm going to pick this black and
1:29
as you can see it is partly transparent
1:31
so it is kind of transitioning from uh
1:34
from a color to no color to be
1:36
transparent but of course this is not
1:39
orange so uh we can see clearly the the
1:43
gradient is kind of obstructing
1:45
obstructing The View so what you need to
1:47
do is you have to click on this image
1:49
click edit and go to dual tone click
1:54
custom and for the Highlight you want to
1:56
click here and you want to pick the
1:57
color of the background and you will do
1:59
the same for the Shadows click on the
2:02
color click this uh tool and then select
2:05
the background color and make sure the
2:07
intensity is 100% so yeah this is the
2:11
effect that we just created it's kind of
2:13
from nothing from uh it's kind of
2:15
bleeding from here to here the color is
2:18
kind of transitioning smoothly so yeah
2:21
that is another way where you could use
2:23
a fing effect to an image in Cana if you
2:27
find this video to be helpful please
2:28
consider subscribing to this Channel and
2:30
I'll see you on the next video