0:00
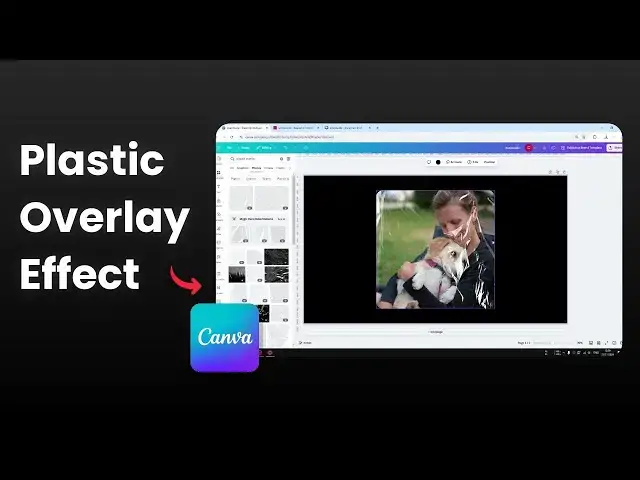
hi in this video I'm going to show you
0:02
on how you can easily insert a plastic
0:05
overlay effect in canva so I have this
0:08
picture and I want to get this picture
0:10
to have a plastic overlay on top of it
0:13
so the first thing that you need to do
0:14
is you have to insert a picture and then
0:16
after that click elements and on the
0:18
search elements you want to search for a
0:23
overl there's a keyw to get some asset
0:26
that will uh we are going to use for
0:29
this video so there are two options here
0:31
you can get plastic overlay from
0:33
Graphics or from photos they look kind
0:36
of similar in a way so it's totally up
0:38
to which one that you want to use I'm
0:40
going to go with the photos option
0:41
because I I I want to get a slightly
0:44
higher quality and make sure it is
0:47
transparent because it's very very
0:49
important that you can still see the
0:51
image below the plastic opl so I'm going
0:54
to go with this one and I'm going to put
1:00
and yeah that is the result but of
1:02
course there are a few tweaks because
1:04
this plastic overlay is actually Square
1:08
while my original image is indeed square
1:10
but it has this rounded corner so I want
1:13
to apply that to this plastic overlay as
1:15
well I'm going to click this corner
1:17
rounding and I'm going to adjust
1:19
accordingly I think the setting was 40
1:22
if I'm not mistaken or 50 50 is the
1:25
correct setting so when you are done you
1:27
we will get this result and uh the final
1:30
thing that I usually would do is I'm
1:31
going to select these two and I'm going
1:33
to group them together so they are
1:35
becoming one element every time I move
1:37
let's say the plastic overlay the photo
1:39
will follow and the other the other way
1:42
around is also true if I if you select
1:44
the photo the plastic overlay will also
1:46
be moved so yeah that's uh basically how
1:49
you can insert a plastic overlay in
1:51
confa I hope you find this video to be
1:53
helpful and I'll see you on the next