Windows 7, Windows 8, and Windows 10 support the ZIP format natively. Meaning that you can open the file and behave like a normal folder.
Not only that, turns out, you can create a ZIP file from a folder or files so it could be moved, uploaded, or managed easily. This feature doesn’t require any third-party software.
Here, an universal guide to create a ZIP file on most recent Windows versions.
1. Right-click on a folder or file, then Send to > Compressed (zipped) folder.
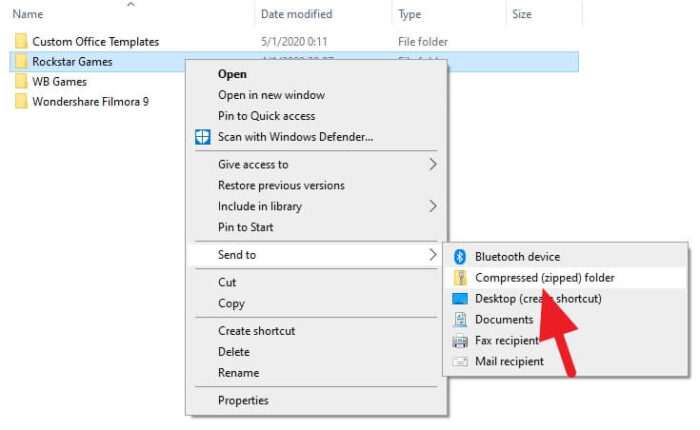
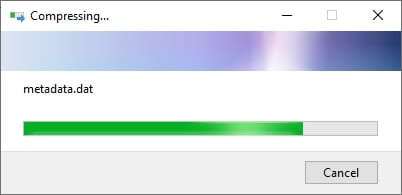
2. Wait until the compressing process finished.
3. Now the zipped version of the original folder/file has created.
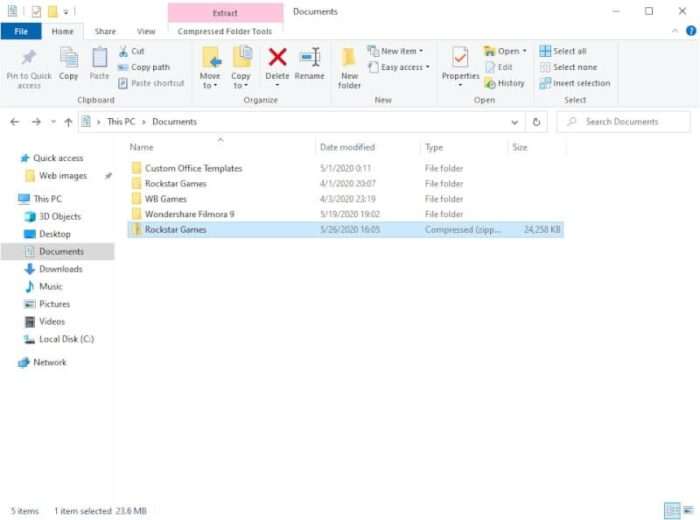
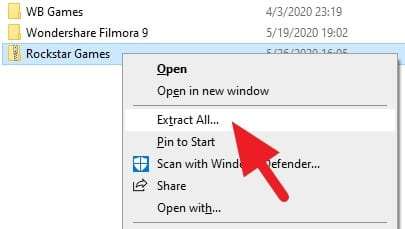
The ZIP file can be explored using a normal File Explorer feature on Windows. You could also extract it and choose the destination folder during the process.
While Windows natively supports ZIP, there are many compressed file formats such as RAR, 7-Zip, TAR, Gzip, and more. For that scenario, here are some of the most popular, yet free ZIP software from Microsoft Store.
Just pick one of them and it will provide advanced options for compressing and extracting files. You can also put a password onto the ZIP file so only an authorized user can access that.

