Scanning physical documents like receipts, letters, forms, or other paperwork can be incredibly useful for digitizing and organizing your files.
While dedicated scanners were previously required, Chromebooks now have built-in scanning capabilities through the integrated Camera app as of ChromeOS 96. This allows digitizing papers into editable formats right from your Chromebook using just the webcam.
Table of Contents
How to Scan Documents with Chromebook
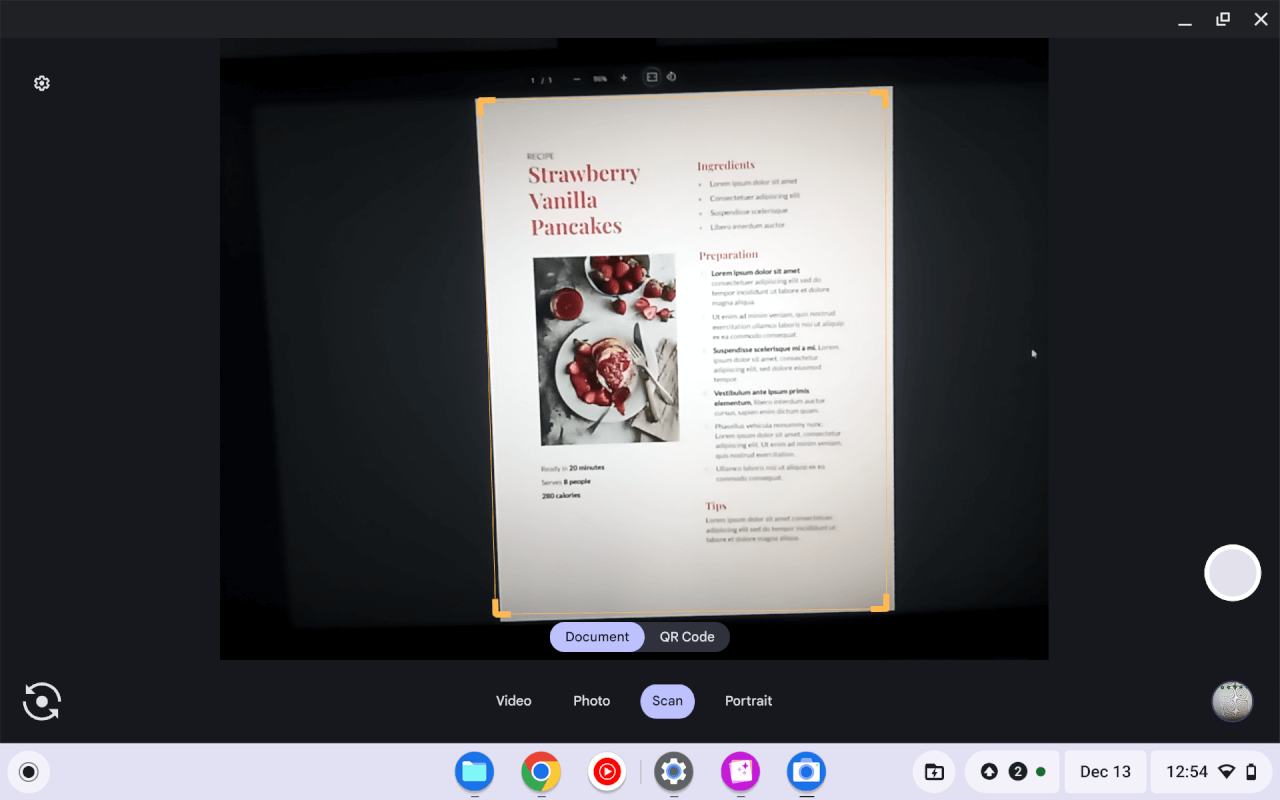
Scanning papers on a Chromebook only takes a few steps:
- Open the Camera app
The Camera app is pre-installed on all Chromebooks. Launch it through the app Launcher. - Select “Scan” mode
In the Camera app, choose the “Scan” option instead of standard photo/video modes. This enables the document detection and scanning interface. - Position the document in view
Place the document, receipt, or pages you want to digitize in front of the webcam feed inside the frame. Chrome OS will automatically detect the edges once they are visible. - Press the shutter button
With the document properly framed, click the round shutter button at the bottom to capture the scan. - Review and edit
After taking the scan snapshot, you can review it, edit, or delete and re-take as necessary until you have a clean capture of the page. - Scan additional pages
To compile a multi-page document, repeat steps 3-5, scanning one page at a time in order. Previously scanned pages will display along the left side for reference. - Save scanned file
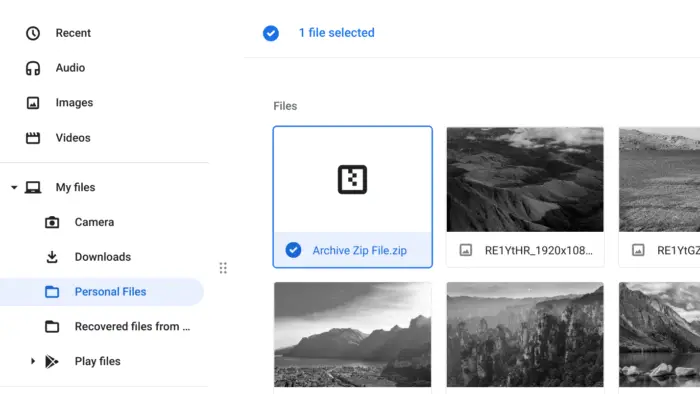
When all pages have been scanned, the file can be saved through the options at the bottom right. Scans are saved by default to the Camera folder.
Tips for Good Quality Scans
Follow these tips when using your Chromebook webcam to scan documents for best results:
- Use a contrasting background – Place pages on a darker surface if they are mostly white or vice versa. This helps define the edges.
- Align the edges in frame – Make sure to straighten any tilted or askew pages so the edges are aligned cleanly in view.
- Scan in a well-lit area – Proper lighting ensures your scans are sharp and clearly visible. Overhead lighting works best.
- Clean the camera – Gently wipe off any dust, smudges, or debris from your Chromebook webcam with a microfiber cloth before scanning important documents.
- Adjust resolution if needed – For very fine text, increase the scan resolution in Camera settings up to 2560×1920 if your Chromebook supports it.
With a bit of practice, you’ll be scanning various documents to your Chromebook in no time thanks to the built-in digitizing features of Chrome OS. So give it a try and simplify organizing all of your paper records and files.
Additional Tips for Chromebook Document Scanning
Organize Your Scanned Files
Once you’ve scanned your documents, consider renaming the files immediately. This makes it easier to locate them later. Use clear labels like “Invoice_Jan2025” or “Receipt_Groceries” to keep your digital records tidy.
Explore Cloud Integration
Save your scanned files directly to Google Drive for seamless access across devices. This is especially helpful if you want to share documents or ensure they are backed up securely. You can even organize them into folders like “Receipts” or “Work Documents.”
Recommended Accessories for Better Scanning
For improved stability and clarity, consider using a document stand to hold your Chromebook at the right angle. You can find affordable options on Amazon.
FAQ
Can I scan in color or black and white?
Yes, ChromeOS allows you to adjust the color mode in the Camera app’s settings. Choose between color, grayscale, or black-and-white modes based on your needs.
What file formats are supported for saving scans?
You can save your scans as JPEG, PNG, or PDF files, depending on your preference and the document type.
What if my Chromebook’s camera doesn’t detect the document edges?
Ensure you have good lighting and a contrasting background. If the problem persists, clean your webcam lens and try repositioning your document.
Can I scan multiple pages into one PDF?
Currently, ChromeOS does not natively support combining scans into a single PDF directly through the Camera app. However, you can use tools like Google Drive or third-party apps to merge multiple files into one document.
By following these steps and tips, you can make the most of your Chromebook’s scanning capabilities while keeping your files organized and accessible.


