Google focused its Chrome OS platform specifically on portable systems, such as laptops and tablets. Just like many mobile gadgets in this century, the camera sensor is often the main selling point for a group of people. Therefore, it’s common to see a Chromebook with one or even two cameras.
Depending on models, the camera quality is ranging from okay to decent, while premium devices can produce a more desirable result. Whichever camera sensor your Chromebook had, it’s useful to take a quick selfie or record a video without pulling out a smartphone.
In the following guide, I will guide you on how to use the camera feature on Chromebook devices. This guide applies to both laptops and tablets.
Table of Contents
#1 Opening the camera app
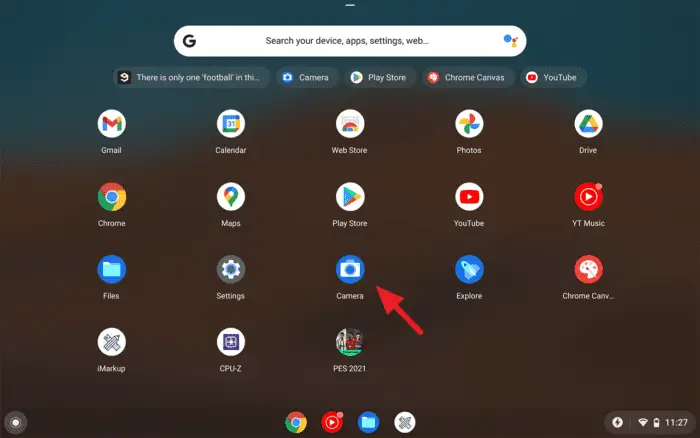

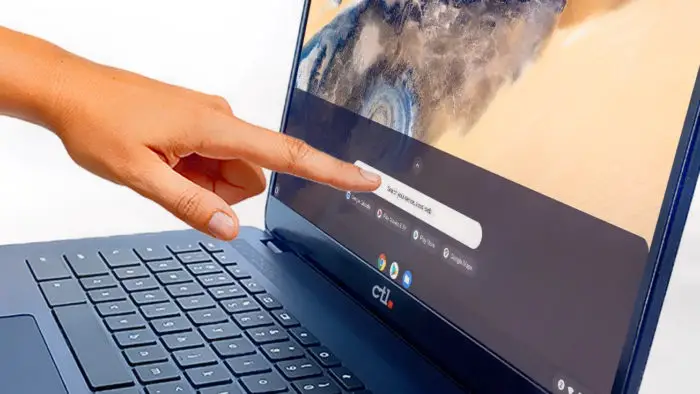
The camera app can be found on the app list of the device. Just swipe up the Shelf and tap the Camera icon (colored in blue) to launch the app.
You may use a third-party camera app, but here, I will only cover the basic use of the default camera app.
#2 Choose the camera mode
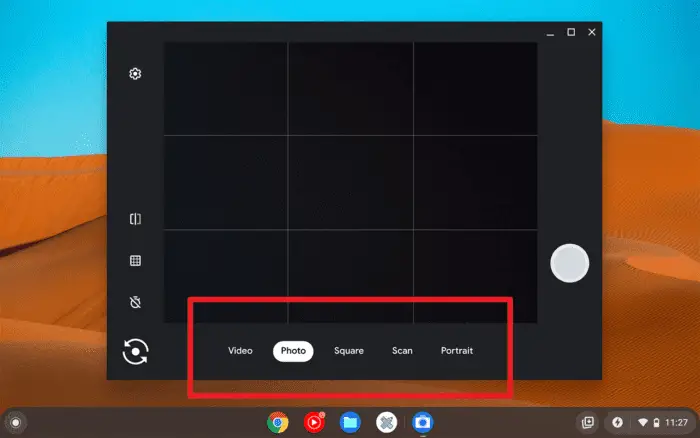

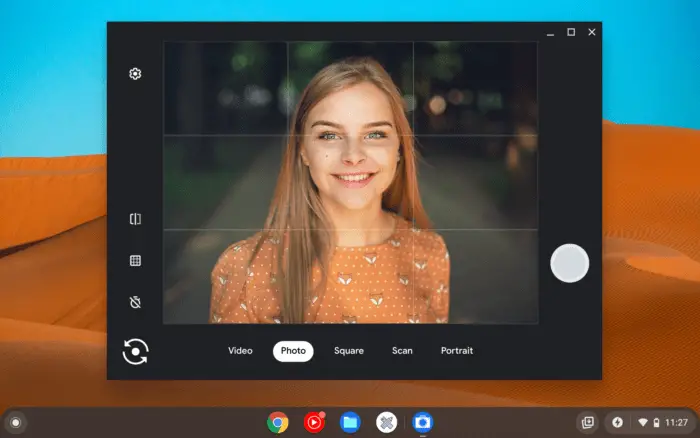
Right off the bat, you will get a few camera modes to select from. While the Photo and Video modes are self-explanatory, the other three may need a bit of extra information.
- Square: It is a normal photo mode but the aspect ratio is perfectly equal. This kind of photo is quite common on Instagram and other social platforms.
- Scan: If you want to take a picture of a document or presentation, this is the one you must select. It is also able to scan and convey the message behind a QR code.
- Portrait: This mode adds a bit of enhancement over the face and elevates the skin tone. On top of that, the bokeh effect is stronger on this one.
#3 Switching to front or back camera
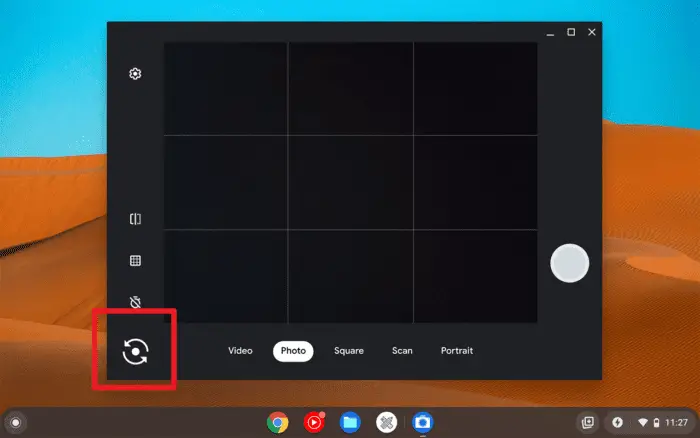

The switch camera button, represented by circular arrows will immediately switch what camera is in use when you tap it. It goes without saying that only a number of devices, especially tablets do have more than one camera.
Chromebook laptops, on the other hand, have to cope with a front-facing camera.
#4 Select the desired resolution
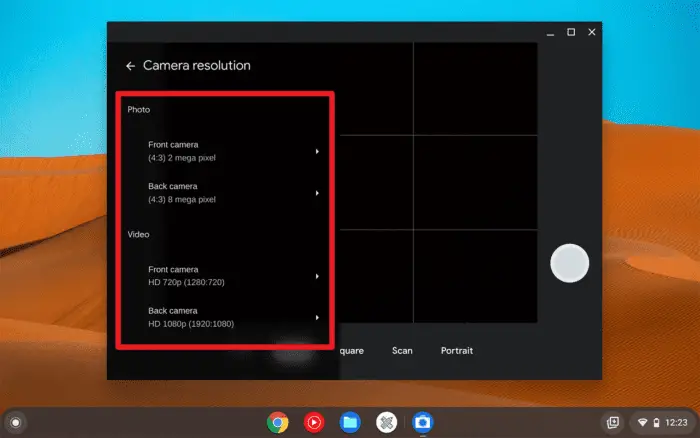

For some reason, most camera-equipped gadgets don’t come with the highest resolution enabled. The same intricacy also plagued many Chromebook devices. So, you might want to take a look at the camera resolution settings.
Just tap on the gear icon > Camera resolution, and then select the desired resolution for the respective modes and cameras. Please keep in mind that the resolution you choose can affect the photo’s aspect ratio.
#5 Taking a picture
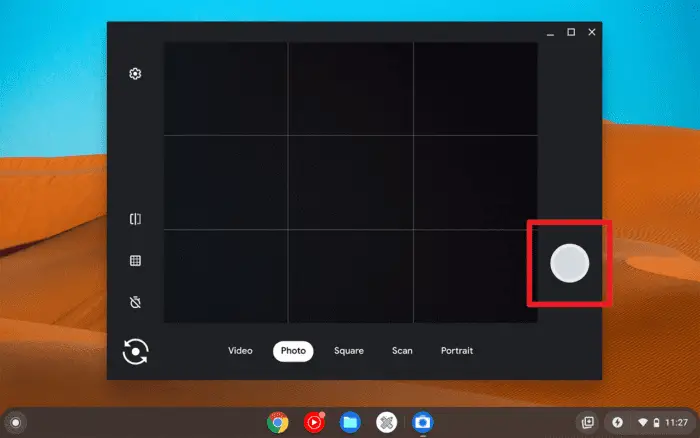

To start taking a picture or capturing a video, tap on the big circle button on the right side of the app. For a video mode, the same button is also responsible to stop recording.
#6 Other minor, yet fantastic features
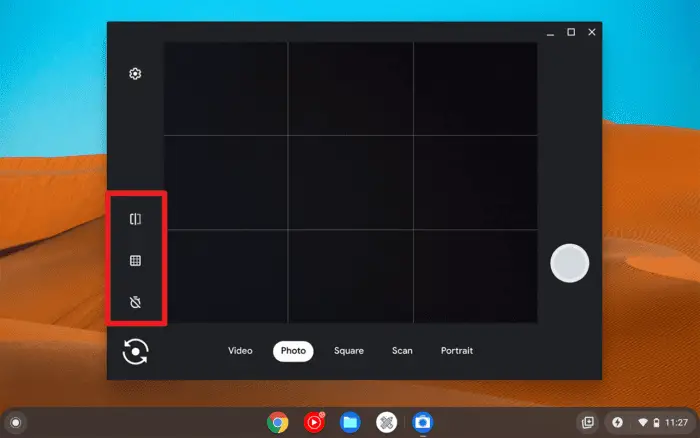

On the left side of the app, you might already notice a few icons representing their own function. I’m going to explain a bit about them, ordered from the top.
- Mirroring: If you want to see how your face is actually seen by others, give it a try.
- Grid: Enabling you to capture a beautiful photo under the princile of the rule of thirds.
- Timer: Delaying the capture for three seconds after you tap the shutter button.
#7 How to see saved photos
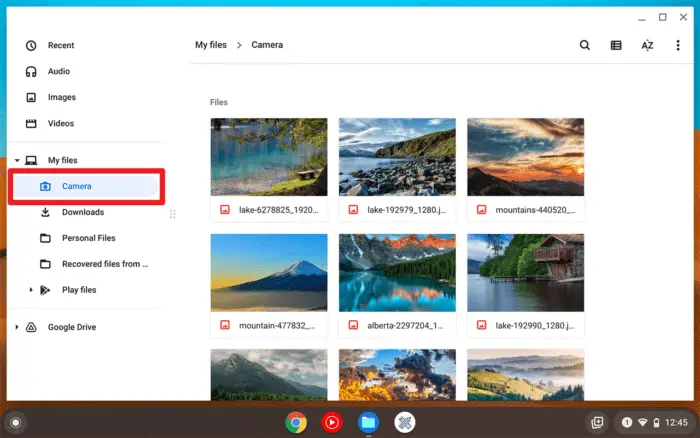

Photos and videos you took with the Chromebook camera can be viewed via Files > My files > Camera. Note that both formats share the same directory without separation.
Now you have learned how to use a camera on your Chromebook. Keep taking pictures and experiment with different modes and angles until you get a satisfying result. Perhaps, it would look fantastic as a Chromebook wallpaper.
