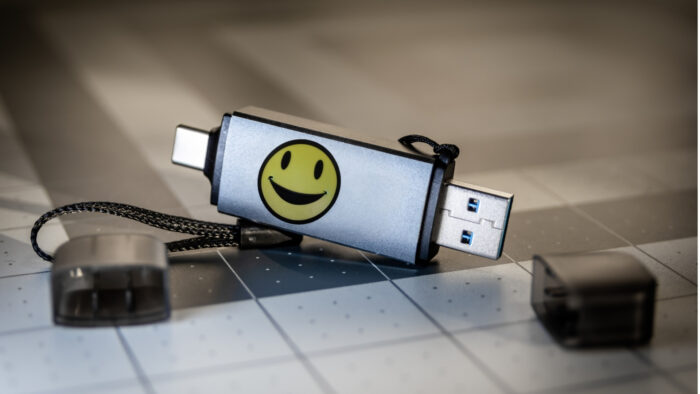
The New Technology File System or NTFS for short is a file system developed by Microsoft for Windows operating system. It used by the old hard drive and currently is part of USB flash drives.
However, all the majority of flash drives use FAT32 format by default. Hence, to replace it with NTFS, there are some steps you need to take. Here’s the guide!
NOTE: Please back up the USB stick data before formatting FAT32 to NTFS. This procedure will clean your USB stick once finished.
How to format USB to NTFS in Windows 10
1. Go to File Explorer. Then locate the USB flash drives that you intended, the section generally separated from Local Disk.
2. Next, right-click on it and select Format…

3. After that, you will see a new window showing some information about the device. On the File system section, select NTFS.

4. Now, click Start to process the formatting.
You will see another pop-up box warn about the effect of this action. As long you have backup your files, you can click OK to proceed.

5. Wait for a few seconds, usually less than a minute until notification shows up and says the formatting is complete and the USB flash drive with the NTFS format is ready to use.
However, there are many things you should know about NTFS.
NTFS Pros:
- Can receive a single file over 4 GB in size
- Faster than FAT32
- Works very well on the Windows platform (Windows OS, Windows Phone, Xbox, etc.)
- Safely Removable Devices before ejection is not mandatory
NTFS Cons:
- Cannot receive files from other platforms except Windows (read-only)
Despite its compatibility with Windows, NTFS isn’t a great format option if you are regularly using Mac or Linux along with Windows PC. So, choose the format of USB flash drives wisely if you don’t want to be bothered to switch to a different format too often.
Bonus Tips for Formatting USB to NTFS
Want to make the most out of NTFS formatting?
Here are some additional insights and methods to enhance your experience when formatting a USB drive to NTFS.
Alternative Methods to Format USB to NTFS
If the standard File Explorer method doesn’t work, try these alternatives:
- Disk Management Tool:
- Press
Windows + Xand select Disk Management. - Right-click your USB drive and choose Format.
- Select NTFS as the file system, tick Quick Format, and click OK.
- Command Prompt (CMD):
- Open CMD as Administrator by searching for “Command Prompt” and selecting Run as Administrator.
- Type
format X: /FS:NTFS(replaceXwith your USB drive letter) and press Enter. - Follow the prompts to complete the process.
When NTFS Isn’t the Best Choice
While NTFS is powerful, it’s not always the ideal format. Consider these scenarios:
- Cross-Platform Compatibility: If you frequently use your USB drive with macOS or Linux, FAT32 or exFAT might be better options since NTFS is often read-only on non-Windows systems.
- Older Devices: Some older devices like media players or gaming consoles may not support NTFS.
Recovering Data After Formatting
Accidentally formatted your USB without backing up? Don’t worry! Tools like EaseUS Data Recovery Wizard can help recover lost files from formatted drives.
FAQ
Why can’t I format my USB to NTFS?
This could be due to write protection, physical damage, or unsupported file systems. Use tools like EaseUS Partition Master or check for errors using the chkdsk command in CMD.
How do I switch back from NTFS to FAT32?
To revert to FAT32, follow the same formatting process but select FAT32 as the file system. Keep in mind that this will erase all data on the drive.
What’s the difference between FAT32 and NTFS?
FAT32 supports smaller file sizes (up to 4GB) and is more compatible across devices, while NTFS supports larger files, offers better security, and is faster on Windows systems.
By understanding these nuances, you can make informed decisions about formatting your USB drive!

