Brush in Photoshop is a powerful tool to paint something onto the layer, much like a paintbrush in real life. Photoshop comes with many brush templates in which you can adjust the size, intensity, and color quite easily. Even more, to expand creativity, it’s possible to create your own brush.
To create new brushes in Photoshop, all you in is, well, just Photoshop — no third-party apps required to perform this action. It’s recommended if you know the basic tools of the program.
Here’s how to create a new brush style in Photoshop CC (should be relevant on nearly all Photoshop versions).
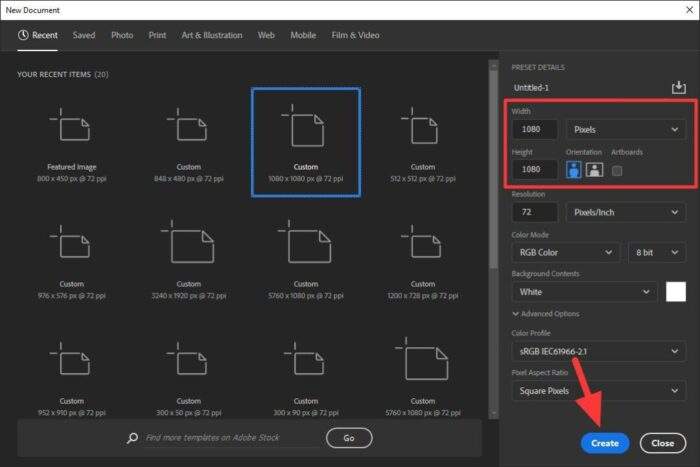
1. Go to File > New.
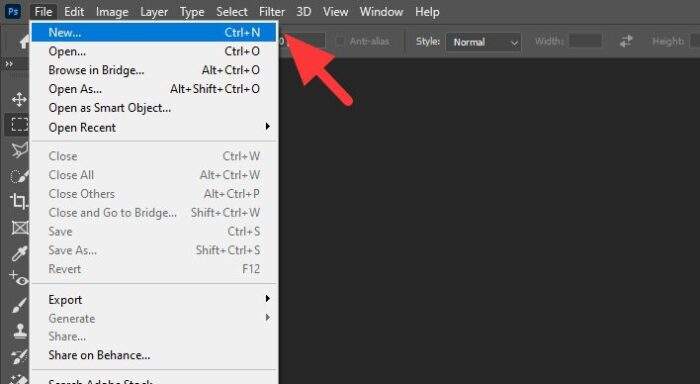
2. Set the width and weight to be square because it’s better that way, then click Create.
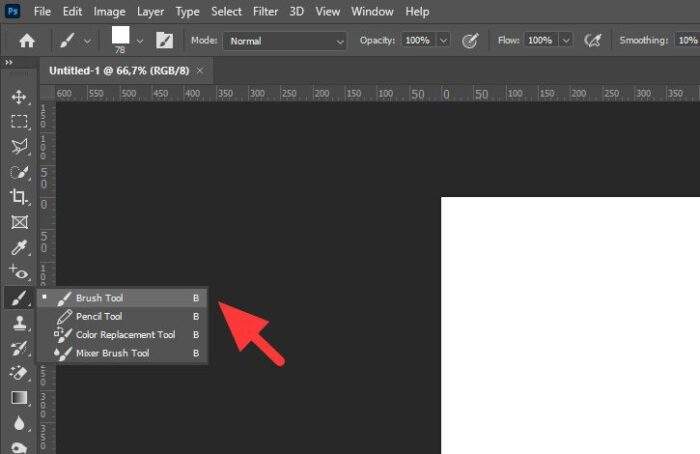
3. Click Brush Tool (yes, we are using a brush to create a brush). Feel free to use Pencil Tool or other tools if you want to.
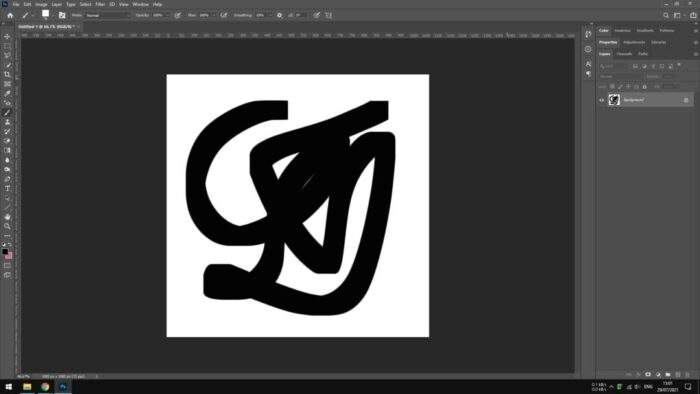
4. Now draw a brush style with it.
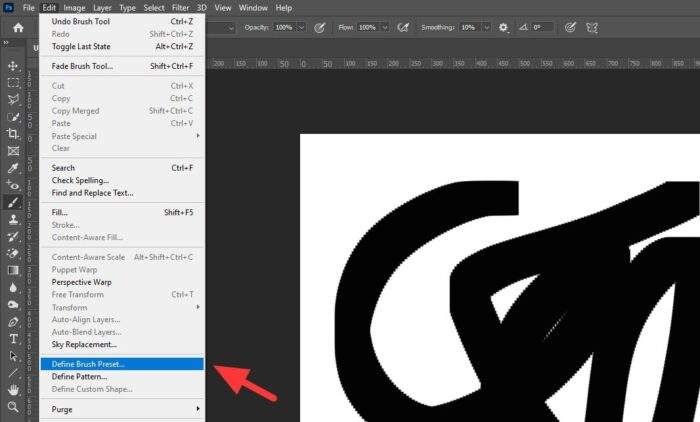
5. When you have done, click Edit > Define Brush Preset…
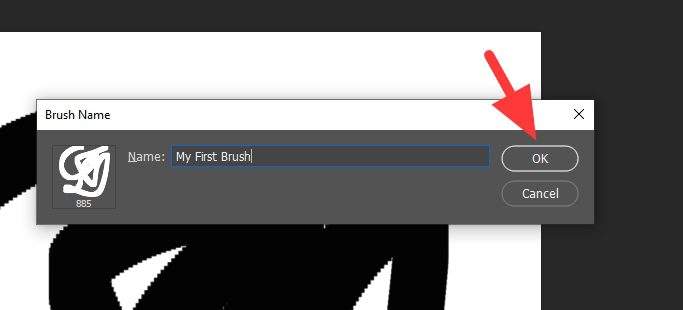
6. Set a name for the new brush and hit OK.
7. The new brush has been added and can be used.
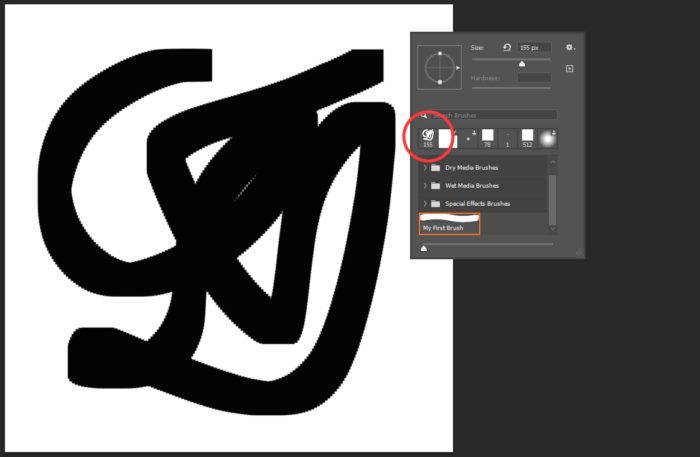
Basically, what you need to do to create a new brush is just drawing something on the canvas and define it as a brush preset. You may even import a PNG picture and convert it into a brush preset with minimal effort.
Creating a custom brush in Photoshop is not just a technical process—it’s an opportunity to infuse your personal style into your work. Experiment with different shapes, textures, and settings to craft brushes that truly reflect your artistic vision. Whether you’re designing for fun or professional projects, these unique tools can make your creations stand out.
Table of Contents
FAQ
How can I edit an existing brush in Photoshop?
To edit an existing brush, go to the Brush Settings panel under the Window menu. Here, you can adjust parameters like size, shape dynamics, scattering, and more. Once satisfied, save the changes as a new brush preset.
Can I create brushes from images?
Yes! Simply select the area of the image you want to use with any selection tool, then go to Edit > Define Brush Preset. Name your brush, and it’s ready to use.
Are custom brushes compatible across Photoshop versions?
Most custom brushes are compatible across recent versions of Photoshop. However, saving them as part of a set ensures they remain accessible even after updates.
To share your brushes, save them as a set by selecting Save Brushes in the Brush Presets panel menu. This creates an .abr file that can be shared and imported into other Photoshop installations.
For further exploration on creating and customizing brushes, check out Adobe’s official guide or detailed tutorials on platforms like Envato Tuts+.

