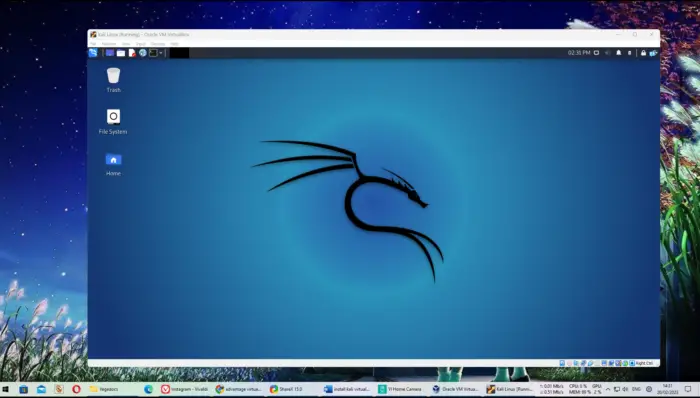
Are you looking to take your ethical hacking skills to the next level? Kali Linux is a powerful open-source platform and one of the most popular operating systems for hackers. Installing it in VirtualBox on Windows 11 can be a great way to practice your skills without risking any real damage.
In this tutorial, we’ll walk through all the steps needed to install Kali Linux in Virtualbox on Windows 11 – so you can start exploring its many features right away!
Setting the VirtualBox
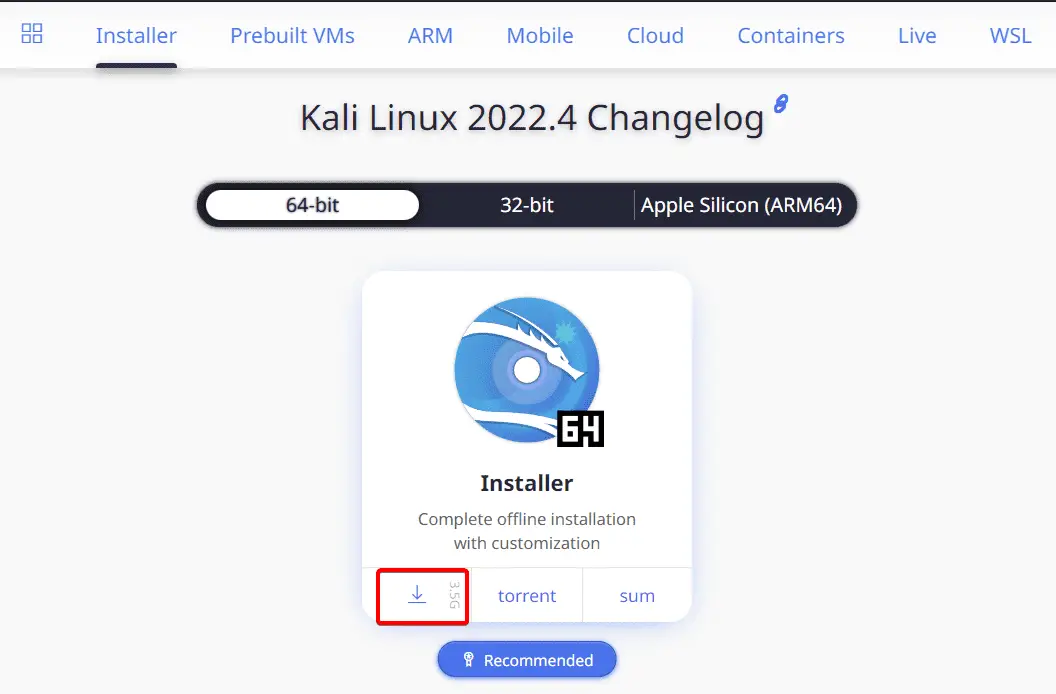
1. Get the ISO image file for Kali Linux from kali.org.
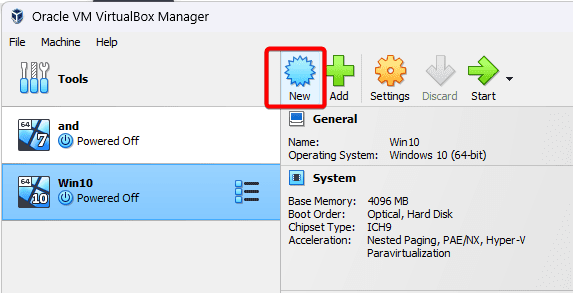
2. Now run VirtualBox, we use VirtualBox 7.0.6. The first thing to do is click on the New button.
3. Give it a name and leave the folder as default.

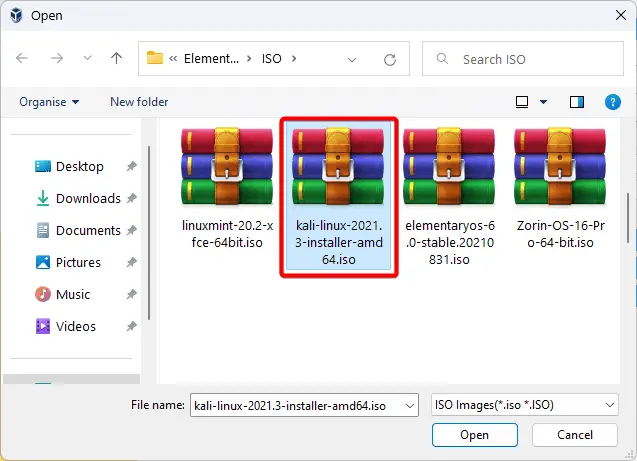
4. Then select the ISO image file with click on the down arrow and clicking on the Other.

5. This is where you locate the Kali Linux ISO image file that you just downloaded. Select the file and Open.
6. Move to Hardware. For Base Memory or RAM, you need at least 2 GB or 2048 MB. The more the better and it’s going to run smoother. For Processors, we recommend at least 2 CPU cores. But if you can max this out, it’s going to run better.

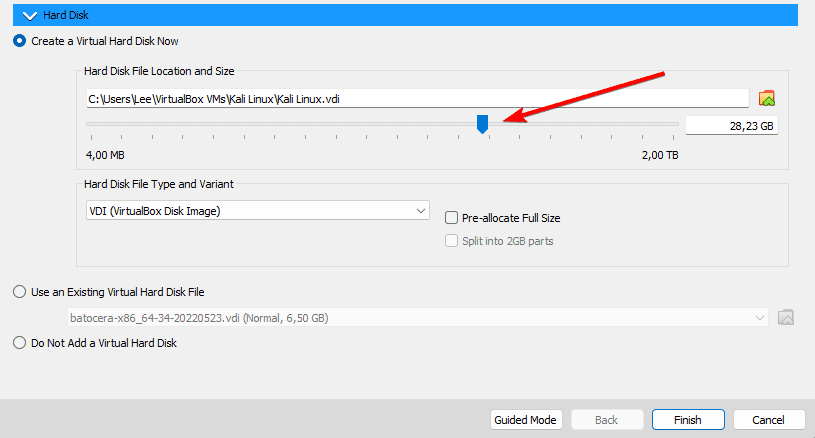
7. Move to Hard Disk, you’re going to need at least 20 GB of space. And click on Finish.
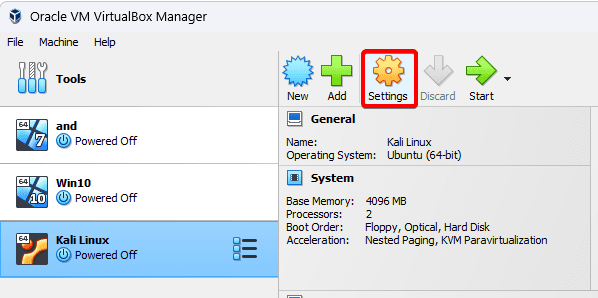
8. Now click Settings.
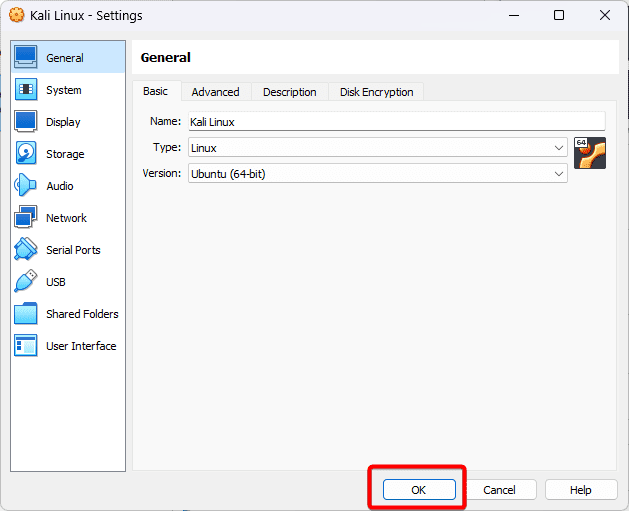
9. Go to Display and max out the Video Memory.

10. Click OK and you’re ready to start the installation.
Kali Linux installation
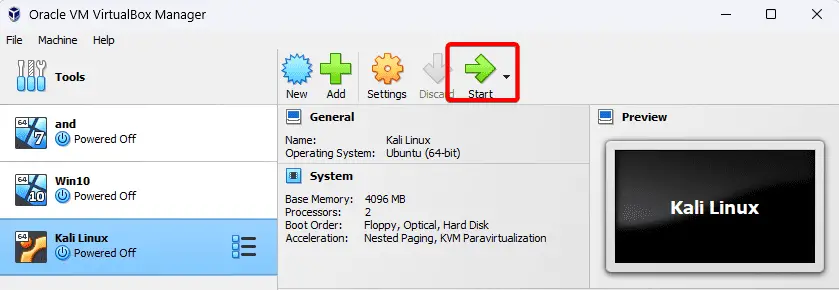
1. Select the virtual machine, then click on Start.
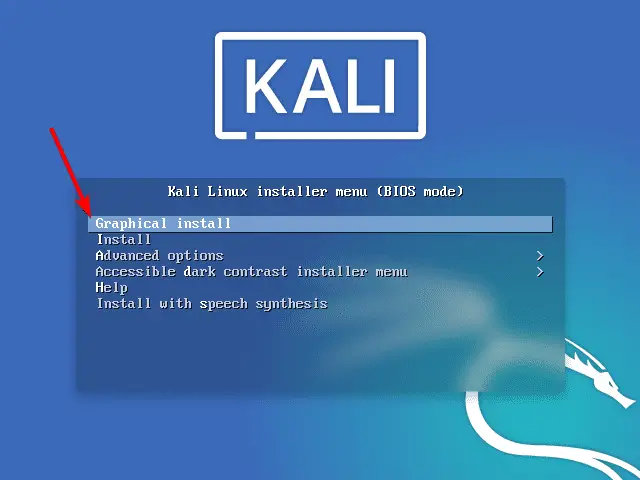
2. Inside the menu select Graphical Install.
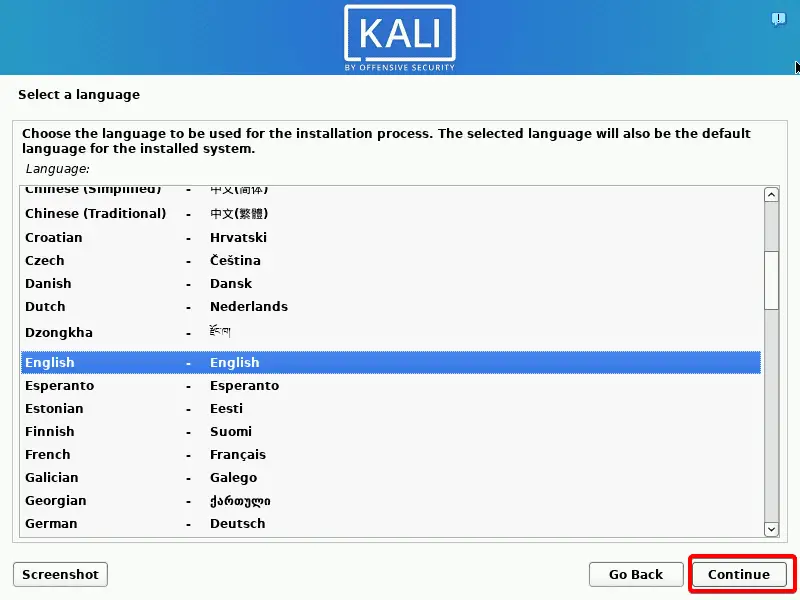
3. Select the language and Continue.
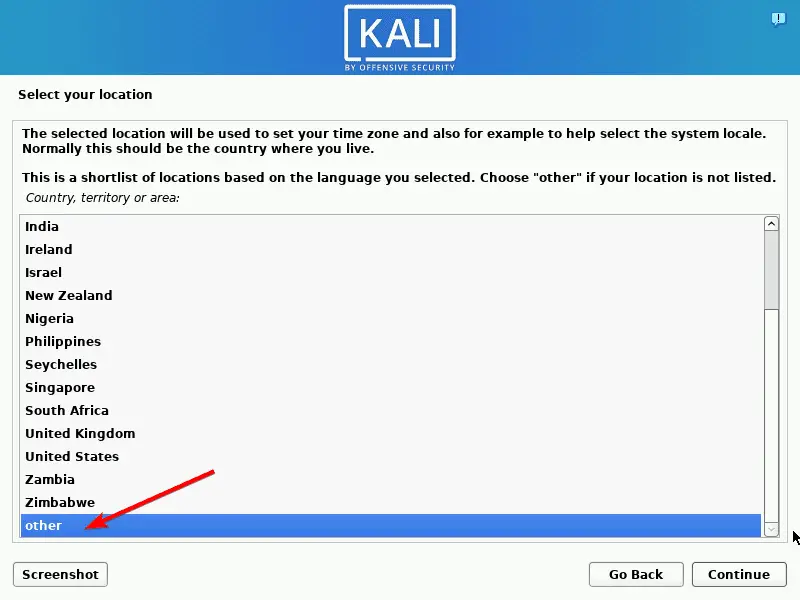
4. Select Other if your current location is not listed.
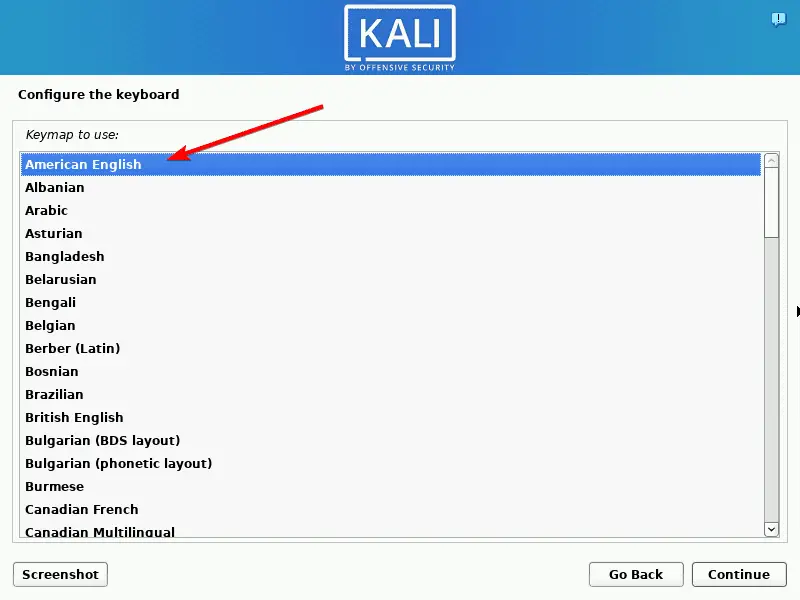
5. For the keyboard, American English is fine.
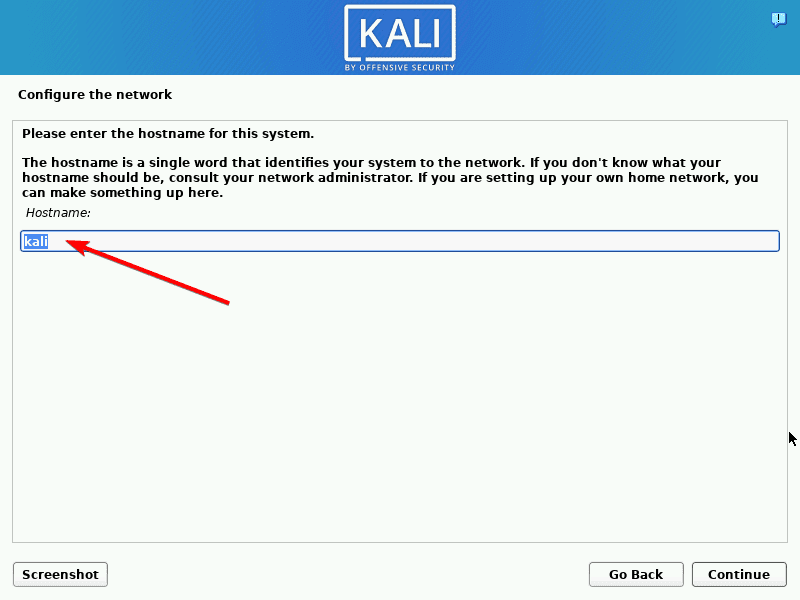
6. In Configuring the network, you can change that to anything you want.
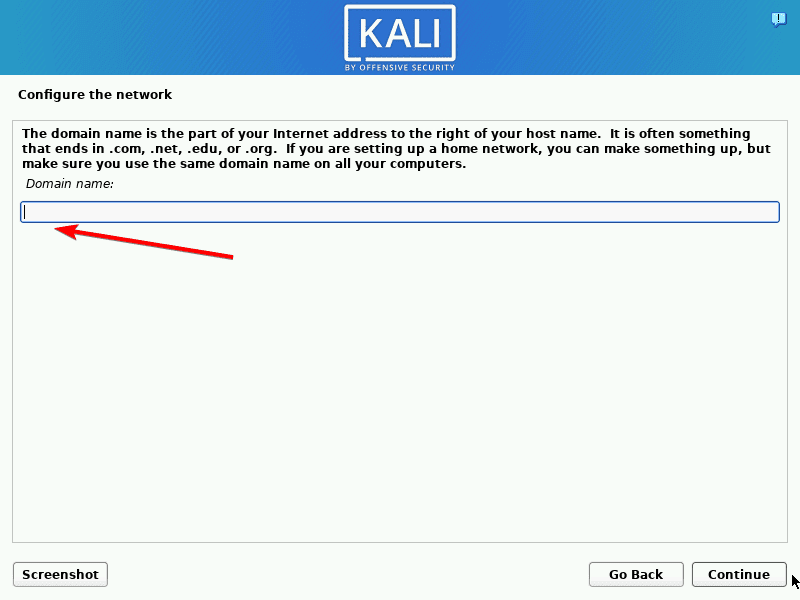
7. For the domain name, leave it blank.
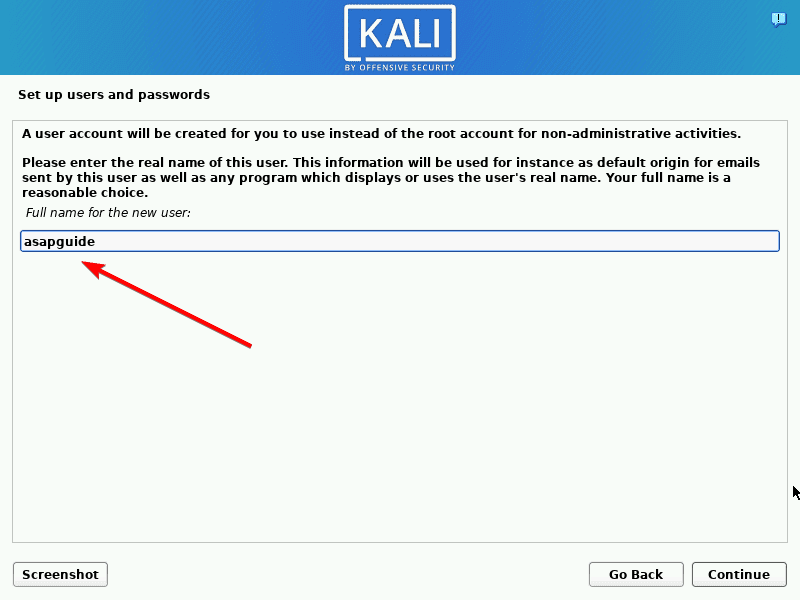
8. Type your user name.
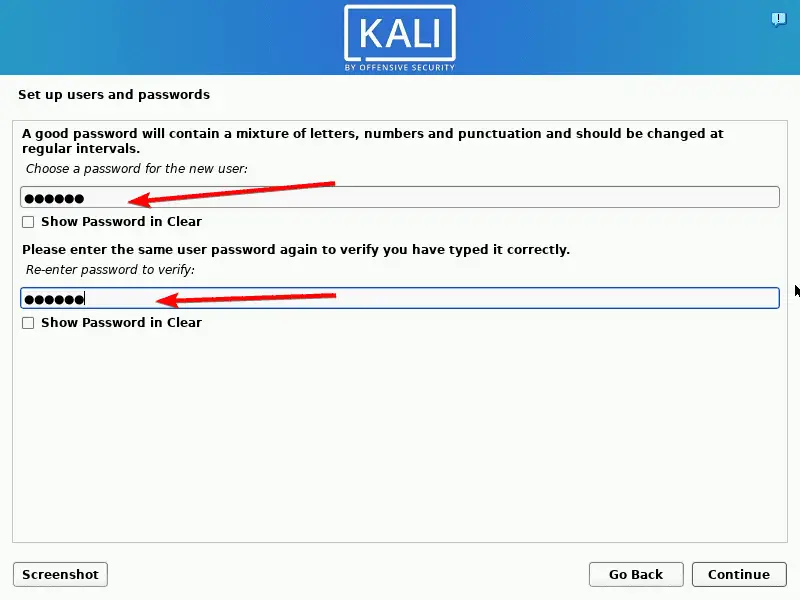
9. Now type in a password.
10. Next is configuring the clock.
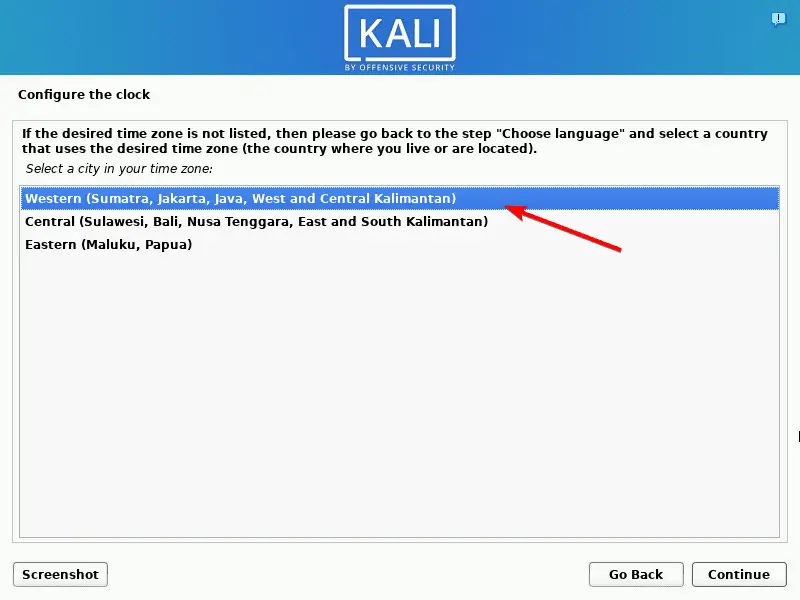
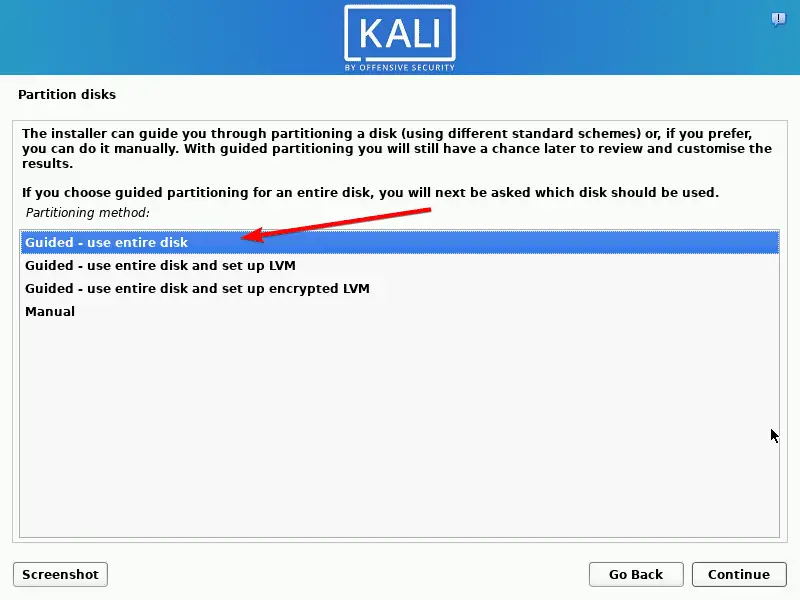
11. Select Guided – use the entire disk.
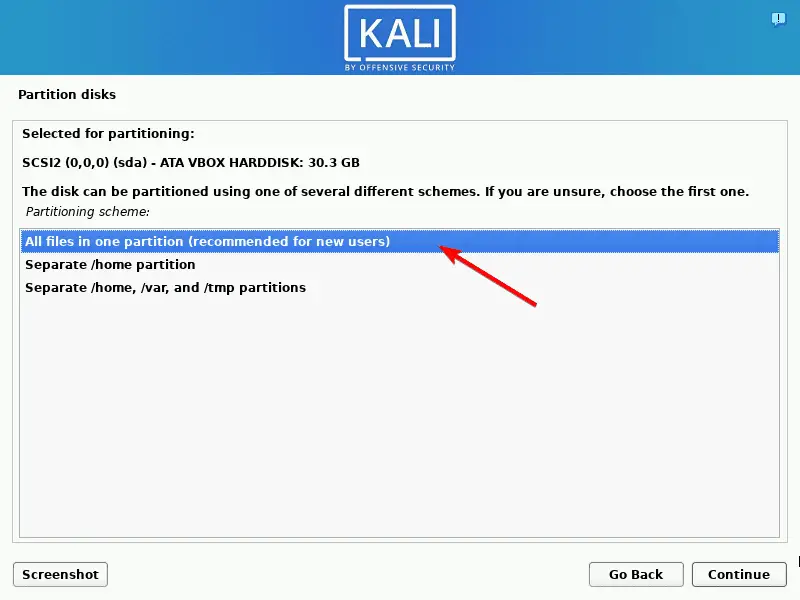
12. You’ll be using All files in one partition.
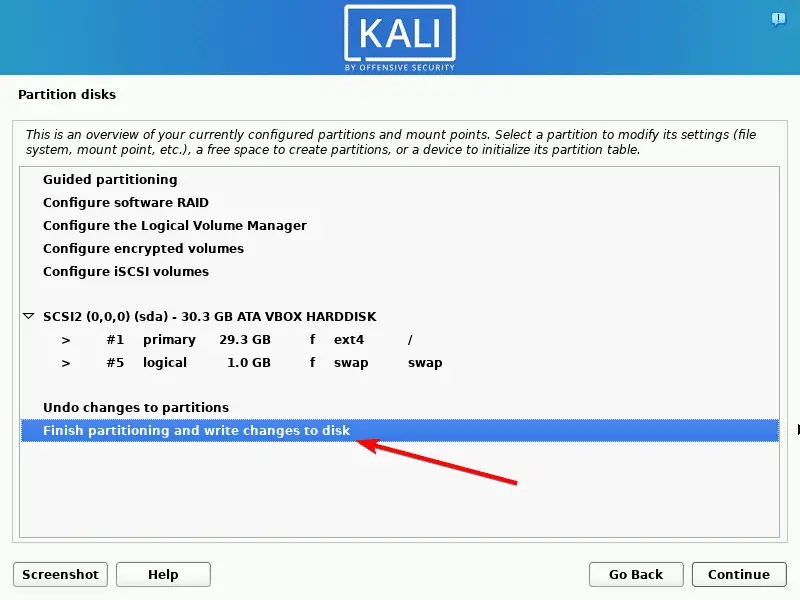
13. Select Finish partitioning and write changes to disk, click on Continue.
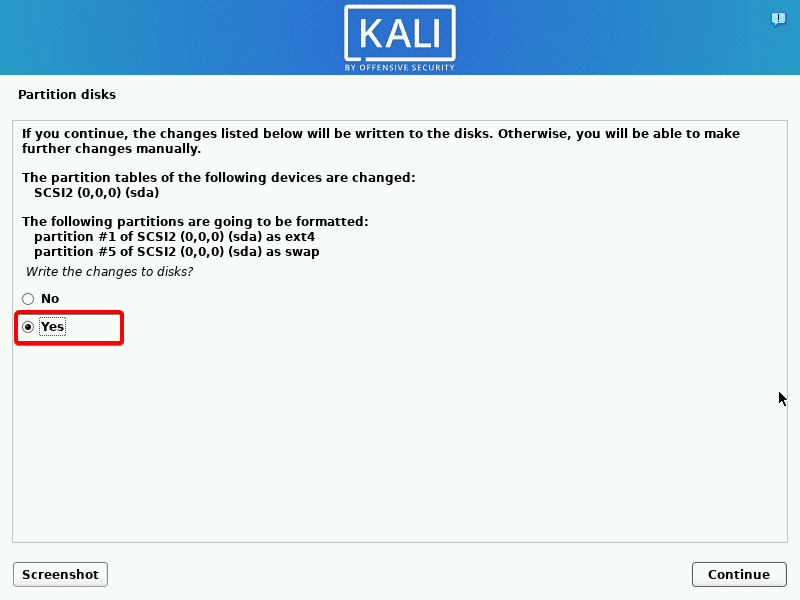
14. Select Yes and then click on Continue.
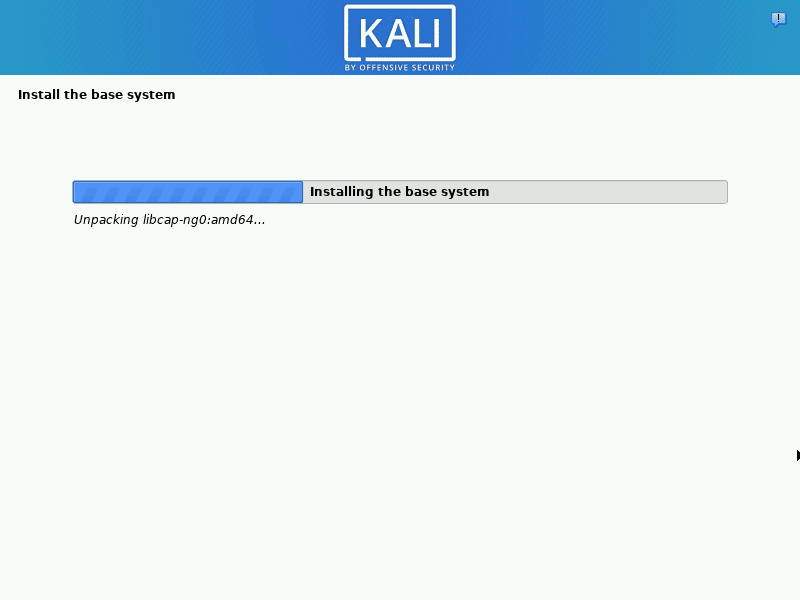
15. The installation might take a few minutes.
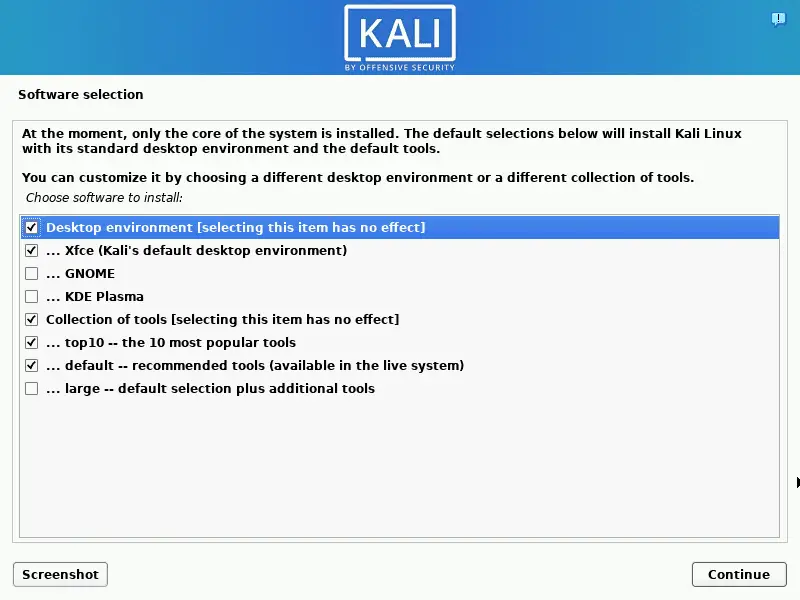
16. Now you get the option to customize your desktop environment. You can select whichever options you’d like, but it’s best to leave it as default.
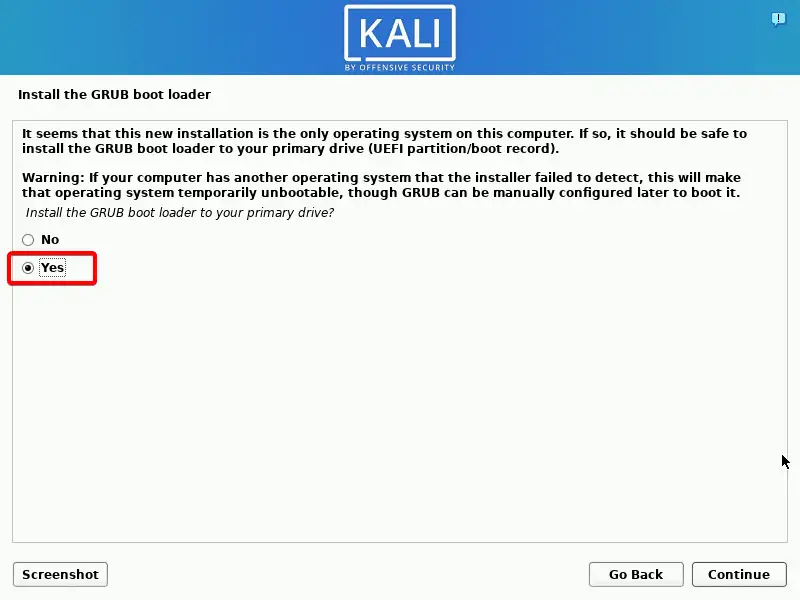
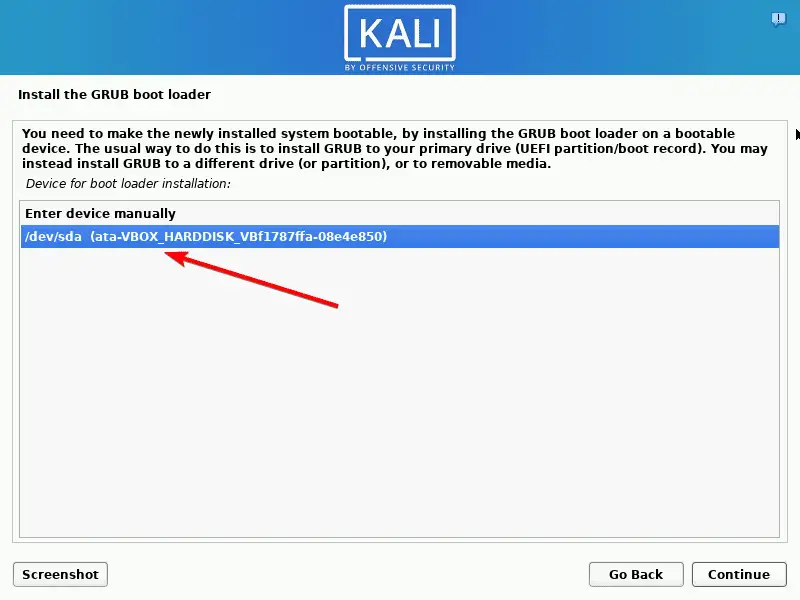
17. The last step is to install the Grub boot loader. Select Yes and Continue.
18. Select your virtual drive in the list.
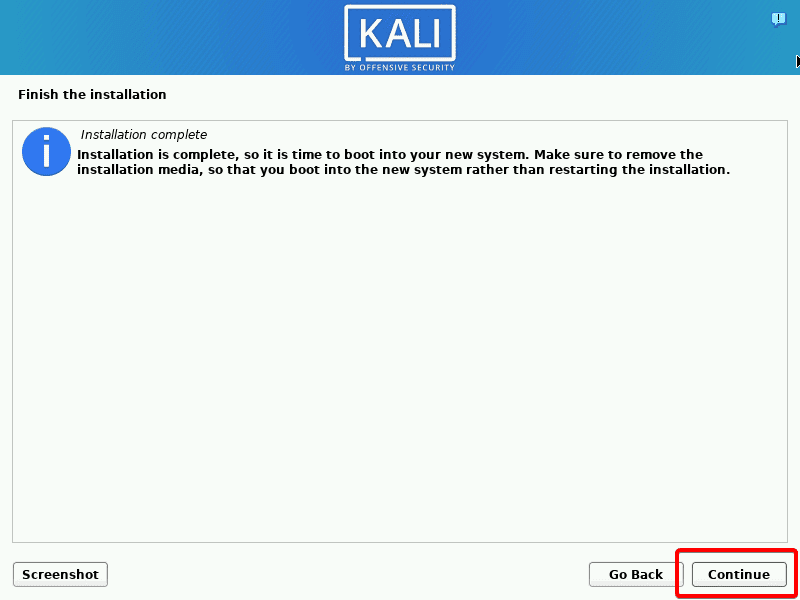
19. The installation is now complete. Click Continue to reboot.
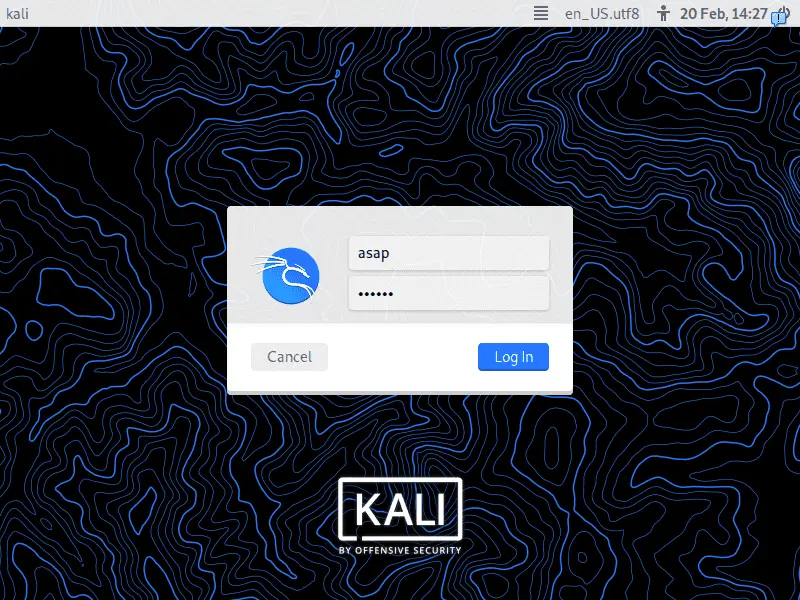
20. After the reboot is complete, back to the login screen. Type in your username and password.
In conclusion, installing Kali Linux in Virtualbox for Windows 11 is an excellent choice if you’re looking to explore the world of ethical hacking and penetration testing. No matter what level of experience you have, there’s something here for everyone – from beginners who want to learn more about cybersecurity fundamentals all the way up through experienced professionals honing their skillset further.

