For a security reason, you don’t want anybody to modify a Word document you’ve made. For instance, like sensitive documents, homework, or finished paper that ready to publish.
Hence, Microsoft Word has added a “read-only” feature which prevents anyone from editing the document. Only authorized users (with a password) can modify the file.
Here I will show you how to enable the read-only feature on a Word document.
1. First, open the document. Heads to Review tab and select Restrict Editing menu.

2. Check the Formatting restrictions and editing restrictions, then click Yes, Start Enforcing Protection.

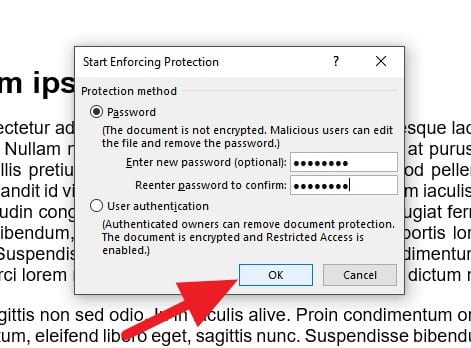
3. Enter a password for the document, then hit OK.

4. Save the document (CTRL+S) to save the settings.
Now, users without the password won’t be able to modify the document. But they may see or duplicate the content inside it. To clear the password, navigate to the View menu, select Edit Document, click Stop Protection, and enter the password.

So, that’s the simplest way to make Microsoft Word file read-only without installing third-party software.


