There could be dozens of automatic updates that occurred every month on any given Android app. While this action may improve security, and performance, and add more features to the app, users may find their data plan exhausted a lot sooner than expected.
Every time an app is updated, it consumes some of your valuable internet data. This is even worse on big apps with frequent updates. If you are not using them very often, stopping their automatic updates may be a wise move.
Apps that are installed through Google Play Store will be updated automatically when conditions are met. You can always stop the auto-update policy by following the steps below.
Table of Contents
#1 How to disable auto-update on Android an app
1. Launch Google Play Store and navigate to the app page you wish to stop from the automatic update.

2. Then tap the three-dot icon on the top right corner.

3. Uncheck the Enable auto update box.
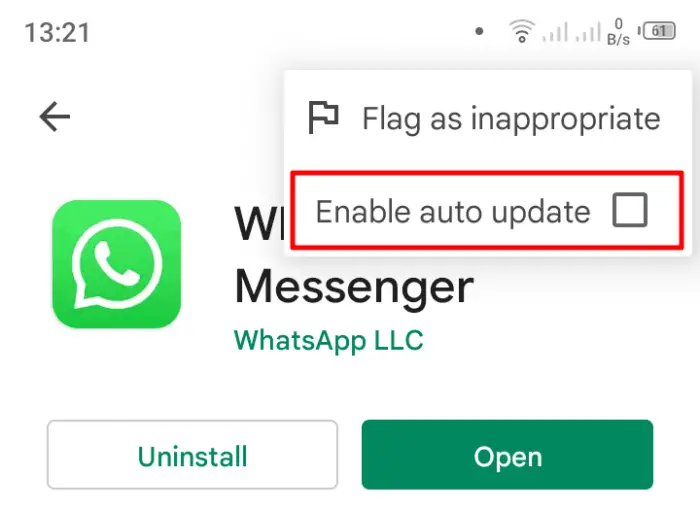
You may repeat the process on other apps. But if you want to disable auto-update on all apps, check out the following guide.
#2 Stop auto-update on all installed apps
1. Launch Google Play Store and tap on your profile picture.
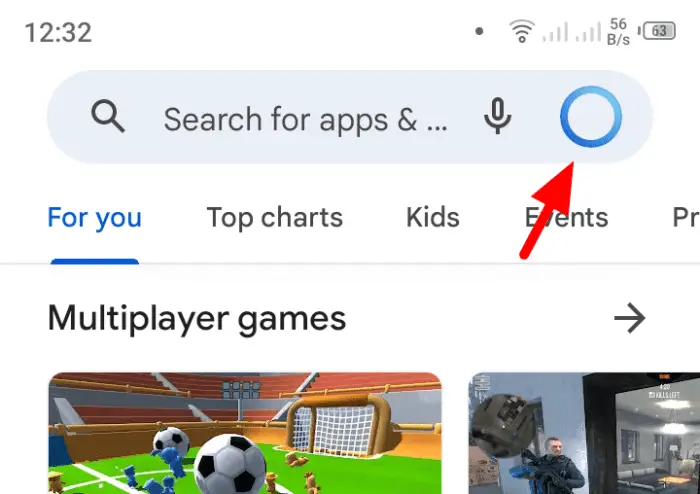
2. Then, go to Settings.
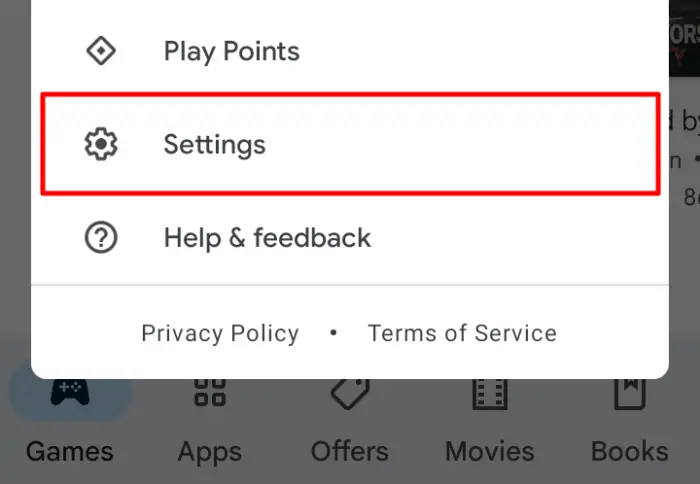
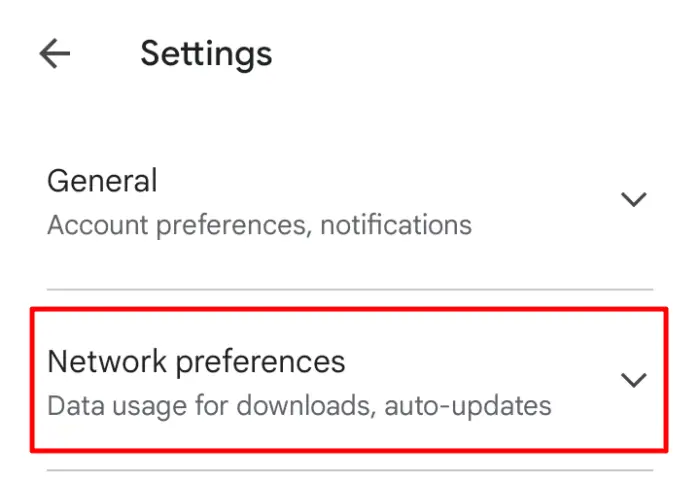
3. Expand the Network preferences menu.
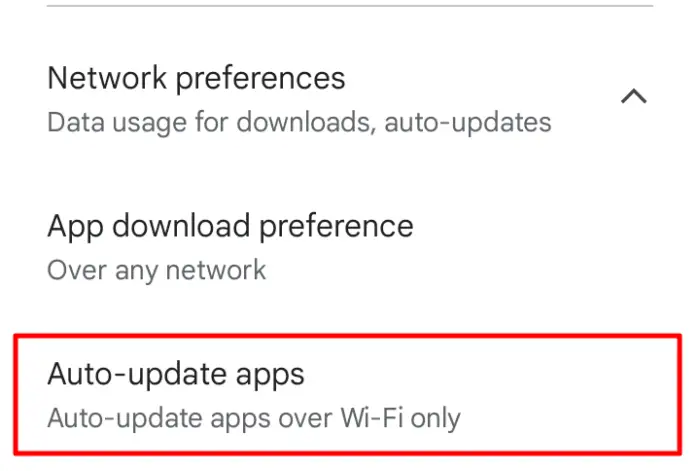
4. Tap on Auto-update apps.
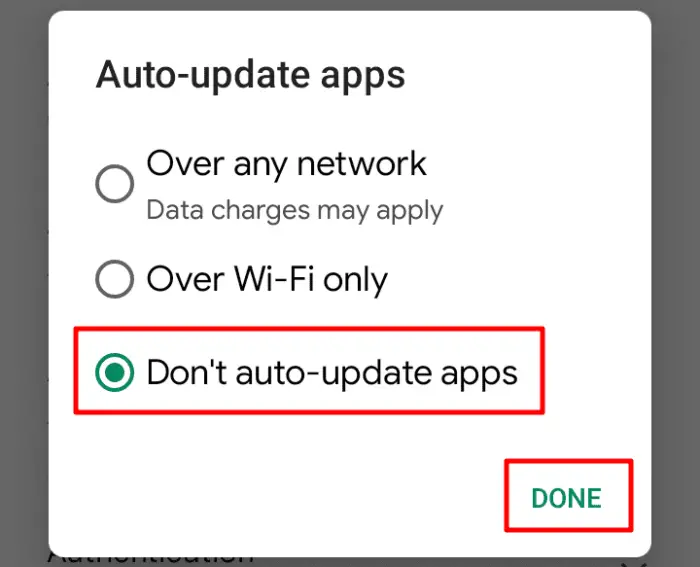
5. Select Don’t auto-update apps and hit Done.
At this point, you might be wondering; if the auto-update is disabled, how can I perform an update?
Apps with auto-update disabled can still be updated manually. Here’s how to do it.
#3 How to perform updates on previously disabled apps
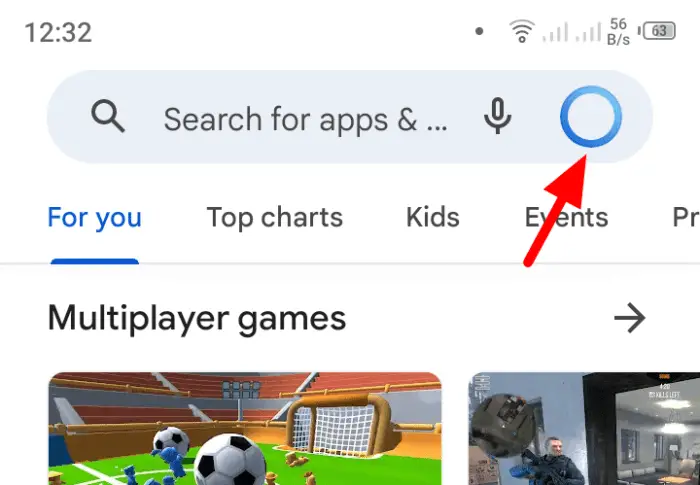
1. Launch Google Play Store and tap on your profile picture.
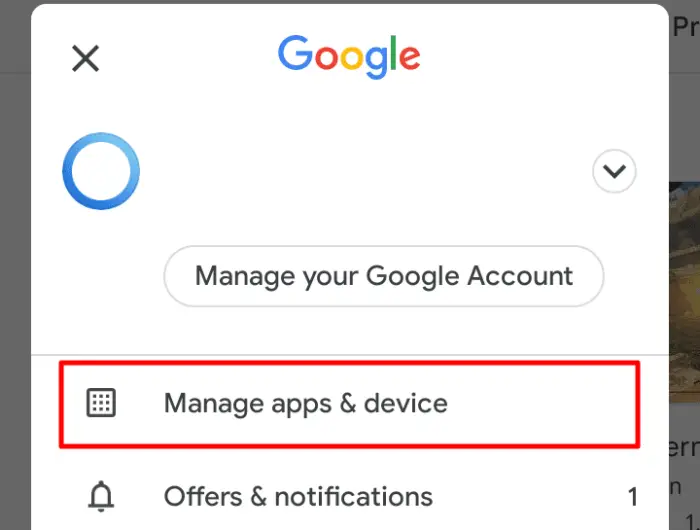
2. Next, select Manage apps & device.
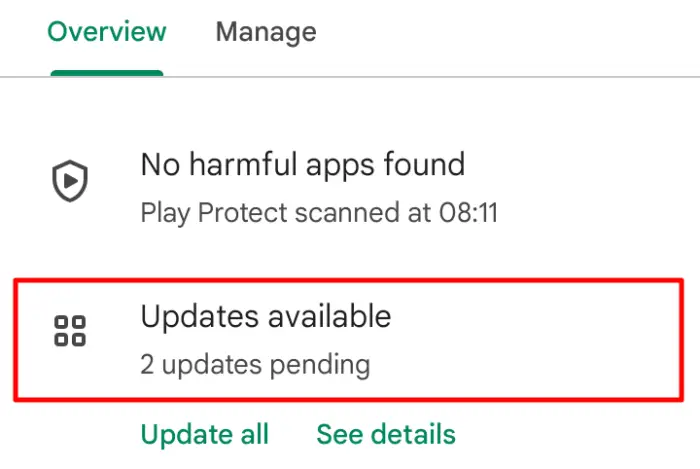
3. Tap the Updates available menu.
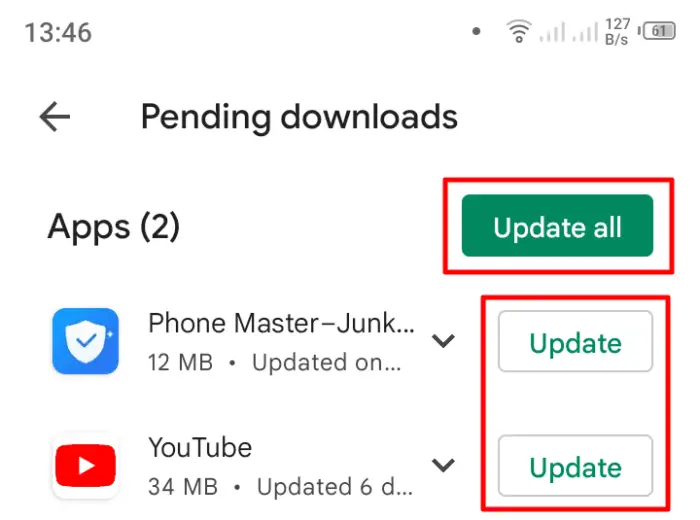
4. You may Update all apps or Update them one by one.
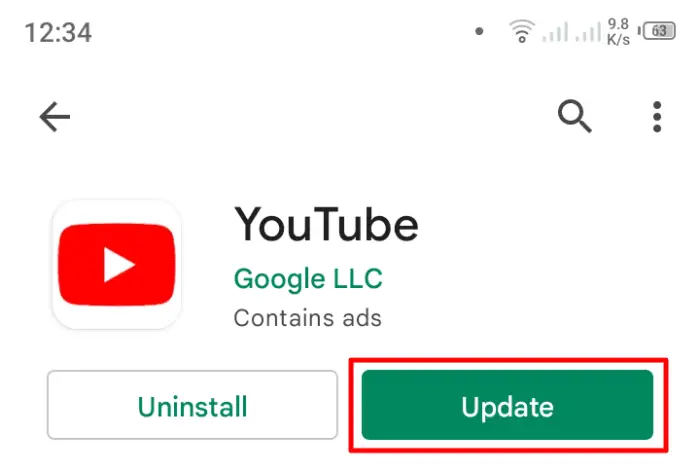
5. Alternatively, you can go to the app page and Update it from there.
While a lot of Android apps can run normally even after years of not being updated, some apps may require you to run the latest version. In any case, it’s always a good practice to keep them performing in their prime condition.


