A 2D screenshot is so easy to make. In fact, this contributes to why nearly all screenshots you saw on the internet are likely to be flat. While it’s fine for showing random stuff, if you want to present something, like a product/app mockup, adding a 3D effect could make you more stand out.
You could use 3D software like Blender, Unity, or Maya to create such an effect. But these options sound overkill and must be complicated for average users. Thankfully, Photoshop lets us get the same illusion in seconds with minimal effort.
I will lead you on how to use Photoshop to create a simple 3D effect on a screenshot. This may not be the exact guide you are looking for, but I’m sure you could learn some basic stuff here.
With that said, let’s get into it!
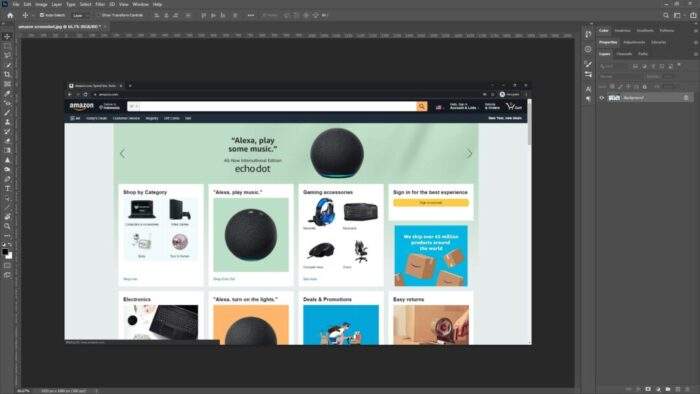
1. Launch Photoshop. Go to File > Open… and select the screenshot file you want to edit.

2. In this example, I’m going to use a screenshot of the Amazon website. Feel free to use any screenshot/picture.
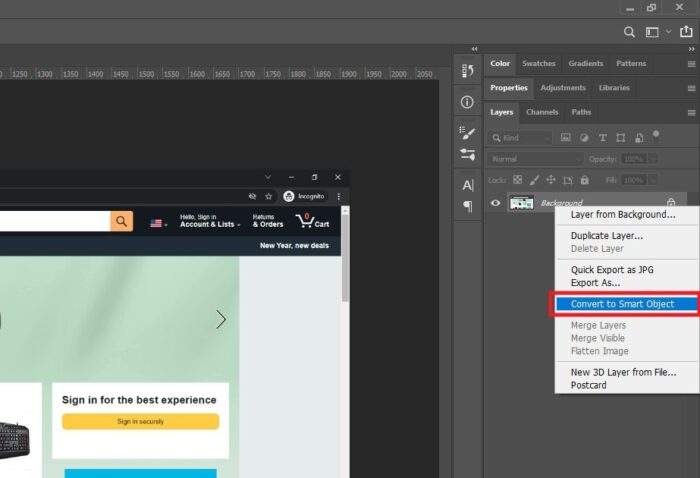
3. Right-click on the Background layer, select Convert to Smart Object.
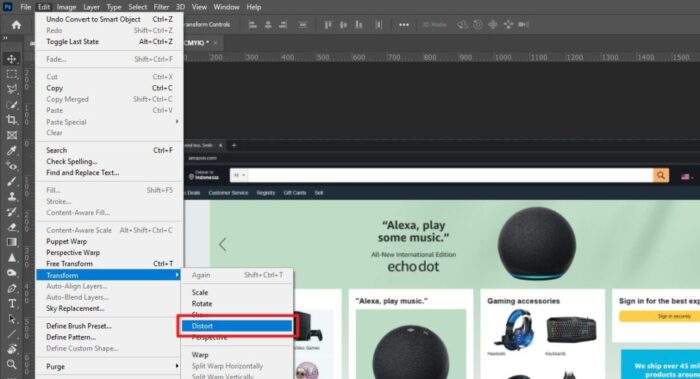
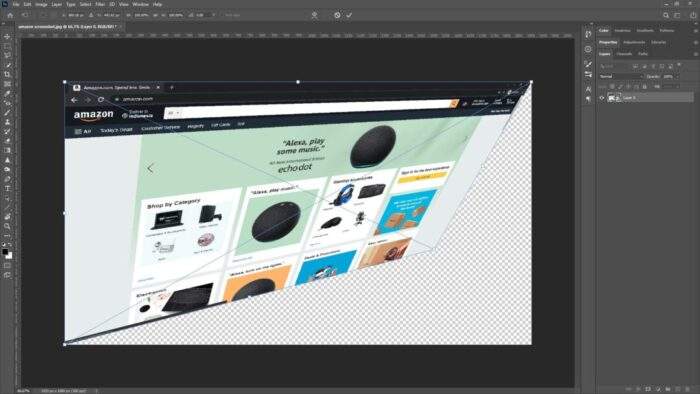
4. Now, go to Edit > Transform > Distort.
5. Drag a point in the corner until you get the desired result.
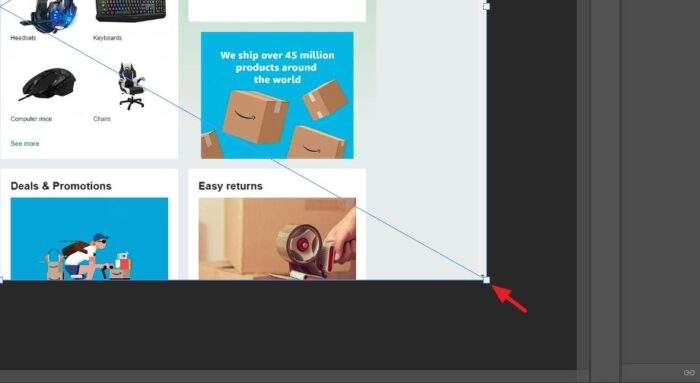
6. At this step we are kind of done. In the next steps, we are going to crop and add a depth effect (optional).
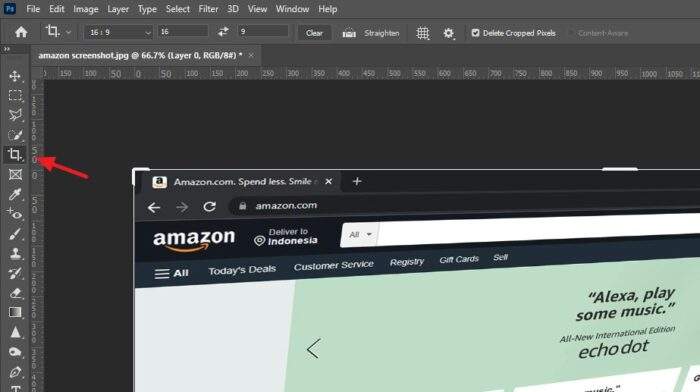
7. Click the Crop tool.
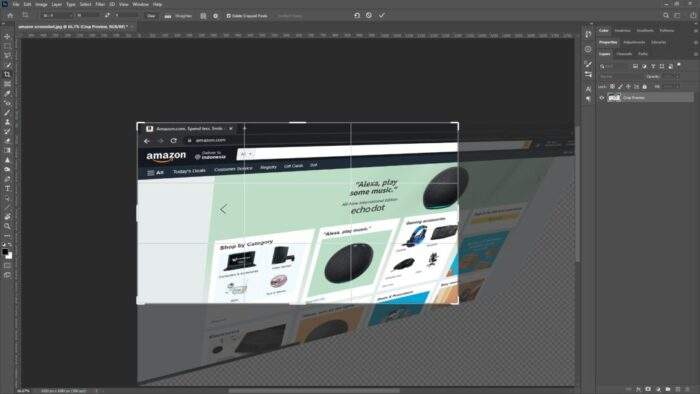
8. I want to crop to the area that actually matters and leave the transparent background from the final picture.
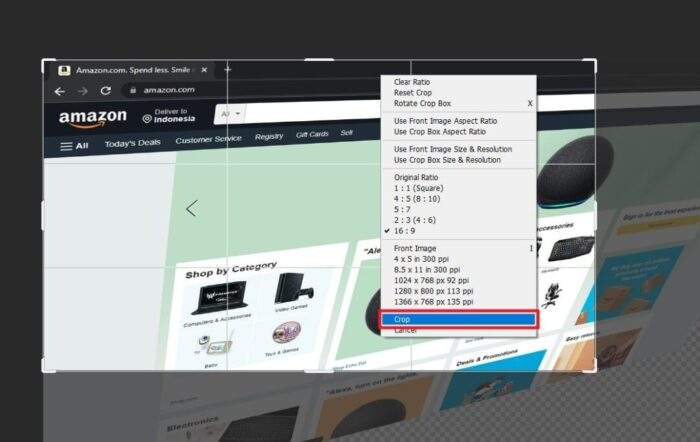
9. Right-click on the picture and select Crop.
10. Lastly, to reinforce the 3D effect, go to Filter > Blur Gallery > Tilt-Shift…
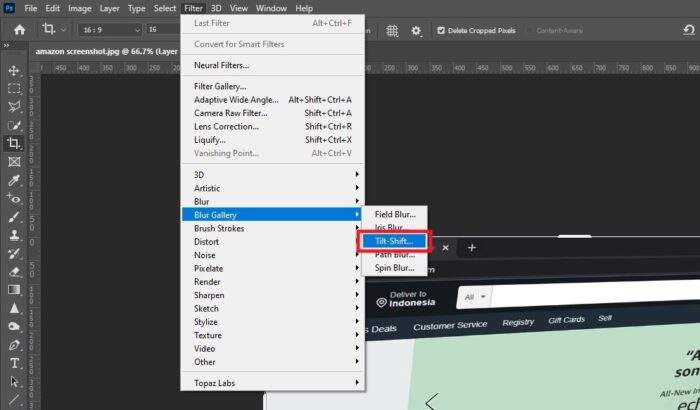
11. In this example, I want to focus on the Amazon logo while the rest is gradually blurred. I cannot explain how to use Tilt-Shift in this article, but I’m sure it’s a very intuitive tool.

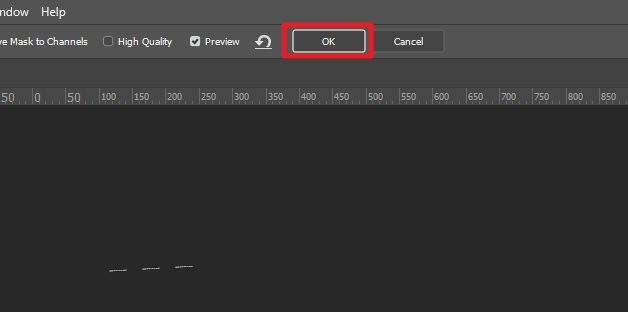
12. When you are happy with the result, click OK.
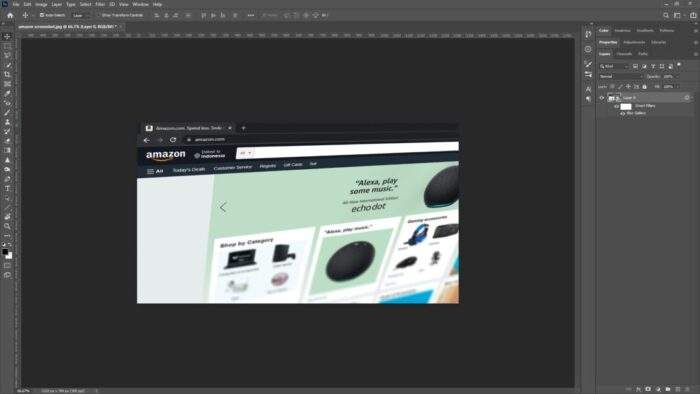
13. And we have created a 3D screenshot.
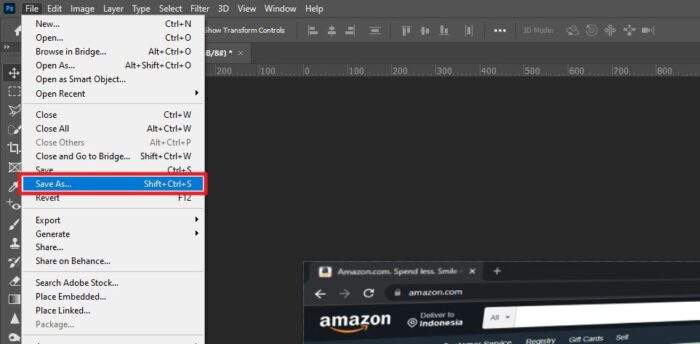
14. You can now save the picture as a new file.
And that’s how to get a simple 3D effect from a 2D screenshot with Photoshop. I hope you learned something today.


