Key takeaways:
- Use Background Remover tool to erase image backgrounds
- Save as PNG format with transparent background option
- Place transparent images on any new background
Getting rid of image backgrounds can be tricky. 🤔
But with Canva’s Background Remover tool, you can create professional-looking transparent images in seconds! 🎨
Table of Contents
How to Remove Image Backgrounds in Canva Pro 🎯
Step 1: Select Your Image
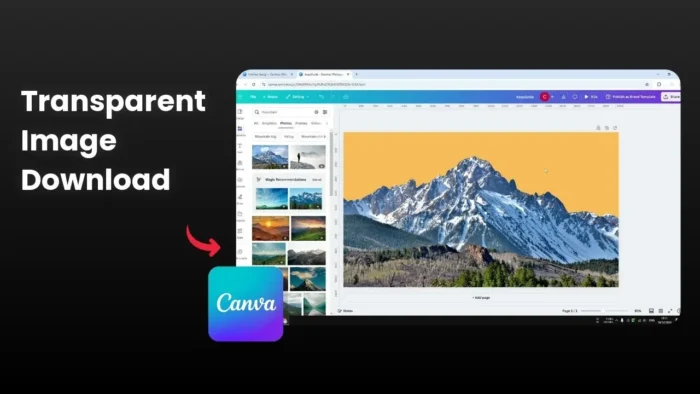
Upload your image or choose one from Canva’s library. I’ll show you using a snowy mountain photo as an example.
Step 2: Remove the Background
Click the Background Remover tool in the editor menu. The AI will automatically remove the background.
Making Your Image Transparent for Download ✨
Choose the Right Format
Go to Share > Download and select PNG format – this is crucial for keeping transparency.
Enable Transparency
Check the “Transparent background” option before downloading (requires Canva Pro).
Cool Things You Can Do with Transparent Images 🖼️
Add New Backgrounds
- Place your transparent image on any background
- Try different colors and patterns
- Add sunset skies or other scenic backgrounds
FAQs
Why can’t I see the transparent background?
When previewing, you might see a white or checkered background – this is normal. The transparency will work when placed on other backgrounds.
Which file format should I use?
Always choose PNG format when downloading transparent images.
Do I need Canva Pro for this?
Yes, the Background Remover and transparent background download options need Canva Pro.
Can I edit the transparency after removing the background?
Yes, you can adjust transparency levels in Canva’s editor.
Will I lose image quality when making it transparent?
No, PNG format maintains image quality while supporting transparency.
Credit: https://www.youtube.com/watch?v=Ar26QIkQTNE

