Key takeaways:
- Click and drag corner points to zoom in on specific areas 🎯
- Zoom out Canva interface first for more working space 🔍
- Lock video position to avoid accidental changes ⚡
Getting close-up shots in your videos makes them more engaging. While Canva may not be the most advanced video editor, you can still create nice zoom effects with a few simple clicks.
Table of Contents
How to Zoom In on Specific Video Areas 🎥
Step 1: Create Your Workspace
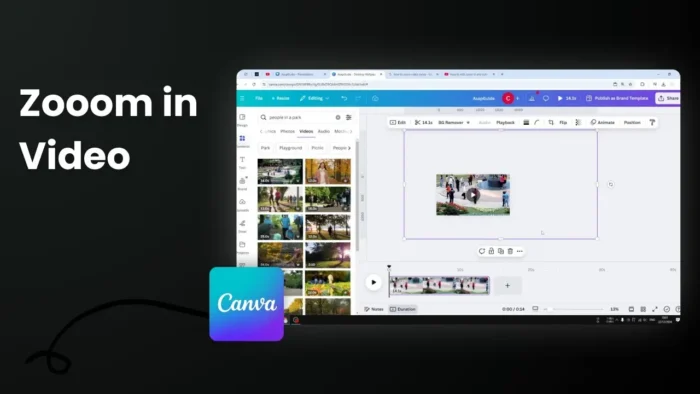
First, zoom out the Canva interface. This gives you more room to adjust your video frame.
Step 2: Adjust the Frame Size
- Click any of the four corner points around your video
- Drag to resize until you frame your target area
- Make sure your subject stays visible in the frame
Step 3: Fine-tune and Lock
After getting the perfect zoom:
- Crop excess areas for clean edges
- Lock the video layer to prevent accidents
- Check the final result
Things to Keep in Mind When Zooming 🤔
Watch the Video Quality
The more you zoom in, the more pixelation you’ll see. Keep the zoom level reasonable to maintain good quality.
Compare Before and After
Take a moment to check:
- Original wide shot
- Zoomed-in version
- Overall video flow
Pro Tips for Better Results ✨
- Start with high-quality source videos
- Test different zoom levels
- Lock layers after editing
- Preview before finalizing
FAQs
Can I zoom in and out during the video?
Yes, but you’ll need to split your video into sections and apply different zoom levels to each part.
Will zooming affect my video quality?
Yes, excessive zooming can cause pixelation. Stay within reasonable zoom levels.
Can I undo a zoom if I don’t like it?
Yes, simply reset the corner points to their original position or use the undo function.
Does Canva Pro offer better zoom features?
The zoom feature works the same in both free and Pro versions.
Can I save my zoom settings as a template?
No, you’ll need to adjust zoom settings for each video individually.

