Many Photoshop users rely on the foreground color and background color combinations to create their own gradient palette. They may pick from the pre-made color palette available on the program but that would limit our creativity.
Luckily, we are not stuck there. You can create your own gradient with more than two colors, whether it’s three, four, or even ten. It’s also possible to change the location, angle, and transparency level as well. Let’s see the guide below!
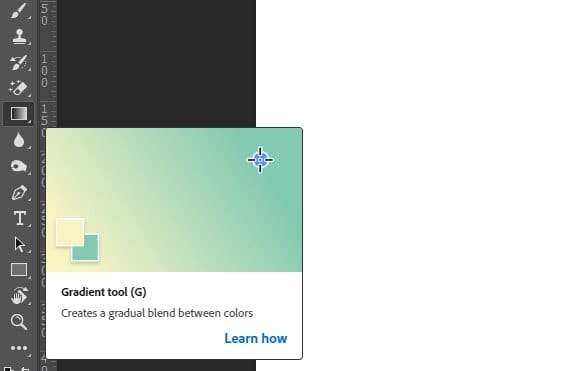
1. Enable Gradient tool (G) first.
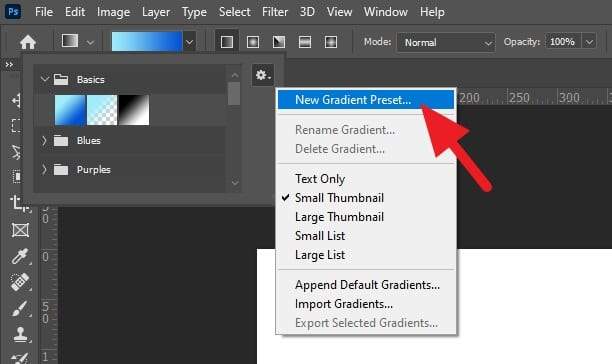
2. Under the Gradient menu, click on the gear icon, and select New Gradient Preset…
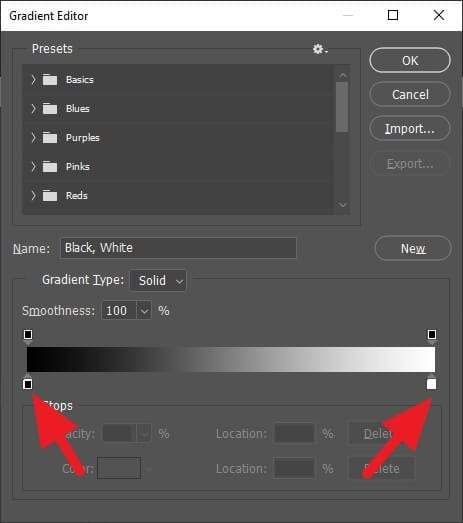
3. Click on these dots to change the color. They will dictate the color of your new gradient.
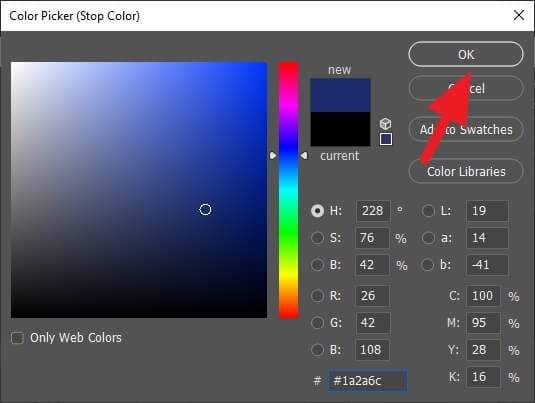
4. Select the color and click OK.
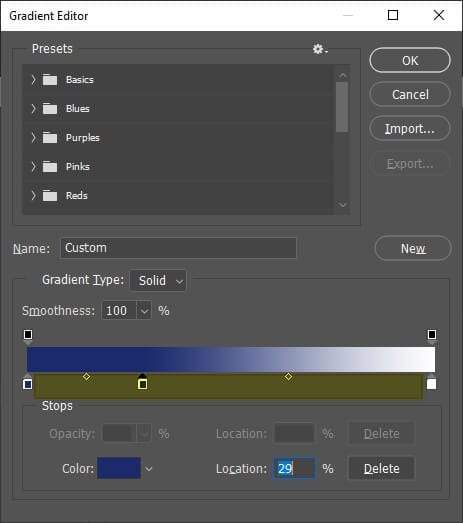
5. To add more dots, click on the area I highlighted in yellow. You can add as many dots as you need.
6. When done, give the gradient a new name and hit New.
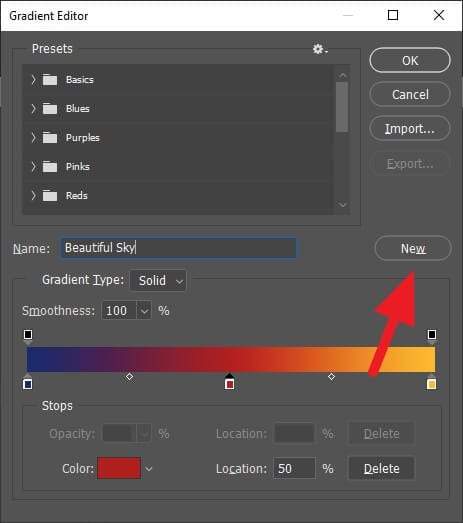
7. The new gradient has been saved. Click OK.
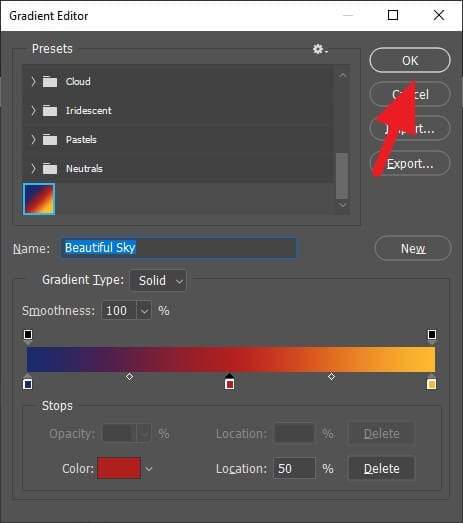
8. Now it’s ready to use.
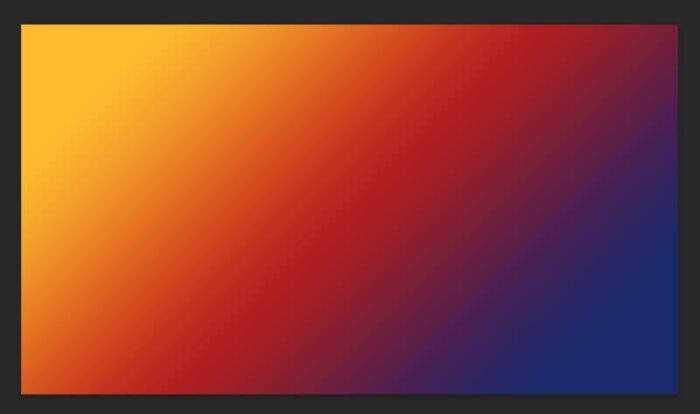
There are handful of modifications possible with gradient in Photoshop. You can have multiple gradient angles, different level of transparency, scale, and even adding the effect on top of another image. But unfortunately these tips are beyond the scope of this article.
To make a gradient effect look more appealing, try using colors curated by professionals. Check them out on uiGradients, WebGradients, and Gradient Hunt.


