It sucks when you just realized the page you just created in Microsoft Word is in the wrong order and doesn’t make sense in a reading flow.
Luckily, you don’t have to delete the page’s content and write it down again from the beginning. There are at least two methods that could help you to reorder the page to its proper location.
In the following guides, you will learn how to change page order in Microsoft Word. These guides are relevant to all modern software versions with only small interface differences.
#1 Reorder page with cutting and pasting
The basic way to reorder page in the Word document is surprisingly using a cutting and pasting method — something that most people already know.
1. Put the cursor at the beginning of the page you want to move.
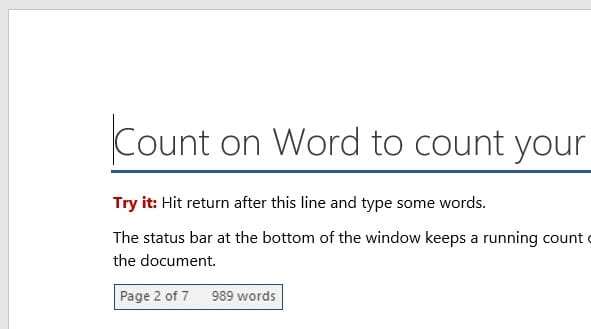
2. Use Shift+Arrow Down to select the entire content. You can use your mouse or other shortcuts, but Shift+Arrow Down is probably the fastest method.
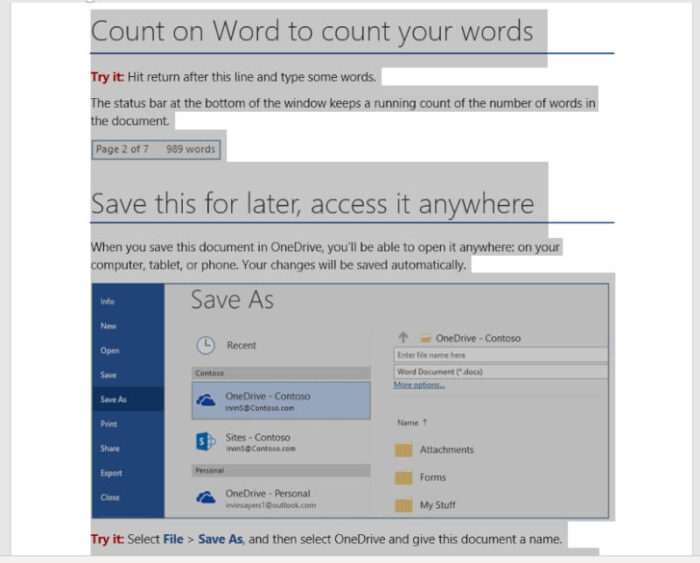
3. Right-click on the content and select Cut or press Ctrl+X.

4. Create a new blank page, right-click on it and Paste or press Ctrl+V.
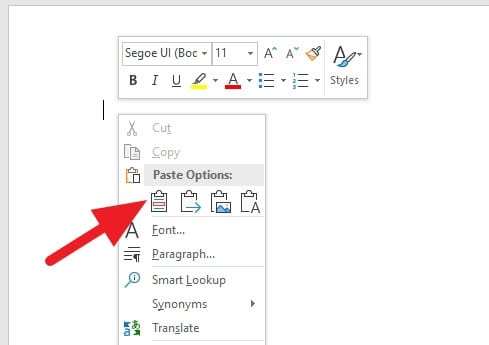
5. Now the page is in its new place.
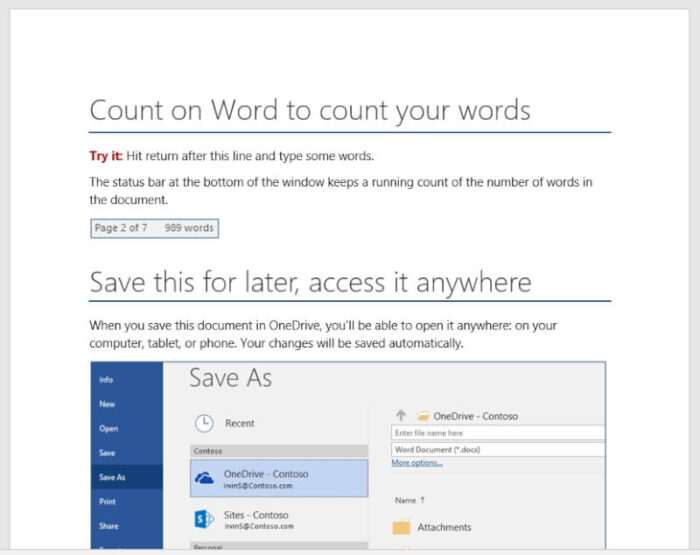
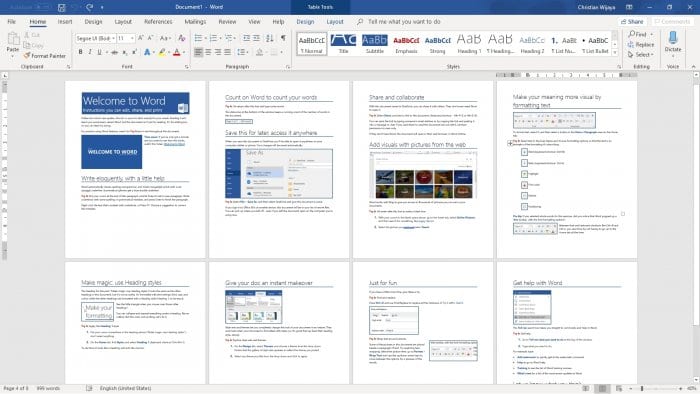
QUICK TIPS: Zoom out the screen by using Ctrl+Mouse Scroll Down in order to see multiple pages at once.
#2 Reorder page using Headings
This method only works if you have a heading for each page. That way, if the heading is moved, the rest will follow.
1. Go to the View menu.
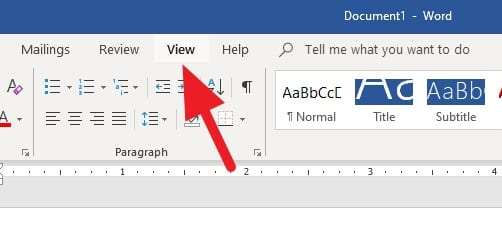
2. Check on Navigation Pane.
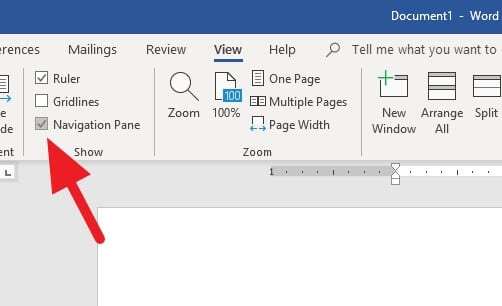
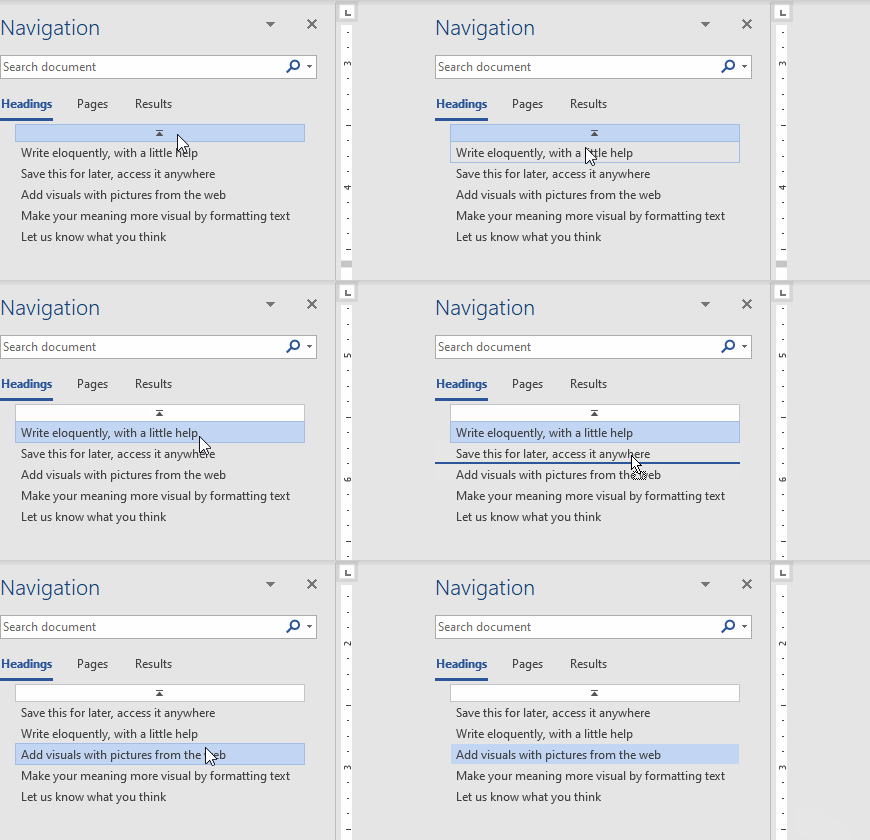
3. Drag and drop the heading to the place you want.
QUICK TIPS: You can set a heading by selecting the text > go to Home > choose the heading style from the Styles section.
After changing the page order, it’s best to ensure you don’t mess up the whole document. Sometimes, the new page has more lines which can affect the other pages below it.

