With online apps getting more sophisticated than ever, now it’s possible to get rid of conventional programs and start using their web-based counterpart instead. For instance, online meeting services like Zoom and Meet may grab your microphone right from their website, with no need to use their own dedicated app.
To make it happen, the website has to be able to communicate with the hardware. In this instance, Chrome sets a barrier preventing the website from using your microphone immediately. This move is made in the spirit of protecting your privacy from malicious websites that could start recording without your knowledge.
So, to allow a website to access your microphone, there are a few steps you have to follow. Glide down to see those steps!
1. Open the website to which you want to give microphone permission.
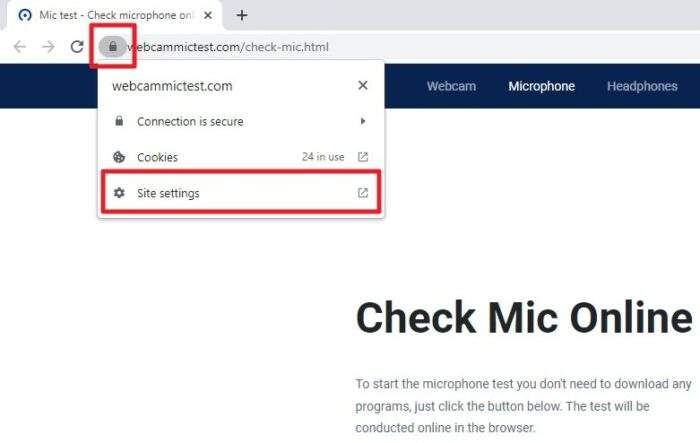
2. Click the padlock icon on the address bar. Then select Site settings.
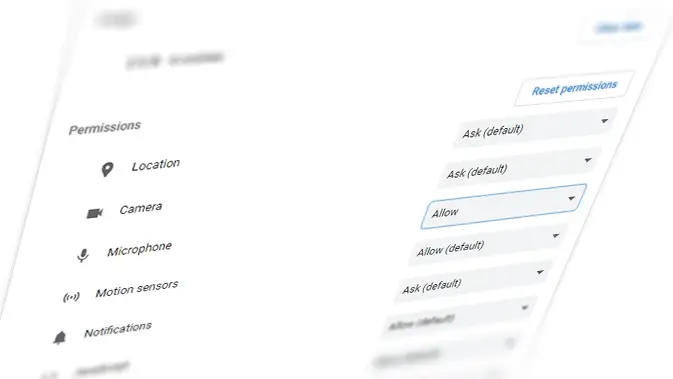
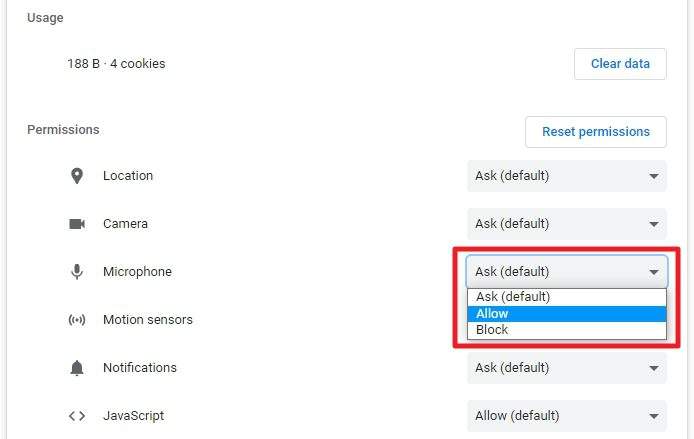
3. A new tab will appear. Set the Microphone permission status to Allow.
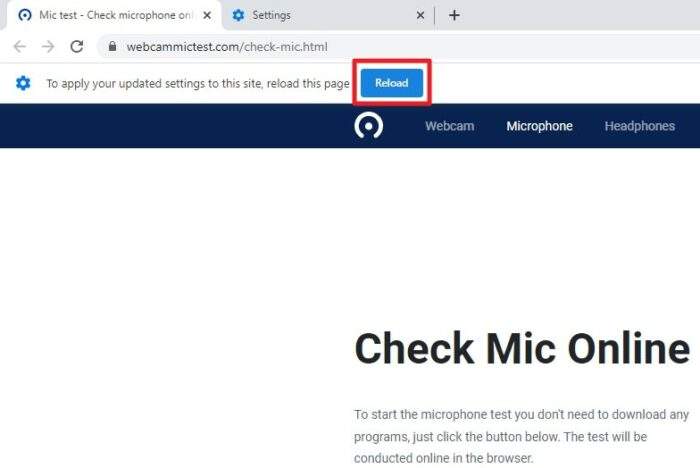
4. Now, go back to the website. You may click the Reload button to apply the setting.
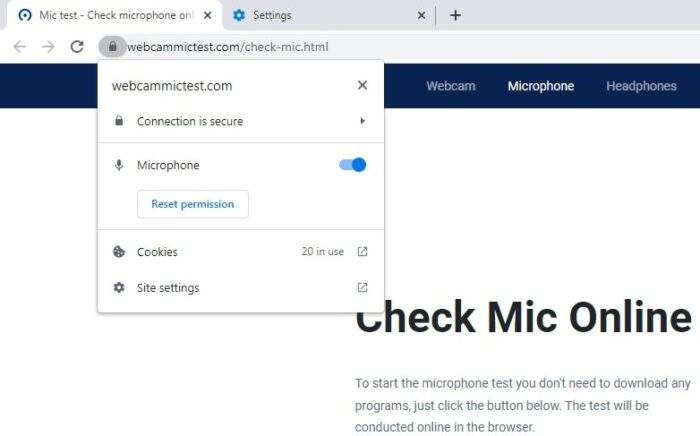
5. After that, the website should be able to utilize the microphone. You may block its access at any time via the padlock menu.
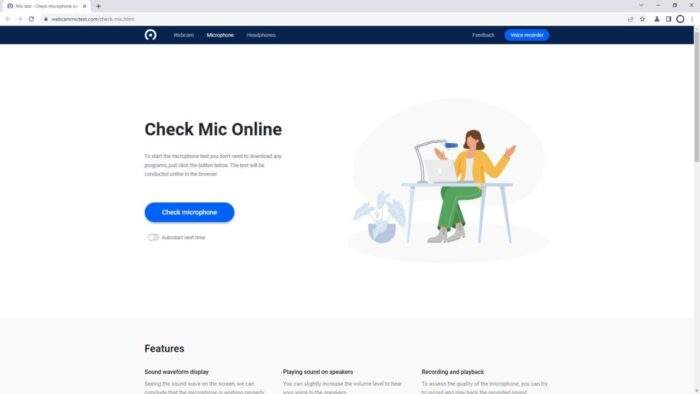
Additionally, some websites may automatically give you a prompt notification to allow (or block) microphone access. In this example, a microphone testing tool will immediately ask for my permission before using their service. Normally, I only need to press the “Allow” button to make it work.

This kind of permission isn’t limited to just the microphone. Other hardware like camera, motion sensors, USB devices, MIDI devices, and many more can be used by any website as long as you grant access to them.
As a tip, just be sure you are not visiting some shady websites, especially the ones without a padlock symbol.

