For many years, Chromebook owners have had to rely on a third-party app to record the monitor screen. But thanks to the Chrome OS 89 update in 2021, the platform now comes with a somewhat basic screen recording feature that a lot of users can rely on.
The new tool is situated on the same layer with the screenshot function, meaning screen recording is just as easy as taking a screenshot. But in case you are still new, check out the guide below to take advantage of the Chromebook screen recording feature.
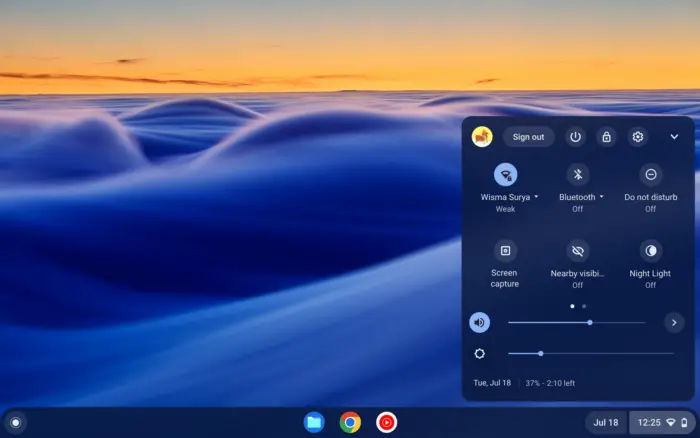
1. Tap the clock and select Screen capture (alternatively, you can press Ctrl + Shift + box icon key).
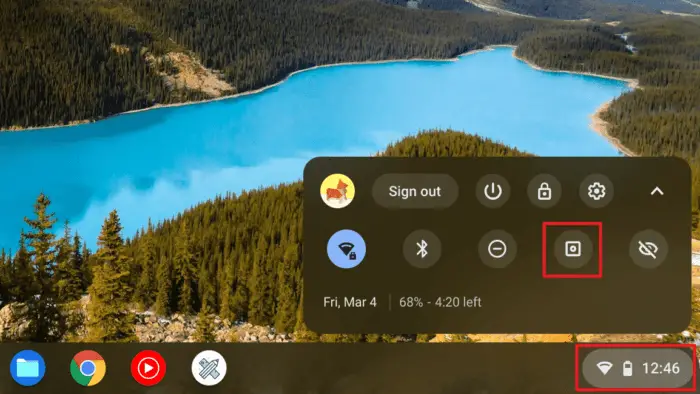

2. A new overlay will appear, select Screen record.
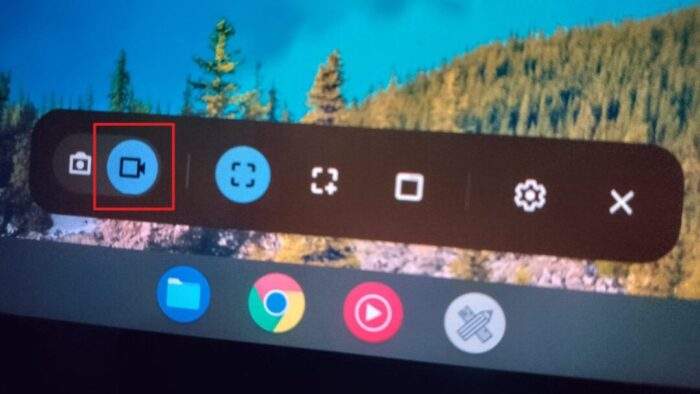

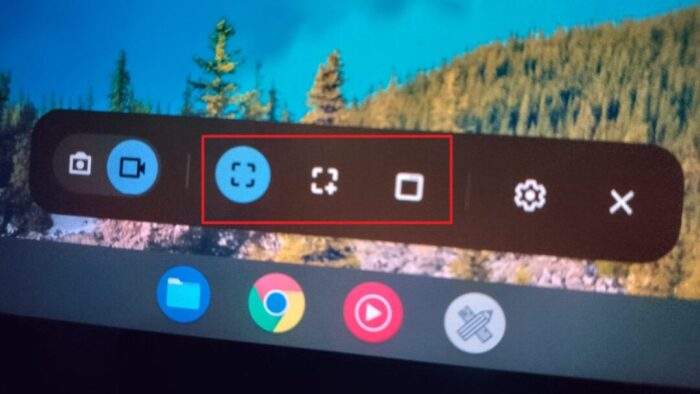
3. And then choose the recording type. It offers full-screen recording, partial recording, and a window record.

4. If you want to record your voice as well, navigate to Settings > Record microphone.
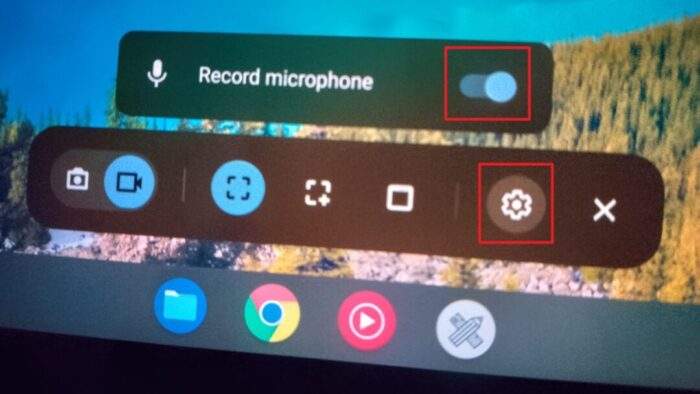

5. Tap anywhere outside the panel to start recording. When you have done, click the Stop screen recording button on the Shelf.
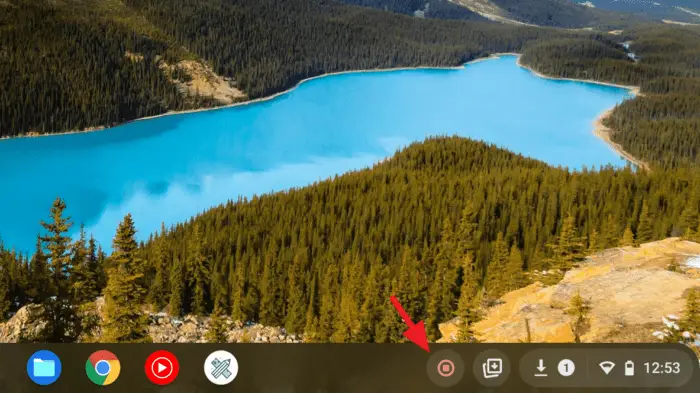

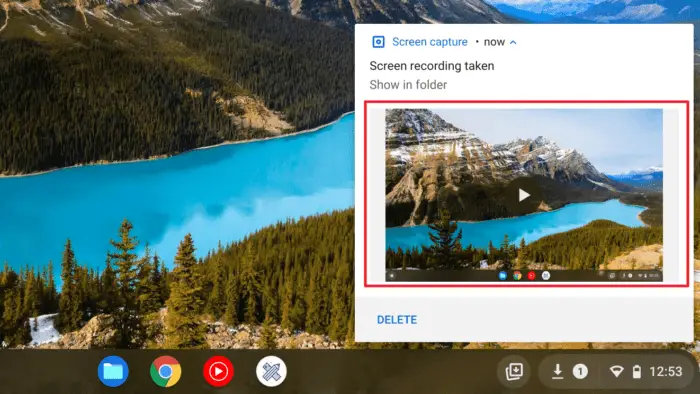
6. The video preview would appear right away. Tap on it to see the result.

7. The recorded video is located under the Videos folder.
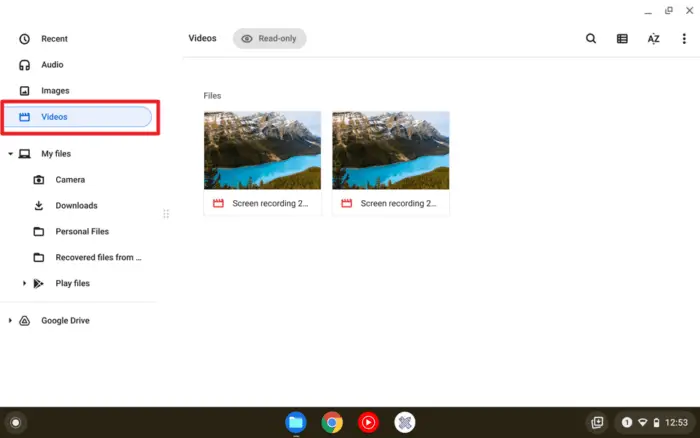

The final video is compressed in a space-efficient format, WEBM. This format is designed for web use as it can store high-quality pictures while being relatively small. Unfortunately, WEBM is not yet widely supported on many video editor apps.
You may need to convert it into something more common like MP4 or try a third-party screen recorder like Screencastify as it has a free option and is designed to work around Chrome.

![How to View Saved Passwords on Chromebook - How to View Saved Passwords on Chromebook [3 Methods] 20 How to View Saved Passwords on Chromebook [3 Methods]](https://asapguide.com/wp-content/uploads/2023/12/How-to-View-Saved-Passwords-on-Chromebook-700x438.png)
