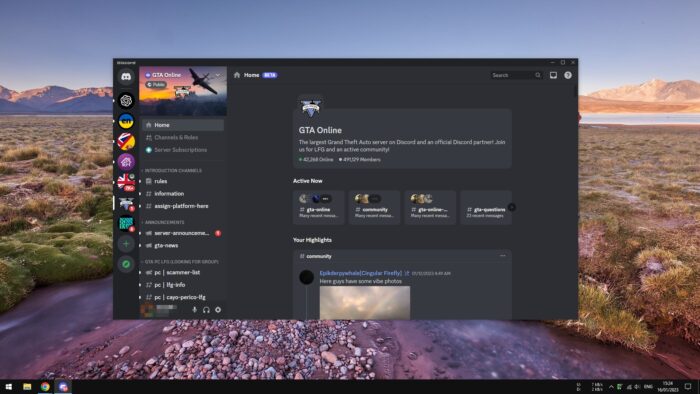
The 12-hour format which ends with either AM or PM is quite popular in the US. However, for the rest of the world, the 24-hour format is mostly preferred especially as it seems much easier to measure time beyond noon. As Windows 10 is an operating system made by a US company, its time setting is set to 12-hour by default.
To fix that, we can manually switch from 12-hour to 24-hour in an instant, without recalibrating the internal clock again, thanks to the internet-based clock synchronization.
Follow these steps to enable 24-hour format on Windows 10.
1. Click the clock on the right side of Taskbar, and hit Date and time settings.
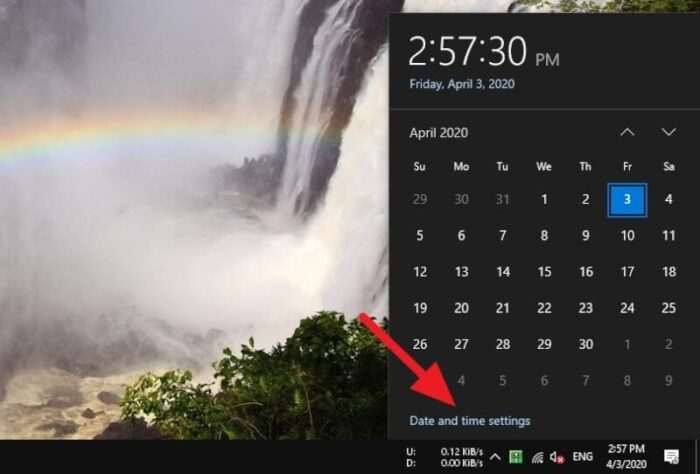
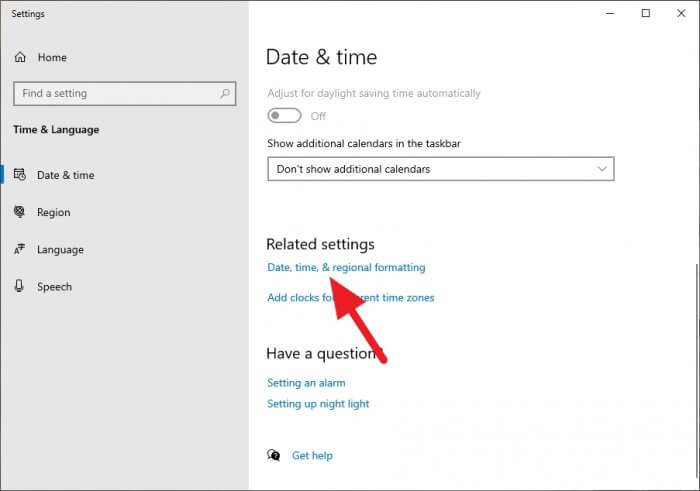
2. Next, select Date, time & regional formatting.
3. Scroll down and click Change data formats.
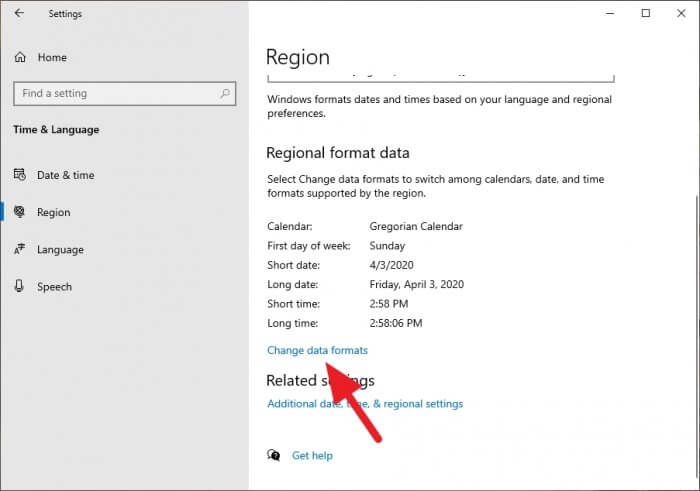
4. Under the Short time and Long time settings, select the one that doesn’t have AM and PM.
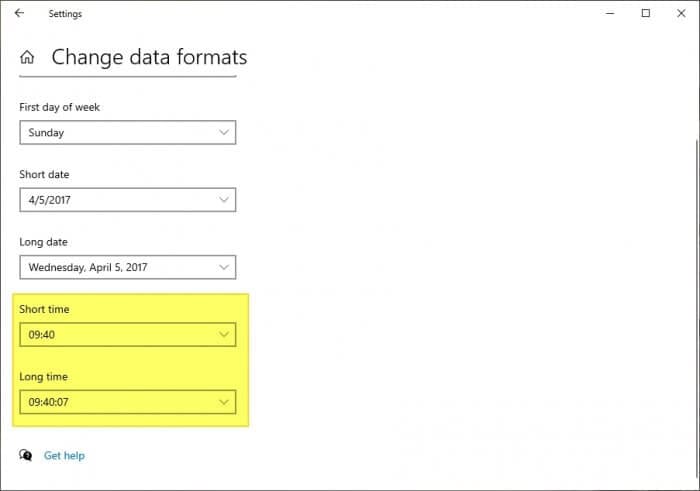
5. The settings will be applied instantly.
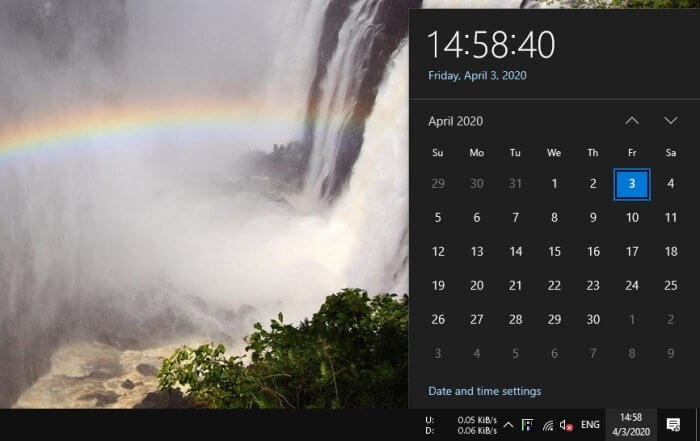
On top of the clock format, you can also change the first day of the week, short date, and long date to the time format you prefer the most.
Why Consider the 24-Hour Format?
Switching to the 24-hour clock format offers more than just a change in appearance. It eliminates the ambiguity of AM and PM, making timekeeping straightforward and globally consistent. This is particularly beneficial for international travelers, professionals coordinating across time zones, and industries like broadcasting or emergency services. The simplicity of knowing that 20:00 is always evening can save you from scheduling mishaps.
Tips for a Smooth Transition
- Practice Daily: Familiarize yourself by mentally converting times throughout the day.
- Use Digital Clocks: Set all your devices to the 24-hour format to reinforce the habit.
- Analog Adjustment: If you use an analog clock, visualize the time in 24-hour terms to ease adaptation.
Switching formats may feel unusual at first, but with consistent use, it becomes second nature. Ready to make the change? Follow the steps above and enjoy a more efficient way of telling time!

