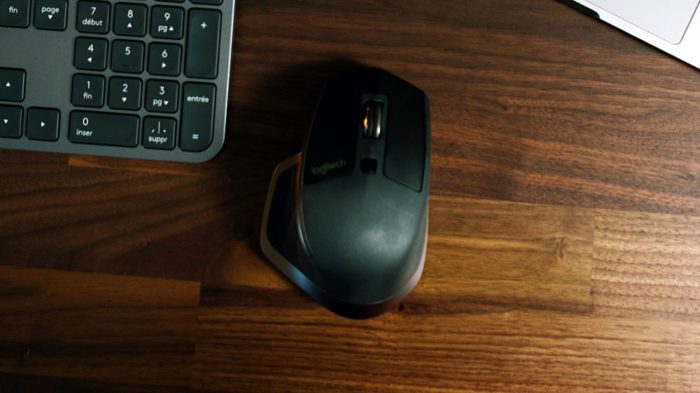
A common problem when a laptop user connecting a mouse to their device is the fact that the touchpad remains active which could lead to unintentional click and movement. This often happens when typing on the device’s keyboard.
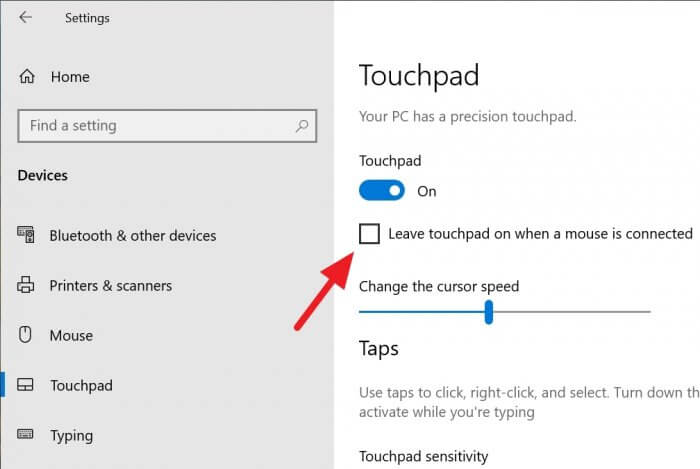
Fortunately, there is a way to disable the touchpad to avoid that problem from ever happening again. Even better, the touchpad settings on Windows 10 detect if a mouse is present and will automatically disable the touchpad temporarily.
And here is how you can enable that setting.
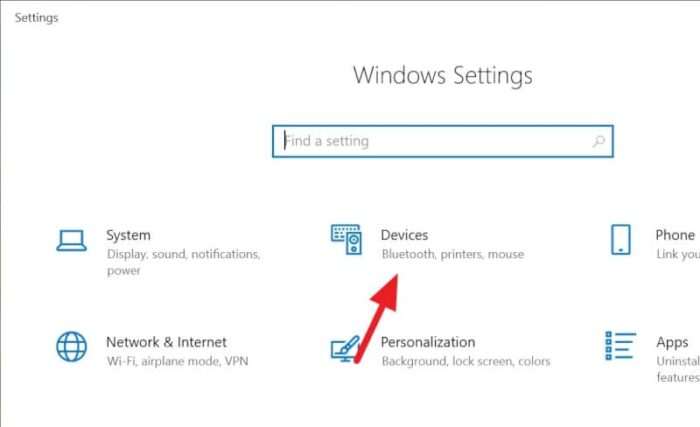
1. Launch Start, and click Settings (or press Windows+I for quicker access)

2. Then, navigate to Devices.
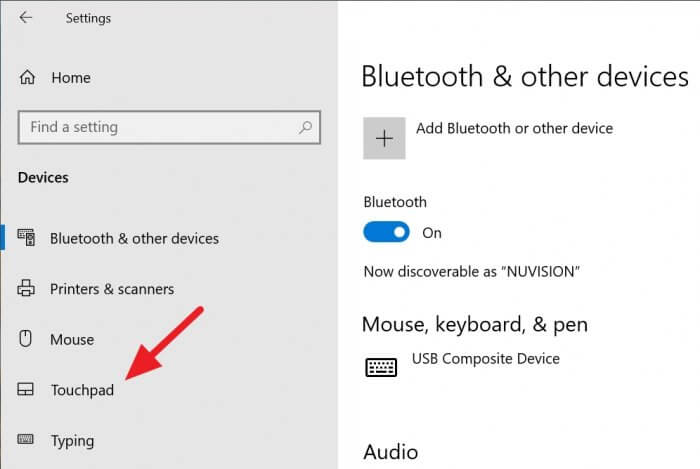
3. On the left panel, go to the Touchpad menu. This menu should exist on a device with a built-in touchpad.
4. Uncheck the Leave touchpad on when a mouse is connected option.
5. Done. Now you can try to connect the mouse to see how it going to work.

The touchpad will back online if the mouse is disconnected. If you wish, you can also disable touchpad entirely in case you prefer using a mouse or touchscreen display.

