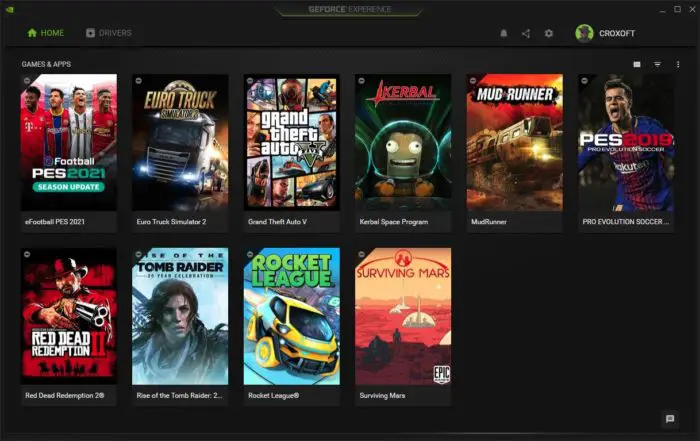
GeForce Experience is software made by Nvidia that dedicated all its capability to optimize gaming performances on the computer.
This driver-based software is commonly used for computers with high-end gaming graphics cards like GTX and RTX series.
However, not all PC users are looking for a gaming experience, thus having GeForce Experience running in the background might not be necessary. Also, the program running in the system background can be detrimental for low-spec machines.
Here is the guide to disable the GeForce Experience feature so it would not slow down your startup and consume memory.
Table of Contents
#1 Disable Nvidia GeForce Experience from Startup settings
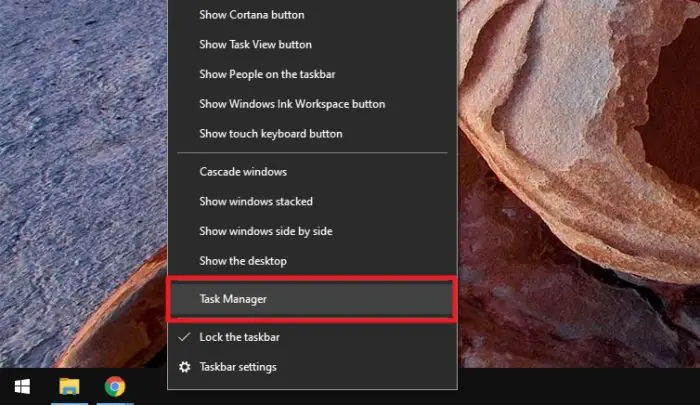

Windows 10 and Windows 8:
- Right-click on the Taskbar
- Select Task Manager
- Go to Startup tab
- Locate the Nvidia GeForce Experience
- Click Disable and then restart the computer
Windows 7 and Windows Vista:
- Open Start Menu
- Type “ms config” (without quote)
- Run that program
- Go to Startup tab
- Locate the Nvidia GeForce Experience
- Click Disable and then restart the machine
Note: Some GeForce drivers may not be shown on the Startup list. Therefore, this option might not work for everyone.
#2 Uninstall the GeForce Experience from Control Panel
The GeForce Experience is designed to enhance video game performance and satisfy users with gaming-related features. However, you can remove the program if you are not using the computer for the game.
Don’t worry, removing GeForce Experience will not interfere with the graphics card and should be working fine.
1. To uninstall GeForce Experience, launch the Start menu, then type “Control Panel” and open that program.
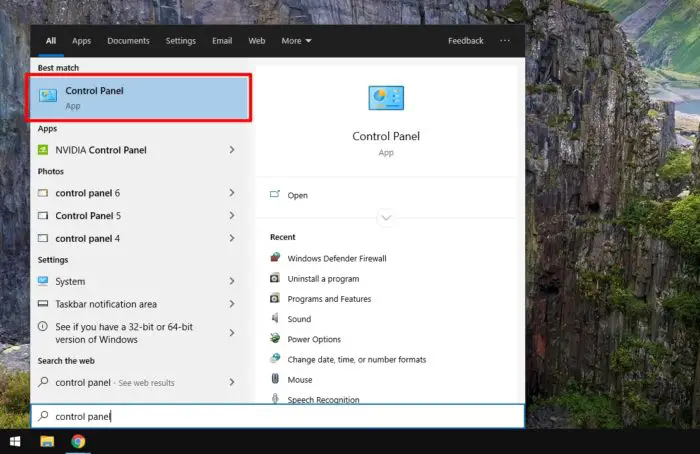

2. Now, select the Uninstall a program option.


3. Locate the Nvidia GeForce Experience and click Uninstall.


4. Once the Nvidia Uninstaller window shows up, click Uninstall.


5. Wait until finished and you can Close the box.


The software will be removed from the startup list without restarting the machine.
Again, the driver and all other features of the GPU will work properly even without GeForce. If you changed your mind, you can always download the GeForce Experience software here.
#3 Disable GeForce Experience from System Configuration
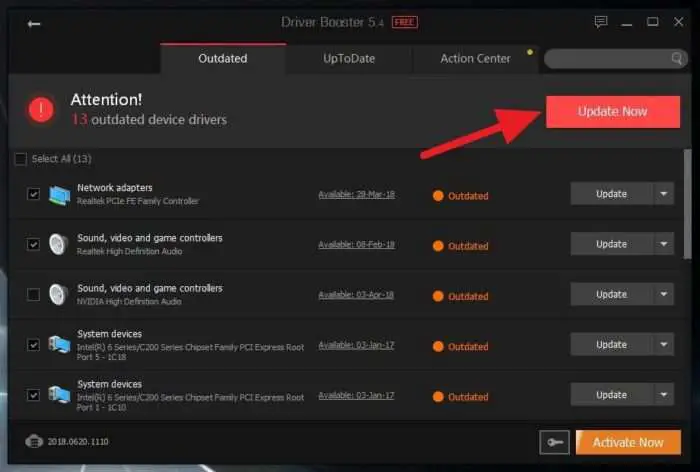
This action will disable the graphics card driver’s service as well. The device should be working fine, but you won’t get any update notifications in the future. You can always update the driver manually or using Driver Booster.
1. First, launch the Start Menu, type “services.msc” (without quote), and open the program.
2. You will see hundreds of items on the list. Locate the NVIDIA Display Container LS, right-click on it, and select Properties.


3. On the Startup type, select Disabled (or you can choose Manual either), then click Apply and OK.


4. Restart the computer to see the effect.
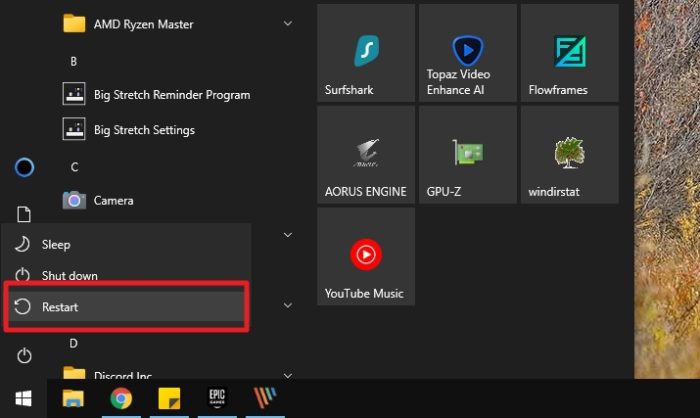

If you changed your mind, you can revert the setting to Automatic, and the program will continue to run as it was. You also can open the program manually through the installed app list.
The GeForce Experience is a part of the Nvidia driver, but you have a choice to not install it. When you run a bulk driver update, be sure to untick any boxes titled “GeForce Experience” or “Game Ready Driver” so they won’t get installed.



what year was this written because it is seriously out of date lol
yeah but still works lol
Bir sorunu çözmenin en iyi yolu nedenini yok etmektir. -Martin Luther King
No it doesn’t ‘stll works’ …. and it ain’t funny at all. Even as of 2016 with v. 372.70 it is part of the actual main driver. You can stop the process but it creates massive lags\stalls and your firewall will scream every time about it…until you unblock it of course. But from what I can see, blocking in win firewall or other fw from accessing the internet works. But only after you change ‘Ownership’ permissions on the actual exe file to another user with admin rights.
Haven’t fully regressive tested this yet.