If you’re an Android user and recently switched to a Chromebook, you might be wondering how to transfer your photos from your phone to your new device. Fortunately, as both platforms are pretty much made by the same company, sharing data between devices is an extremely easy endeavor.
There are a few different ways to do it, and in this post, I’ll show the easiest method which is by utilizing a new feature called Nearby Share.
Once Nearby Share is turned on, you can share content with other devices that are, well, nearby without limit. But first, let me give you an overview of what Nearby Share is and why you should use it.
Table of Contents
Nearby Share is Android’s answer to effortless file sharing without cable. It’s a feature that allows you to quickly and securely send files between Android and Chromebook devices in close proximity.
It uses direct WiFi and Bluetooth connections so it’s guaranteed to be fast and won’t drain your precious internet data plan.
In a way, this is similar to the ShareIt app that has been popular for quite some time in the past. Nearby Share is already bundled in Android and ChromeOS, and it’s a lot more reliable than most file-sharing apps.
If you are a first-time Chromebook owner, there is a good chance that Nearby Share on the device is not set up yet. Here’s how to set up the feature so you can start receiving files from other Android devices.
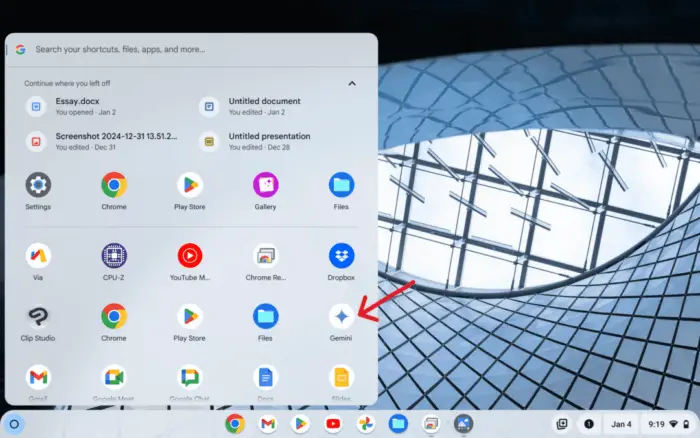
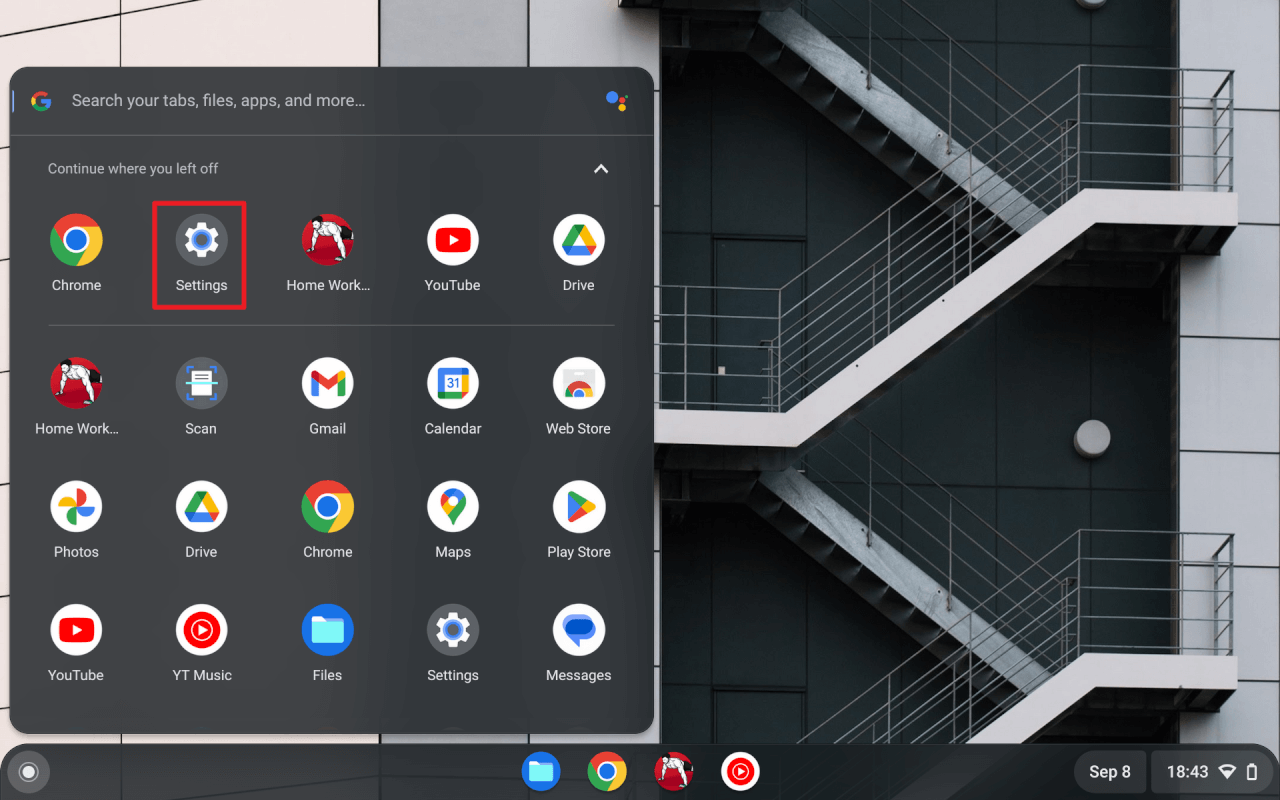
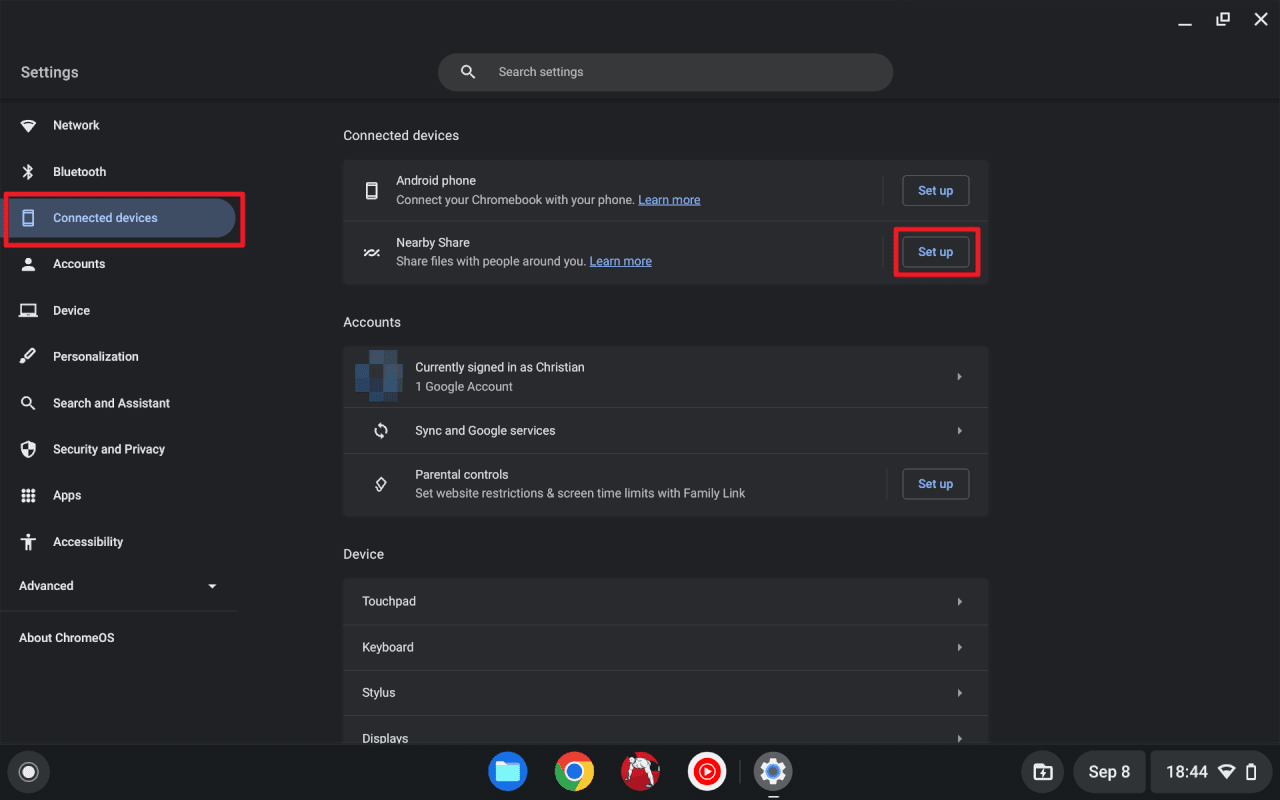
1. Open the Launcher menu on your Chromebook and then select Settings.
2. Go to Connected devices, and on the Nearby Share section, click Set up.
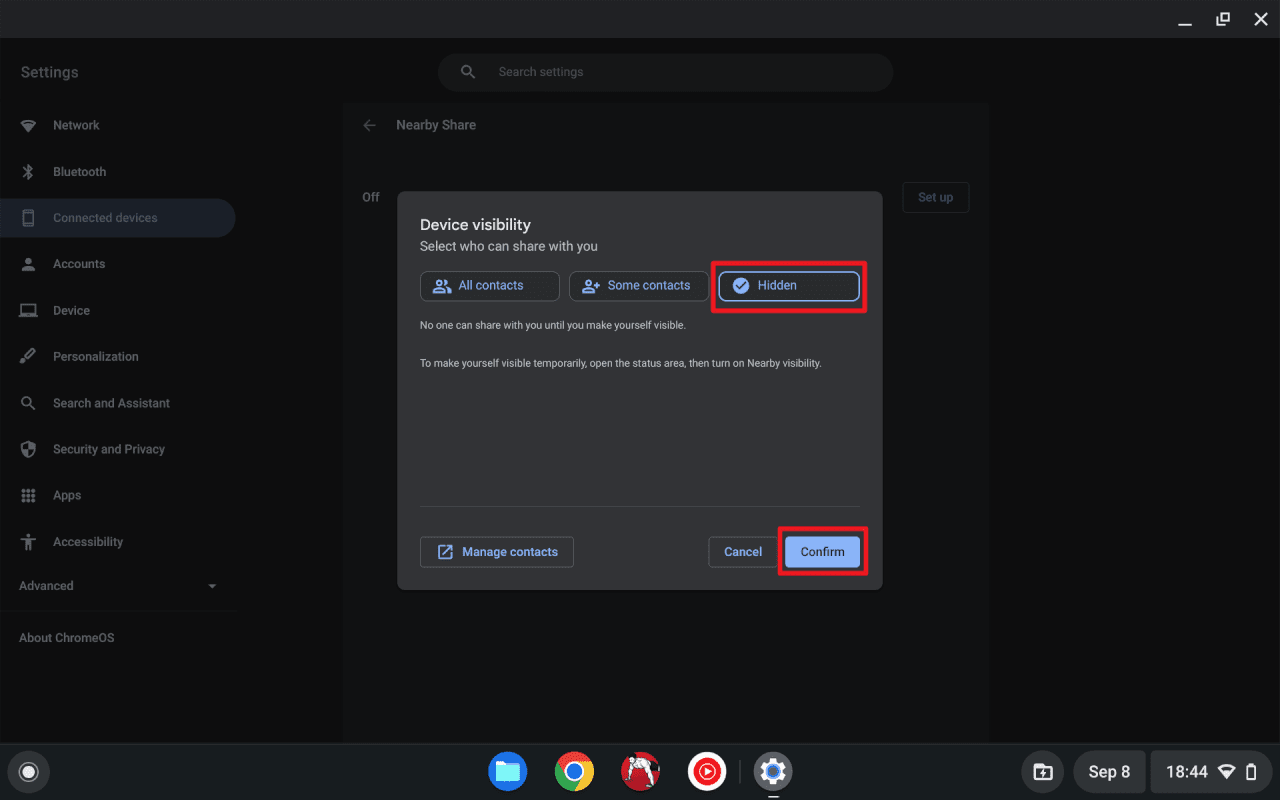
3. Here, you can set up the device name and Device visibility. Personally, I’d like to keep it Hidden, but you can always make it visible to everyone later. Then click Confirm.
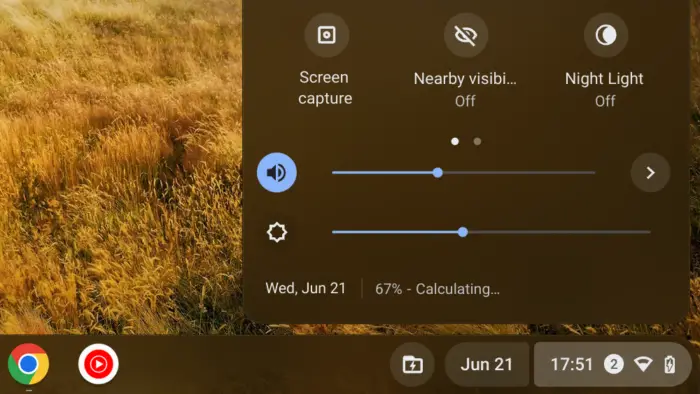
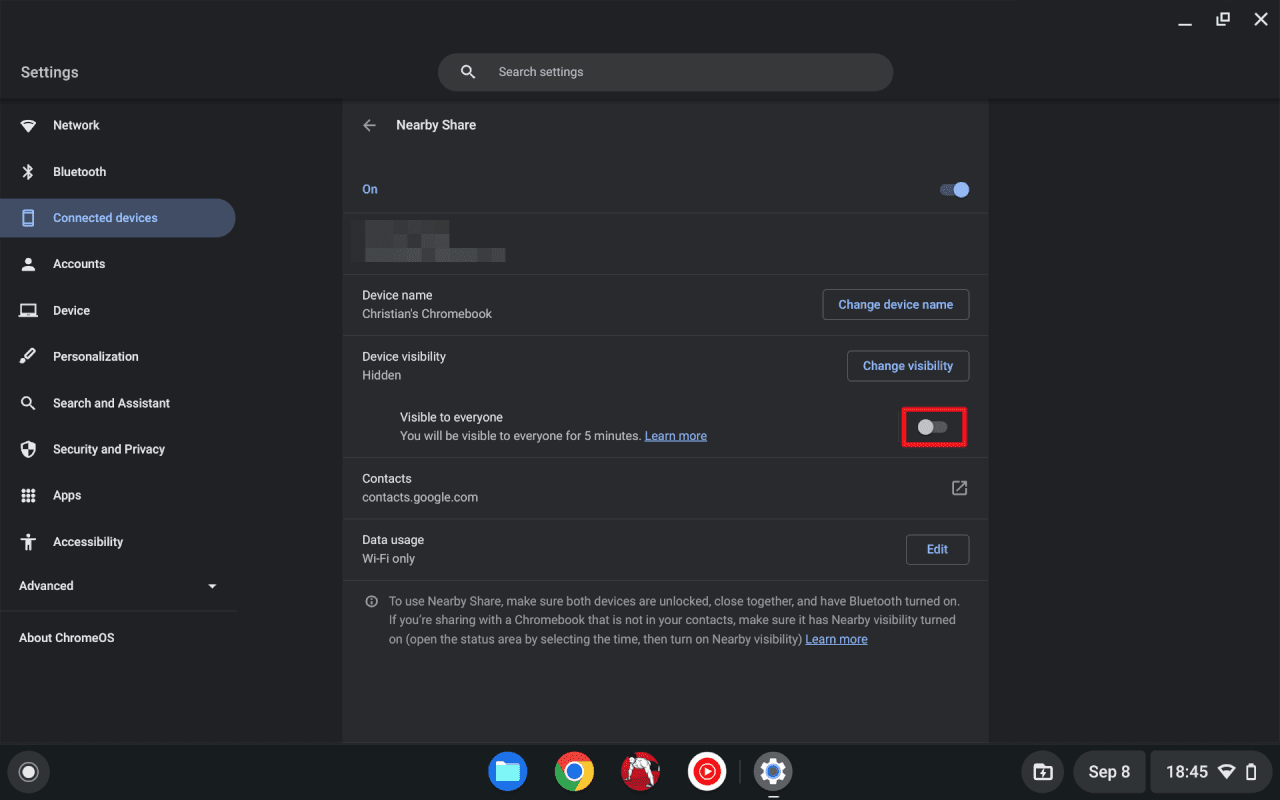
4. The Nearby Share feature is enabled. But first, you need to make it Visible to everyone.
5. Now, you can start receiving files from Android. We’ll be right back to the Chromebook later.
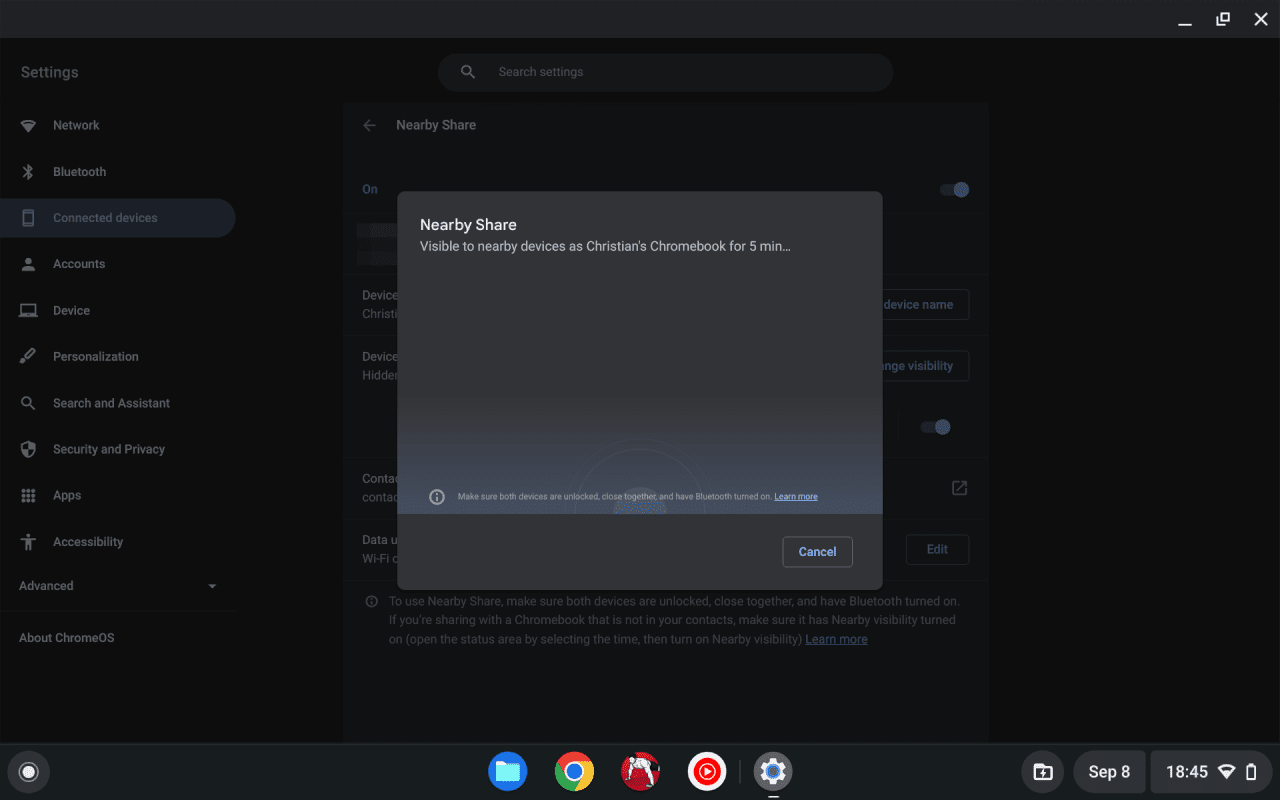
Let’s move on to the Android phone, where we can start sending photos wirelessly to the Chromebook.
Transferring a photo from Android to Chromebook
1. On your Android phone, select the photo(s) and click Share.

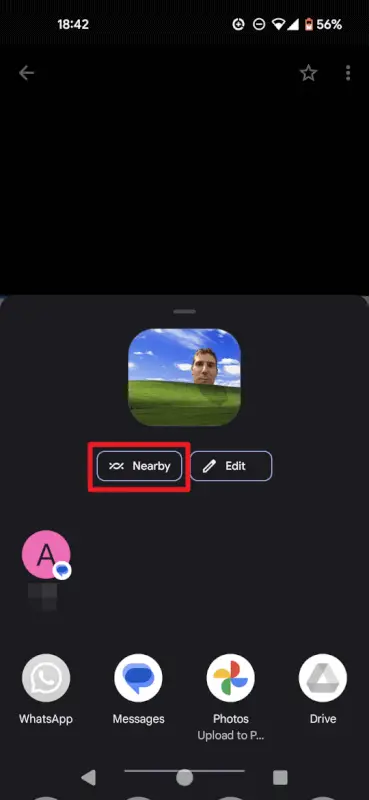
2. Select Nearby Share.
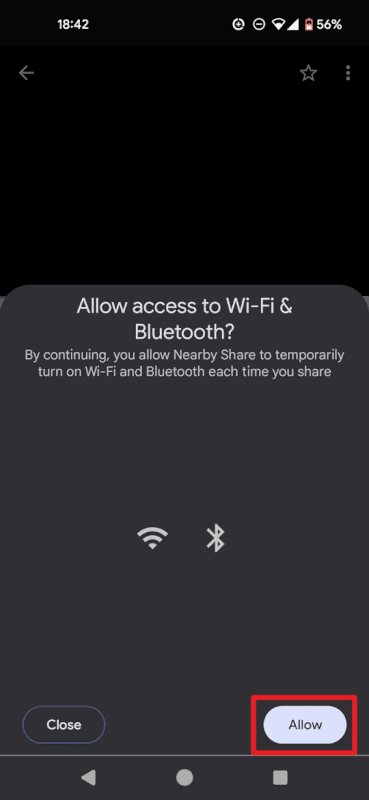
3. Allow Nearby Share to use WiFi and Bluetooth to transmit data wirelessly.
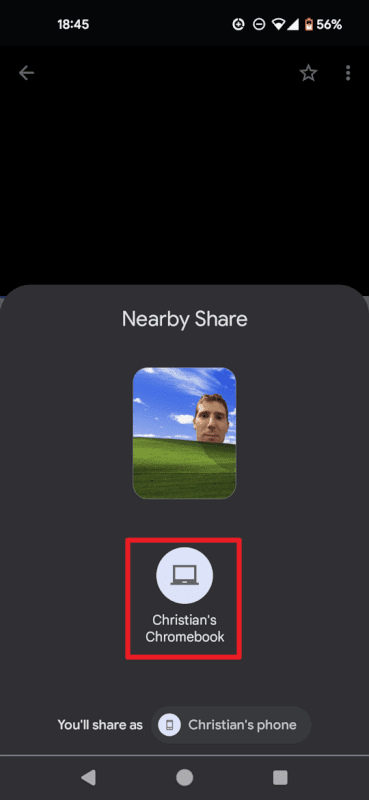
4. Once the Chromebook has been detected, click on it.
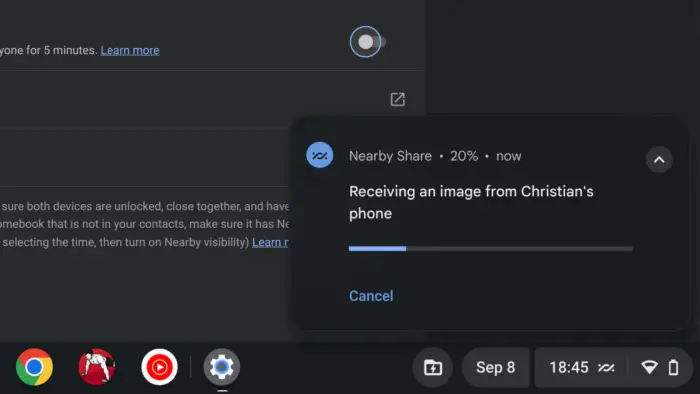
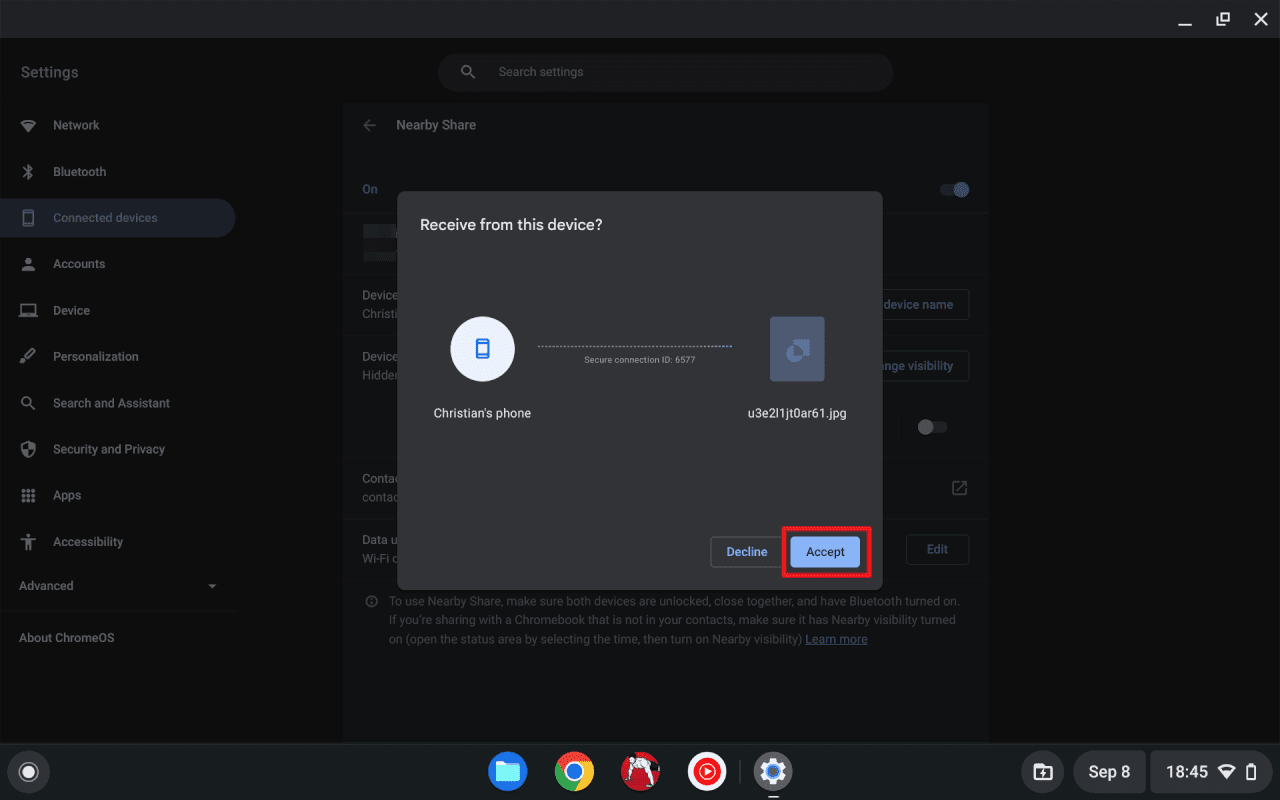
5. On your Chromebook, click Accept to start receiving the photo(s). Then wait until the transfer process is finished.
6. Once the transfer is completed, you will see a notification. The received photo(s) can be found in the Downloads folder.
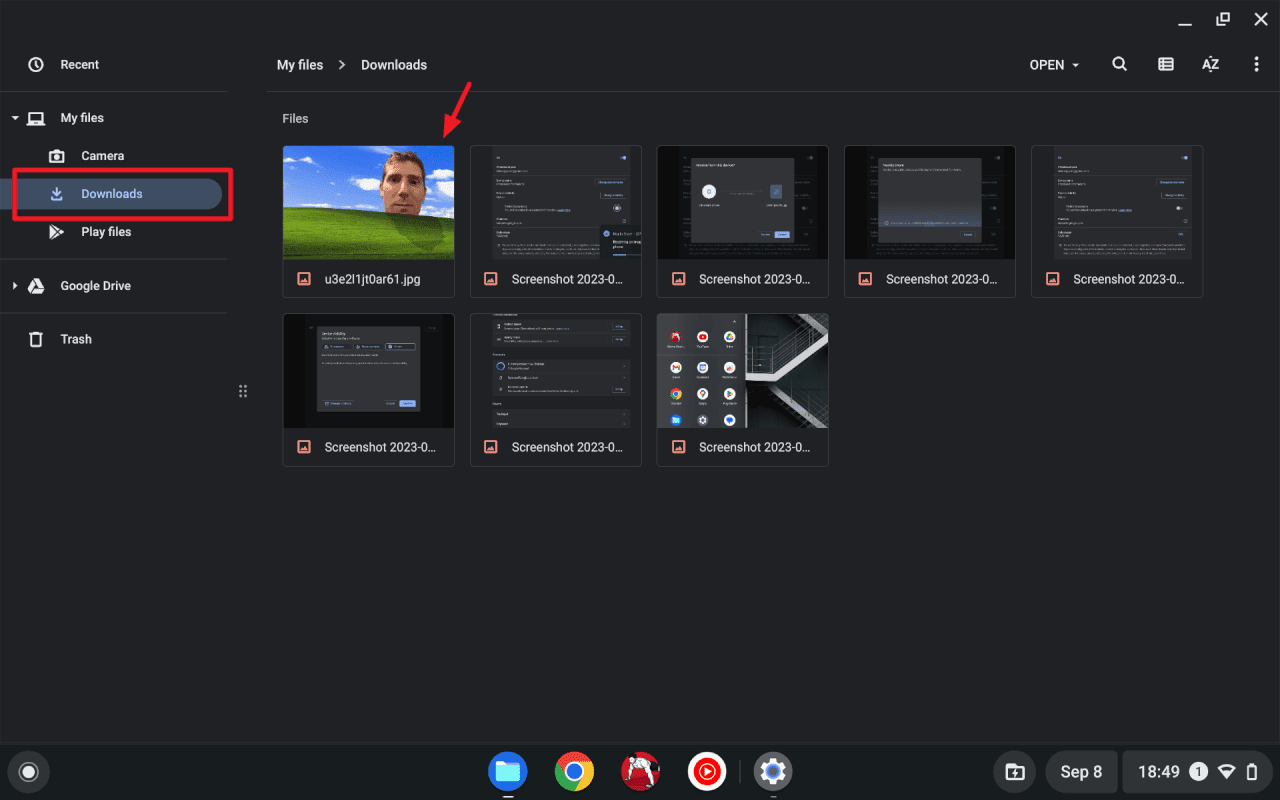
There you have it! You have transferred a photo from Android to a Chromebook with the help of Nearby Share. You can repeat this process as many as you like, and no bandwidth won’t be involved since both devices are connected directly.
By the way, if you want to transfer rather big files, I still recommend using the good old USB stick method. Alternatively, Google Drive is not a bad option to transfer files and keep them redundant.
Frequently Asked Questions
How to wirelessly transfer photos from Android to Chromebook?
You can use Nearby Share to wirelessly transfer photos from your Android phone to your Chromebook. Nearby Share is a feature that allows you to share files, links, and other content with other nearby devices without the need for a Wi-Fi or cellular connection.
To use Nearby Share, you first need to turn it on. On your Android phone, go to Settings > Google > Devices & Sharing > Nearby Share. On your Chromebook, go to Settings > Connected devices > Nearby Share > Set up.
Can I transfer photos from my Android phone to my Chromebook using a USB cable?
Yes, you can transfer photos from your Android phone to your Chromebook using a USB cable. To do this, connect your phone to your Chromebook using a USB cable and change your phone’s USB Preferences to File transfer. This will allow you to access your phone’s files on your Chromebook and transfer photos between the two devices.
There are a few options you can try, some of them are Nearby Share, Google Drive, Bluetooth, Email, and a traditional USB stick.

