Whether you dismissing your old website or migrating a new one, exporting posts to a WordPress site can be extremely challenging. We are talking about possible incompatibility and some content that couldn’t be migrated properly, most notably; featured images and attachments.
Sure, the first-party WordPress export & import tools can save a lot of time. But the lack of media migration really hurts the overall function. Fortunately, there is a simple workaround to get it done.
In this guide, I will show you how to migrate WordPress posts with featured images and attachments within the posts included.
Important: As a good rule of thumb, always backup your website before importing new posts in bulk.
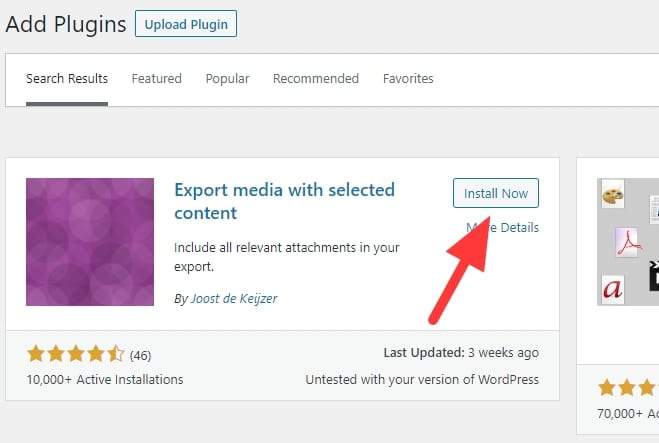
1. Install and activate plugin Export media with selected content to the source site.
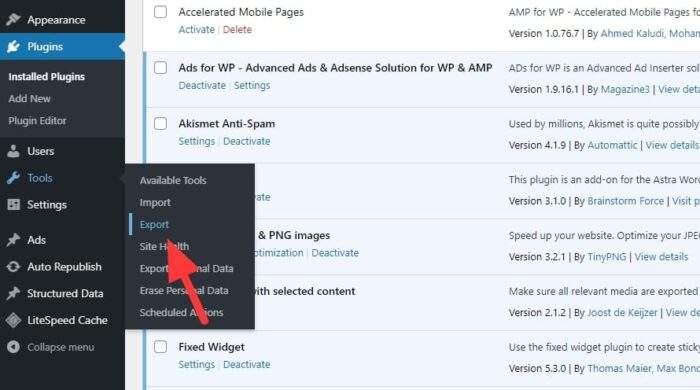
2. Now go to Tools > Export.
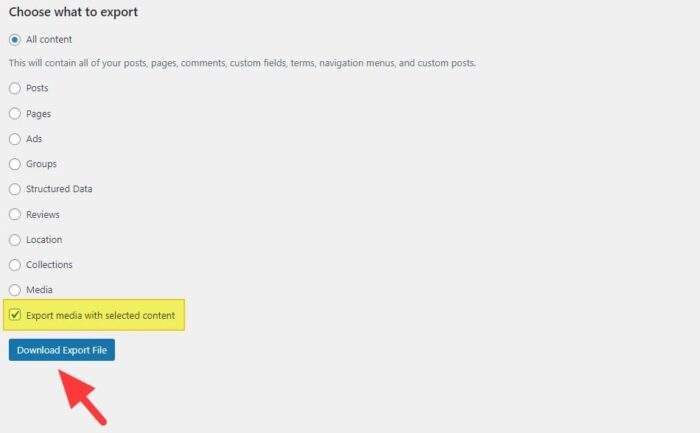
3. Select the type of content you want to export, make sure the Export media with selected content box is ticked, then hit Download Export File.
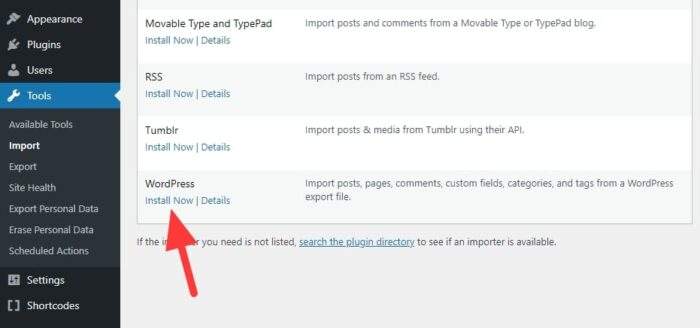
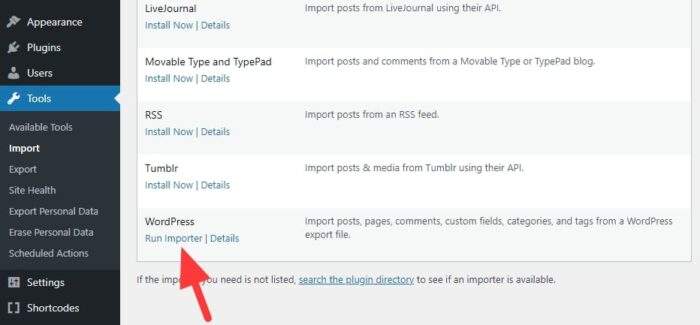
4. Head to the destination site, and click Import. Hit the Install Now link on “WordPress”. This action will install an importer plugin that let us migrating content from the other site.
5. Once installed, click Run Importer.
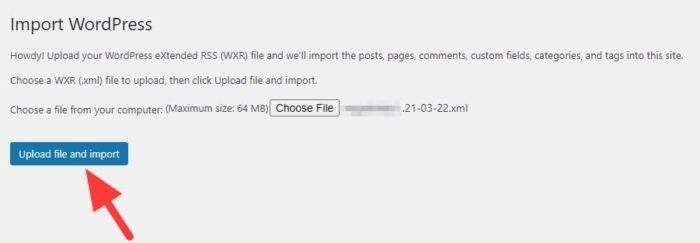
6. Select the export file, then click Upload file and import.
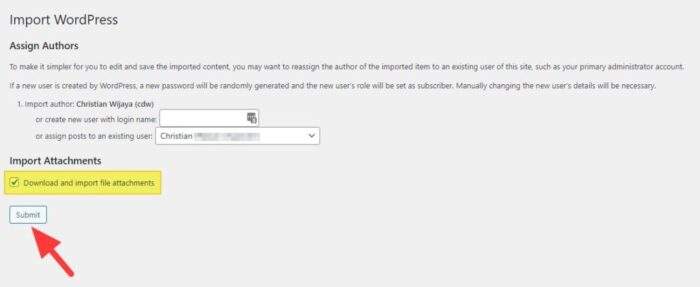
7. Assign the author, tick the Download and import file attachments box, and click Submit.
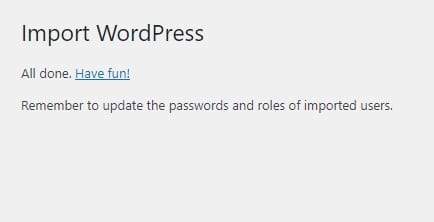
8. Now all the content has been migrated with featured images and attachments intact.
Although the process is mostly simple and straightforward, a number of images may not be linked to their correct dimension. So, you probably have to double-check everything up just to make sure (because from my experience, I found some).
And, don’t forget to redirect the old links to the new ones so it wouldn’t create a 404 error and confuse both search engines and visitors. Good luck!
Table of Contents
Extra Tips for a Smooth Migration Process
Handle broken image links efficiently
During migration, some images might not link correctly due to differences in media settings or file paths. To fix this, use a plugin like Better Search Replace to update URLs in your database. This ensures that all media files point to the correct location on the new site.
Optimize your images post-migration
After importing, consider optimizing your images for better performance. Plugins like Smush can compress images without losing quality, improving page load times and SEO rankings.
Redirect old URLs seamlessly
To avoid 404 errors and maintain SEO value, set up 301 redirects for posts with changed URLs. Plugins like Redirection make this process straightforward by allowing you to map old URLs to their new counterparts directly from the WordPress dashboard.
Test your site thoroughly
Once the migration is complete, review your site for any missing content or functionality issues. Check featured images, internal links, and media galleries to ensure everything displays as expected.
FAQ
What should I do if some featured images are missing after migration?
If featured images don’t appear, verify that the “Download and import file attachments” option was enabled during import. If the issue persists, re-upload the missing images manually or use a plugin like Add From Server to re-import them into your Media Library.
How can I prevent broken links after migration?
Use a 301 redirect plugin such as Redirection to map old URLs to new ones. Additionally, update internal links within your posts using a database search-and-replace tool like Better Search Replace.
Can I migrate only specific posts or categories?
Yes! During export, apply filters such as categories, authors, or date ranges to include only the desired content. This ensures you migrate only what’s necessary without cluttering your new site.
For more resources on WordPress migrations, explore tutorials on YouTube or visit WordPress.org!