Microsoft Words provides a wide range of text customization and styles. With that in mind, you can adjust the shape, size, color, position, and orientation you need.
Speaking about orientation, not only you can rotate the page to landscape, but also the text itself. Microsoft Words come up with an option to create a vertical text while keeping others horizontal (normal).
In this guide, you will learn how to change text orientation to vertical, both read vertically and stacked vertically. The step by step below can be applied to Microsoft Word 365, 2019, 2016, 2013, 2010, and all the way back to 2007.
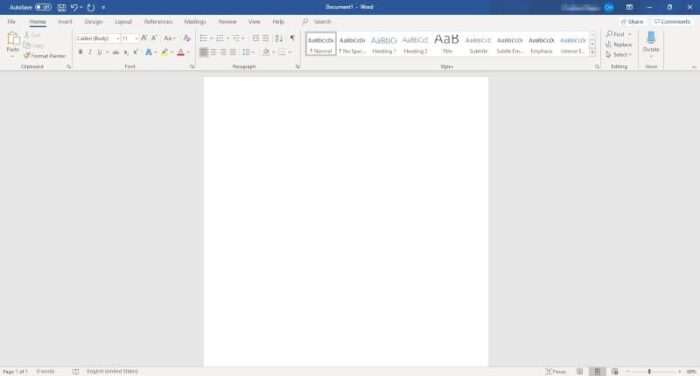
1. Launch Microsoft Word or run any DOCX document.
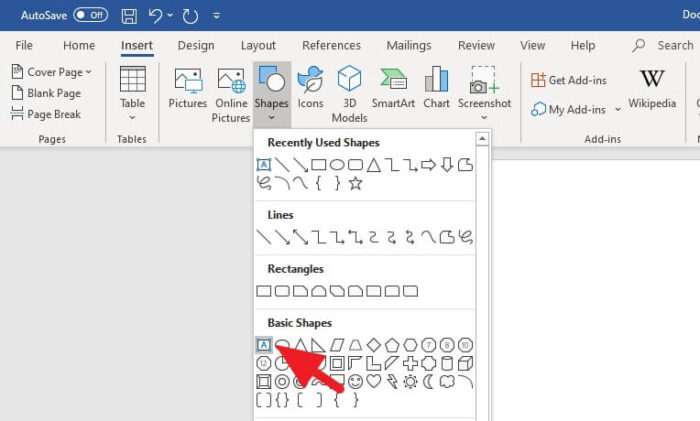
2. Go to Insert > Shapes > Text Box. For Word 2007, you can go to Insert > Text Box.
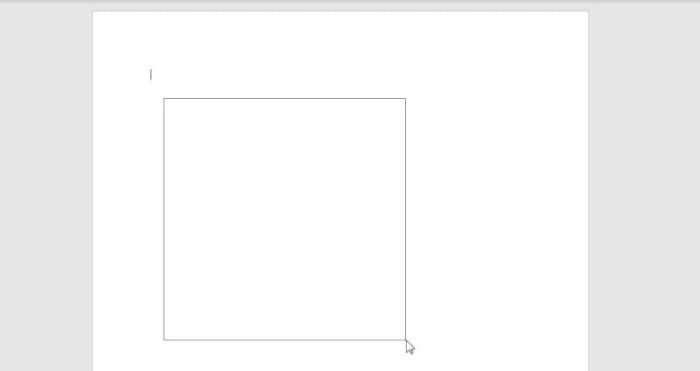
3. Draw the text box by clicking and dragging the cursor. It doesn’t matter the size as we can adjust it later.
4. Type the text intended to be vertical.
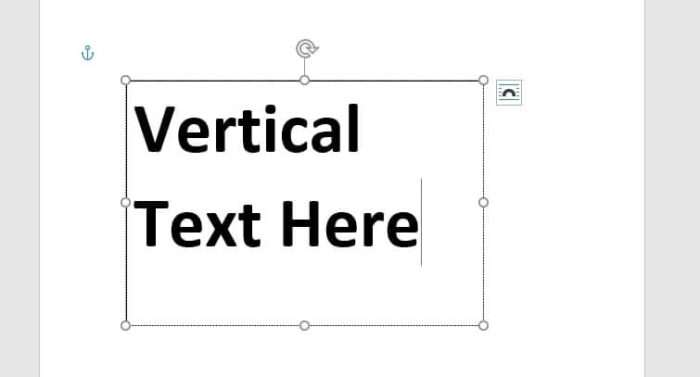
5. Now, click and hold while dragging the cursor on the orientation icon to alter the Text Box orientation. For better result, hold the Shift button while doing it.
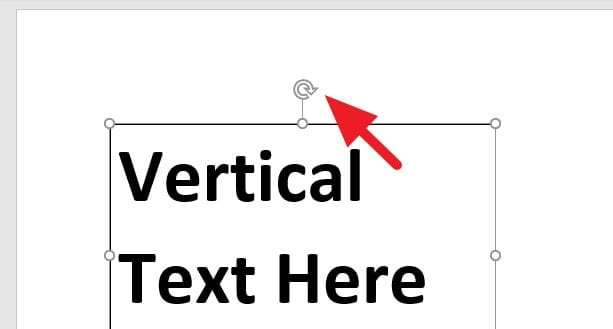
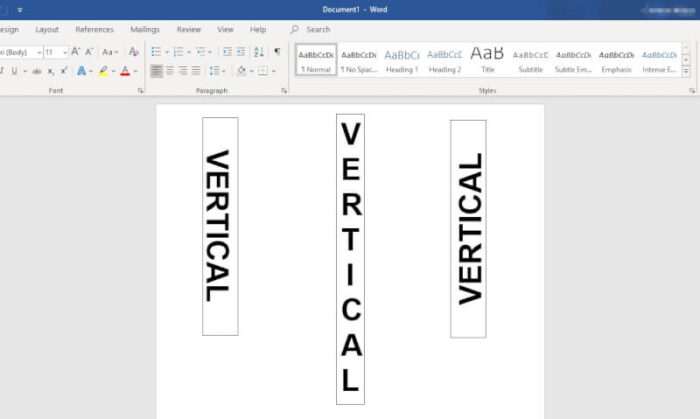
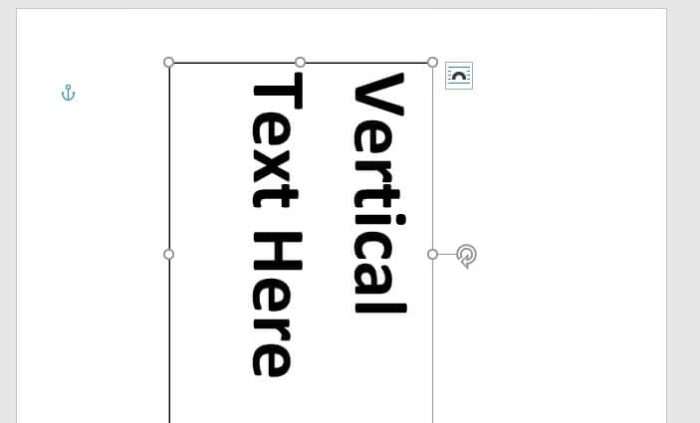
6. You could get something like this — text read vertically.
7. Or the text can be stacked vertically like this one. Simply clicking and dragging the bullet icon on from the Text Box will automatically make the letter stacked together. You may also want to make it Center (CTRL+E).
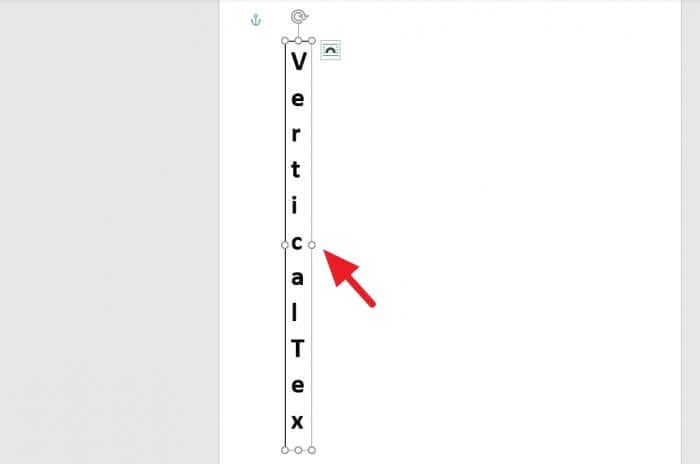
In most cases, the distance between letters and lines may be too close or too far. To fix that, go to Home > Line & Paragraph Spacing (on the Paragraph section) > Line Spacing Options… then adjust the spacing as you wish.

