Key takeaways:
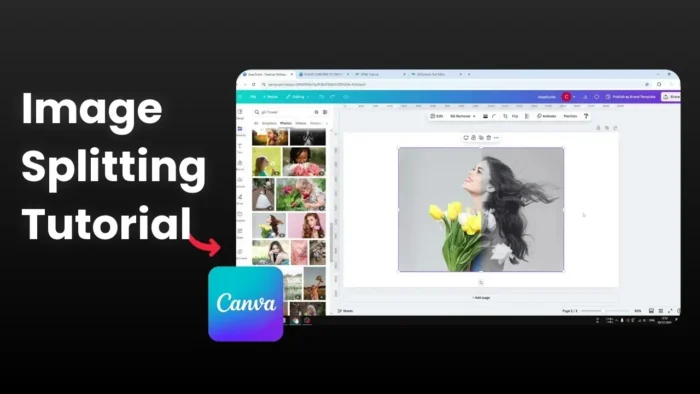
- Create a cool split effect by duplicating and editing one image
- Use filters to create contrast between image halves
- Position and crop images precisely for seamless splitting
Ever wanted to make your photos stand out? 🤔 Creating a split image effect adds a unique touch to your designs.
I’ll show you how to transform a single photo into an eye-catching split composition using Canva’s simple tools. No fancy software needed! 🎨
Creating Your Split Image Base
- Start with your chosen image in Canva
- Right-click the image and select duplicate to create two identical copies
- Keep one image original and apply a filter to the other for contrast 🖼️
How to Apply the Filter Effect
Make the Images Distinct
- Select the duplicated image
- Click on “Edit photo”
- Go to the Filters section
- Choose black and white or any filter you prefer
Positioning for the Perfect Split
- Place both images precisely on top of each other
- Crop the filtered image to show only half
- Adjust the original image position to create the split effect
Pro Tips for Clean Splits ✨
- Make sure images align perfectly
- Crop both images if needed for precise halves
- Check that the split line is clean and straight
Creative Ways to Use Split Images
- Social media posts
- Profile pictures
- Marketing materials
- Portfolio showcases
- Brand presentations
FAQs
Can I split images into more than two parts?
Yes! You can repeat the process to create multiple splits.
Will this work with any type of image?
Most images work well, but photos with clear subjects tend to create more striking effects.
Can I use different filters instead of black and white?
Absolutely! Try various filters or effects to create unique contrasts.
Is this feature available in free Canva?
Yes, this technique works perfectly in Canva’s free version.
Can I adjust the split ratio?
Yes, you can crop the images at any point to create uneven splits.
Credit: https://www.youtube.com/watch?v=f5N7Skz6G9o