Key takeaways:
- You need at least Filmora 13 for AI image generation.
- Just describe your image, pick a style, and click generate.
- Download and reuse your AI images anytime in Filmora.
So you want to make AI-generated images right in Filmora? 😎 I get it—sometimes you just need that perfect pic for your video, but you don’t want to leave your editor or hunt stock sites. Here’s how you can do it, step by step, with no fuss. If you’re running Filmora 13 or newer, you’re already set. This guide will walk you through everything, from writing your prompt to saving your new AI art for later.
Table of Contents
- Make Sure You’re Using the Right Version of Filmora
- Where to Find the AI Image Generator in Filmora
- Describe What You Want: Writing a Good Prompt
- Pick Your Style: Realistic, Cartoon, and More
- Adjust the Aspect Ratio for Your Project
- Generate Your Image: The Waiting Game (But Not Long)
- Preview and Download Your AI Images
- Using Your AI Images in Your Video
- Tips for Better AI Image Results
- Saving and Reusing Your AI Images
- Troubleshooting: What If AI Image Generation Isn’t Working?
- Other Creative Tools in Filmora
- FAQs
- How do I access the AI image generator in Filmora?
- What version of Filmora do I need for AI images?
- Can I use my AI images in other projects?
- How long does it take to generate an AI image?
- Can I change the style or aspect ratio after generating an image?
Make Sure You’re Using the Right Version of Filmora
First things first: AI image generation is only in Filmora 13, 14, and newer. If you’re still on an older version, you won’t see the feature at all. So, update if you need to. Here’s a quick tip on how to update Filmora if you’re not sure.
Where to Find the AI Image Generator in Filmora
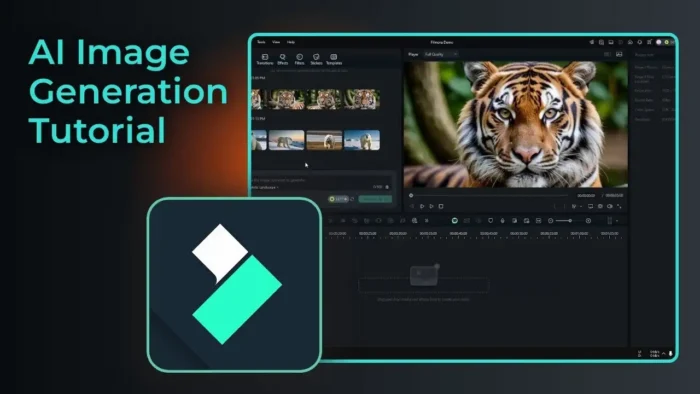
Once you’ve got the right version, open your project. Look at the top left and click on Stock Media. You’ll see a menu option called AI Image. Click that, and you’ll land on a page with all your previously generated images. If it’s your first time, it’ll be blank, but don’t worry—that’s about to change.
Describe What You Want: Writing a Good Prompt
There’s a box waiting for your words. This is where you tell Filmora what to make. You can keep it simple, like “polar bear in the Arctic,” or get creative. The more details, the better your results. Want a cartoon style? Say so. Need a specific vibe? Add it. But you don’t have to write a novel—just enough to get your idea across.
Pick Your Style: Realistic, Cartoon, and More
Below the prompt box, you’ll see style choices. Filmora gives you options like realistic, cartoon, landscape, and more. Try a few and see what fits your project. For example, if you want a photo-like image, go for realistic. If you’re making a fun animation, maybe cartoon is better.
Adjust the Aspect Ratio for Your Project
Before you hit generate, check the settings. Here, you can set the aspect ratio. Options include 16:9, 9:16, 3:4, 1:1, and more. Match this to your video format—wide for YouTube, vertical for TikTok, square for Instagram, etc. This way, your AI image fits right into your timeline without awkward cropping.
Generate Your Image: The Waiting Game (But Not Long)
Now, just hit Generate. Filmora’s AI will get to work. Usually, it takes less than a minute—sometimes as fast as 20 seconds. You’ll see a loading bar, and then boom: four new images appear.
Preview and Download Your AI Images
Click any image to preview it. If you like what you see, download it right away. All your AI creations stay in the AI Image menu, so you can use them again later. No need to generate the same image twice for different projects.
Using Your AI Images in Your Video
Drag and drop your new AI image right into your timeline. You can treat it like any other photo or asset—add effects, transitions, or text. If you want to get fancy, you can even add text in Filmora or zoom in on your image.
Tips for Better AI Image Results
- Be specific with your prompts. “Dog” is fine, but “golden retriever puppy in a park, cartoon style” gives you better results.
- Play with styles. Sometimes realistic looks weird, but cartoon nails it.
- Try different aspect ratios if your image looks off in your project.
- Don’t expect perfection. AI images are cool, but sometimes they’re a little soft or quirky. That’s part of the charm.
Saving and Reusing Your AI Images
One of the best parts? Once you generate an image, it stays in your Filmora library. You can use it in future projects without regenerating. If you want to keep a backup, just download the image to your computer.
Troubleshooting: What If AI Image Generation Isn’t Working?
- Make sure you’re on Filmora 13 or newer.
- Check your internet connection—the AI feature needs to connect online.
- If the menu is missing, update your app.
- Still stuck? Try restarting Filmora or check for software updates.
Other Creative Tools in Filmora
If you’re into making your videos look even better, check out these guides:
- How to blur a face in Filmora
- How to add transitions in Filmora
- How to improve video quality in Filmora
- How to remove background noise in Filmora
FAQs
How do I access the AI image generator in Filmora?
Go to Stock Media > AI Image at the top left of the screen.
What version of Filmora do I need for AI images?
You need at least Filmora 13. If you’re on 12 or older, update your software.
Can I use my AI images in other projects?
Yes, all your generated images stay in the AI Image menu for future use.
How long does it take to generate an AI image?
Usually under a minute—sometimes as fast as 20 seconds.
Can I change the style or aspect ratio after generating an image?
No, but you can generate a new image with different settings if you want something else.
That’s it! Now you can make your own AI images in Filmora and keep your video projects looking fresh. If you want more Filmora tips, check out how to record your desktop screen in Filmora or how to know if your Filmora is registered. Happy editing! 🎬✨

