Key takeaways:
- Open the Camera app from the launcher to record video.
- Pick the right camera and switch to video mode.
- Videos save to the Camera folder in Files—easy to find.
Tired of reaching for your phone just to shoot a quick video? Your Chromebook can handle it, no extra gear needed. The built-in Camera app is simple, and while the quality won’t blow you away, it’s perfect for quick clips or when your phone is out of reach.
This post walks you through the steps, from opening the app to finding your finished video. I’ll even drop tips on switching cameras and where your videos end up. Ready to see how it works? Here’s the full guide.
Table of Contents
- Opening the Camera App and Getting Set Up for Video
- Recording Your Video
- Finding Your Saved Videos on Chromebook
- Camera App Features and Limitations
- Switching Cameras and Using Different Modes
- Where to Find and Manage Your Videos
- Troubleshooting and Tips
- Extra: Screen Recording on Chromebook
- FAQs
- How do I open the camera app on my Chromebook?
- Where are my recorded videos saved?
- Can I use the rear camera for video?
- What video modes are available?
- How do I improve the video quality?
Opening the Camera App and Getting Set Up for Video
So, I’m on my Chromebook and want to record a video. First thing: hit the launcher (that’s the circle icon in the bottom left). Type “camera” and open the Camera app. This is the default tool, and honestly, it’s all you need for basic video.
If you’ve got a Chromebook with more than one camera—like a front and rear—there’s a button to switch. Just tap the camera switch icon. Super handy if you want to record something in front of you instead of just your face.
Want to snap a photo instead? There’s a mode for that too, but for now, make sure you’re in video mode. There are three modes: normal video, GIF animation, and time lapse. For most stuff, stick with normal.
Recording Your Video
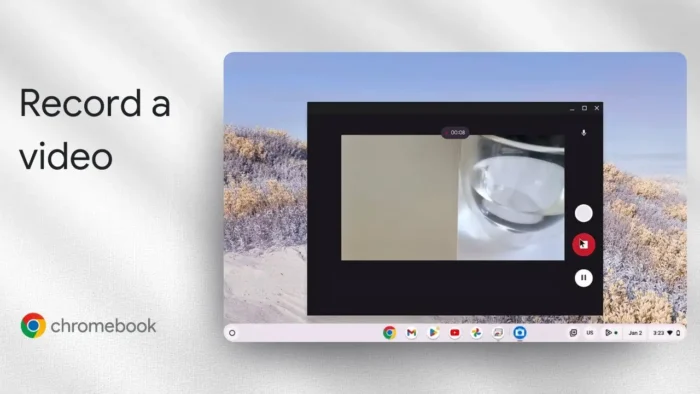
Once you’re in video mode, you’ll see a big record button. Tap it to start capturing. Move your Chromebook around, talk, do whatever you need. When you’re done, hit the stop button.
The video will process for a second, and then you’ll see a preview. You can play it right away to check the sound and video. Don’t expect cinema-quality, but for quick clips, it does the job.
If you want to level up your video editing, check out top free simple video editor software for beginner. It’s a solid way to polish up those Chromebook videos.
Finding Your Saved Videos on Chromebook
After recording, you’ll want to find your video. Open the launcher again and go to Files. Inside, look for the Camera folder. That’s where all your photos and videos from the Camera app end up.
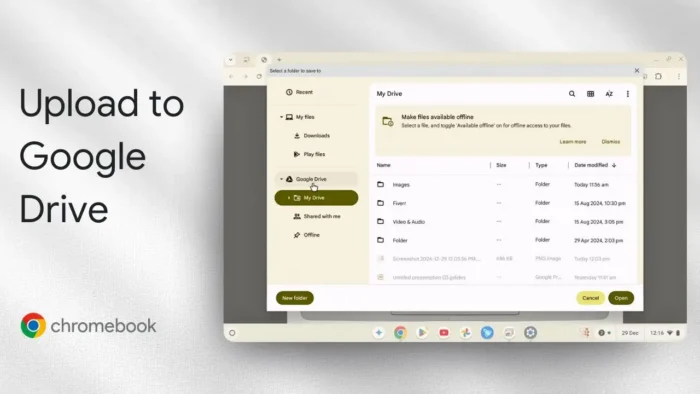
Double-click your video to play it in the built-in video player. You can also move it, upload it, or share it wherever you want.
Need to delete old videos to free up space? Here’s a quick guide on how to delete images on Chromebook.
Camera App Features and Limitations
Let’s keep it real: the Chromebook camera isn’t going to replace your phone or a real camera. The video quality is basic, and the features are simple. But for quick school projects, video messages, or just capturing a moment, it works.
If you want more features, you can try third-party camera apps from the Google Play Store (if your Chromebook supports Android apps). But for most people, the default app is fine.
Want to know more about what your Chromebook can do? Here’s how to check Chromebook hardware specs.
Switching Cameras and Using Different Modes
- Tap the camera switch icon to flip between front and rear cameras.
- Pick normal, GIF, or time lapse mode depending on what you want.
- Normal is for regular video, GIF is for quick looping animations, and time lapse speeds things up for cool effects.
If you’re curious about how to take photos instead, check out how to take photo Chromebook camera.
Where to Find and Manage Your Videos
- All videos land in the Camera folder in the Files app.
- You can preview, move, or delete them right from there.
- Want to back up your files? Here’s how to backup Chromebook to Google Drive.
Troubleshooting and Tips
- If the camera isn’t working, try restarting your Chromebook.
- Make sure you have enough storage—Chromebooks can fill up fast.
- For privacy, you can disable the camera on Chromebook.
- If you’re low on space, delete old files or move them to Google Drive.
Extra: Screen Recording on Chromebook
Want to record your screen instead of just video? There’s a built-in tool for that too. Check out how to screen record Chromebook for a step-by-step.
FAQs
How do I open the camera app on my Chromebook?
Just hit the launcher (circle icon), type “camera,” and open the app. It’s pre-installed on pretty much every Chromebook.
Where are my recorded videos saved?
They’re in the Camera folder inside the Files app. Open Files, click Camera, and you’ll see all your videos and photos.
Can I use the rear camera for video?
Yep, if your Chromebook has a rear camera, just tap the camera switch icon in the app to flip between front and back.
What video modes are available?
You get normal video, GIF animation, and time lapse. Most people stick with normal for regular video clips.
How do I improve the video quality?
The built-in camera is pretty basic, so there’s not much you can do. Try good lighting and keep the camera steady. For editing, check out top free simple video editor software for beginner.

