Windows 10 has a gaming feature named Xbox Game Bar which allows you to do a variety of things related to your gaming experience — one of them is showing frame rate per second (FPS) during the game.
To enable the FPS counter, there are several steps need to be done. Most importantly, make sure Windows 10 has been updated to the latest version in order to obtain Xbox Game Bar. But, in case you missed that, you may head to Microsoft Store: Xbox Game Bar to get it installed on your gaming machine.
And now, follow the guide below to make Game Bar show a real-time FPS counter during the play.
1. Press Windows+G or a dedicated controller button like in F710 and Xbox to launch Game Bar. Please note that it may take a while to run this program for the first time — even for SSD.
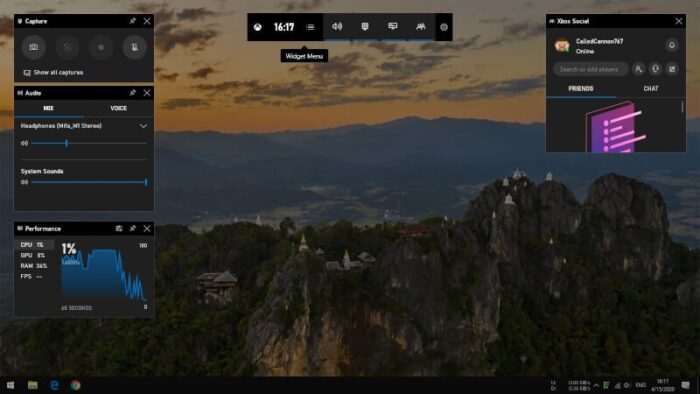
2. Now, go to the FPS section and click Request Access. Select Yes when the permission window appears.
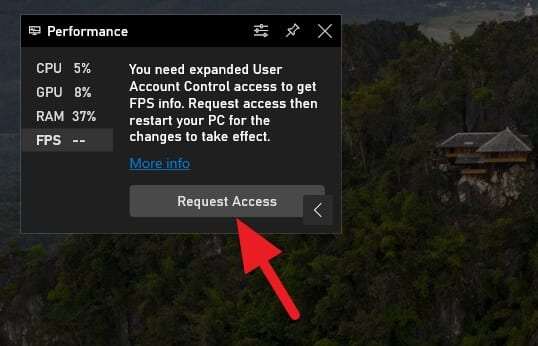
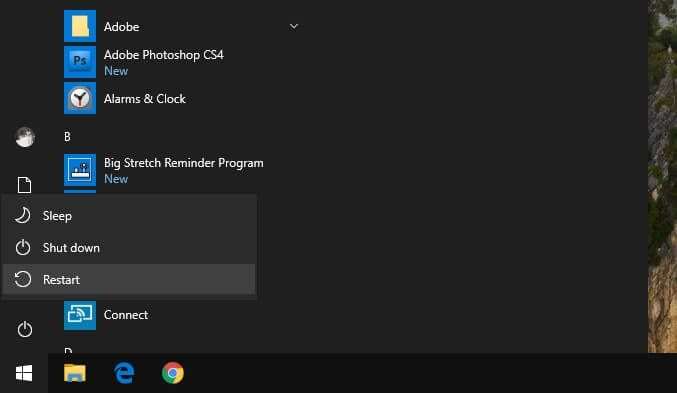
3. Restart your computer.
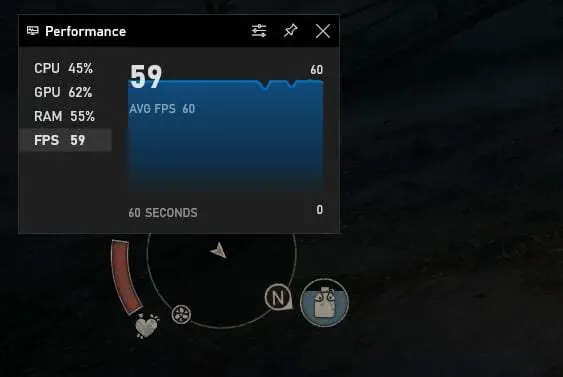
4. Launch a video game and press Windows+G. The FPS section should be active now.
5. You may Pin the window so it became sticky on top of the game.
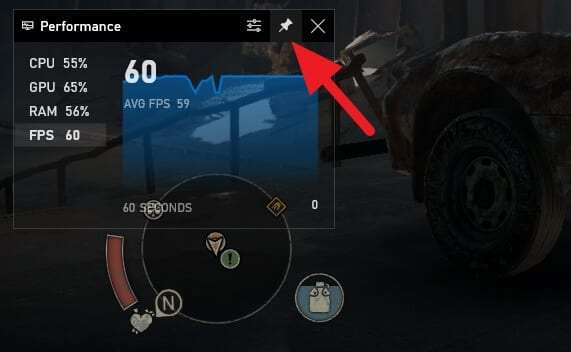
The Performance window can be customized from color, size, position, or even which metric do you want to keep.
For example, I put the display to the top left so I could see the real-time performance data for the past 60 seconds.

You can also make it smaller by eliminating the historic graph. So, it just displaying the numbers.

Only care about FPS? We got you!

Aside from displaying the performance and hardware data, Game Bar comes with numerous features that instantly dismisses the need for third-party apps. One of which is allowing you to record the gameplay as you play with just a click of a button.
