Windows 10 is indeed come with tons of system fonts that you could pick out of the bat. But sadly, from the aesthetic standpoint, these fonts are mostly outdated and quickly replaced by modern web fonts we used these days.
That’s why installing a new round of fonts can make your long documents somehow appear more inviting to read. It is also true that graphic designers often have to try different fonts to see the one that fits with the design — ‘typography‘ for anyone who doesn’t know the term.
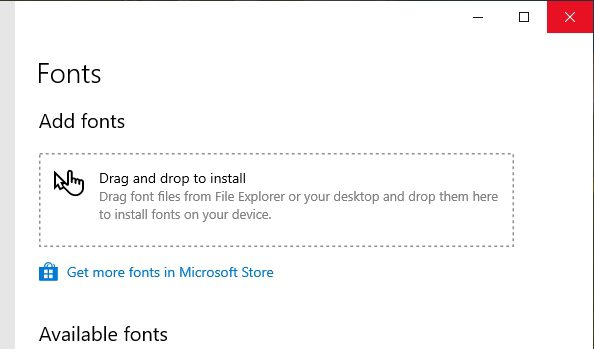
You can install individual or multiple fonts with a drag & drop technique in Windows 10. The installation process has been perfected by Microsoft over the years, ditching the ‘good old’ Control Panel method to Windows Settings which is arguably cleaner and easier to manage.
And here’s how to add new fonts to your Windows 10 device.
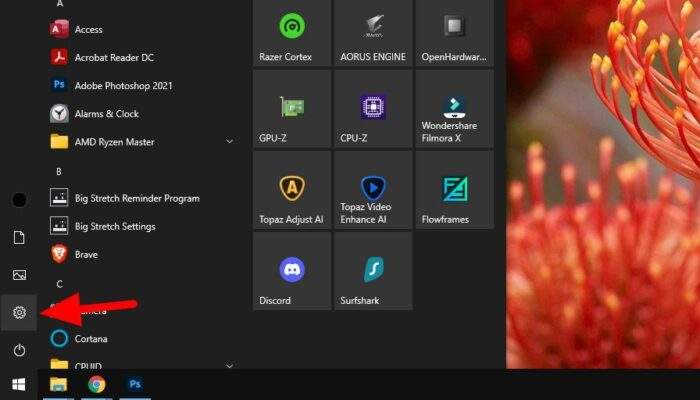
1. Click Start and open the Windows Settings.

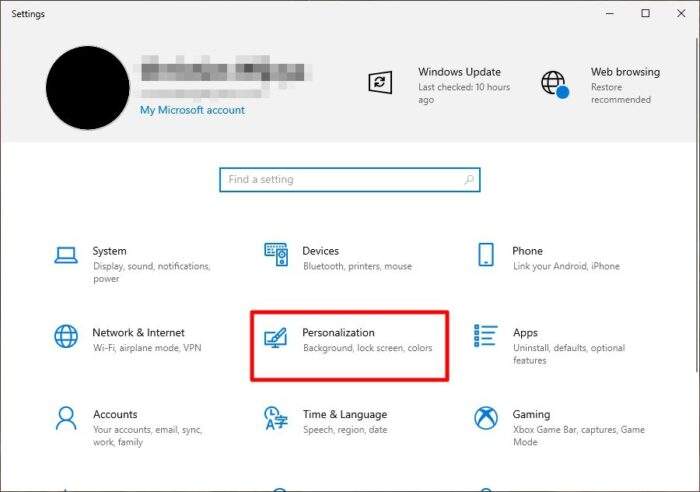
2. Then go to Personalization.

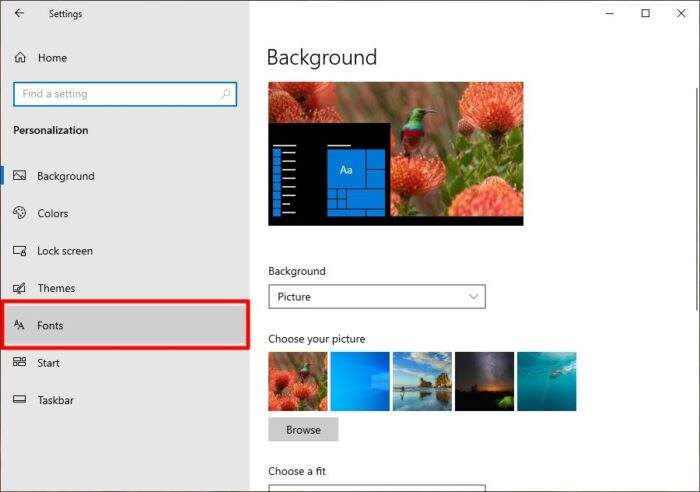
3. Click the Fonts menu.

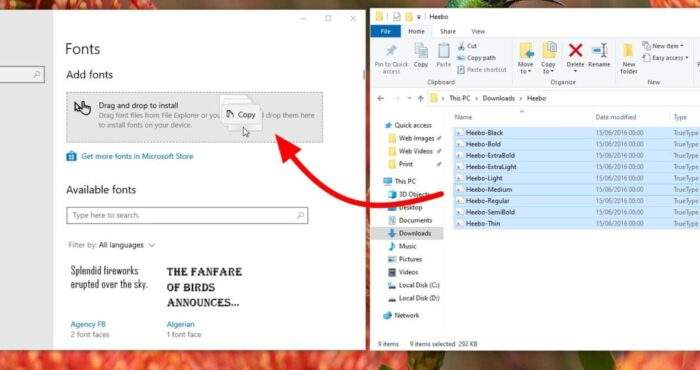
4. Then you can drag and drop multiple font files into the drop area.

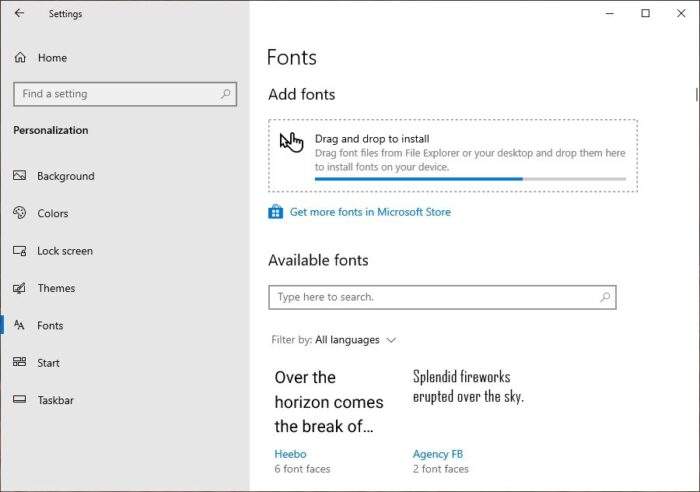
5. Then wait for the installation process to finish.

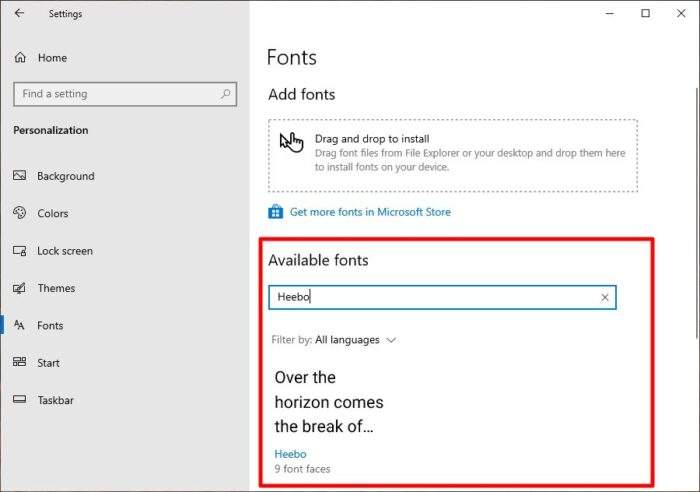
6. To see if the font has been installed properly, you can search and find it under the Available fonts.

How to delete installed fonts
If you feel you no longer need the font or it doesn’t exactly fit your typography design, installed fonts can be deleted permanently. But be aware that this process could make text that based on this font won’t appear as it used to.
1. Search the font and click on it.
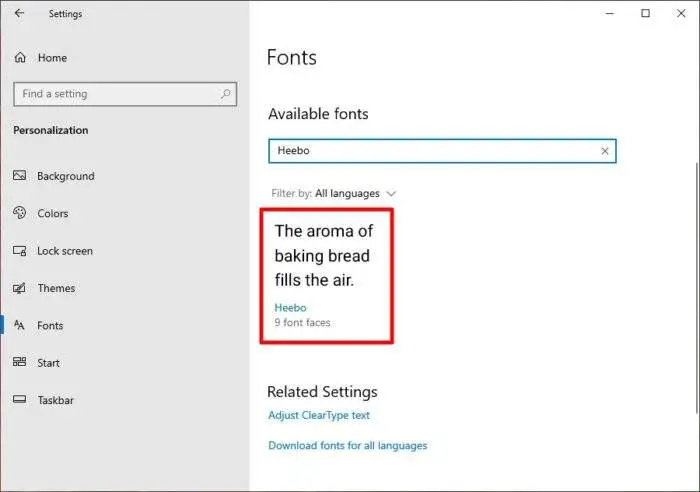

2. Scroll down until you found the Uninstall button, then hit it.
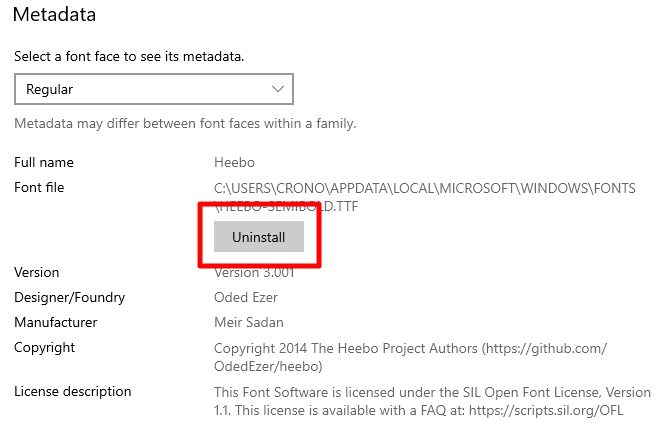

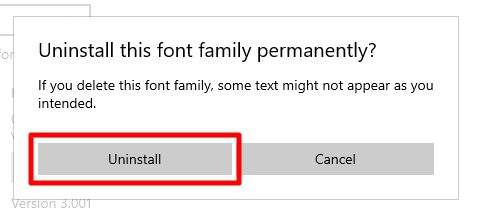
3. To confirm, click Uninstall.

After installing new fonts, be sure to check if they appear on the font list and actually can be used. Some programs may have to be restarted after adding new fonts to the system.
Also, check out Google Fonts to get some of the best fonts for websites and graphic design. If you saw an interesting font style on the web, learn these 5 ways to identify it quickly.
