Key takeaways:
- Open the Camera app from the launcher
- Snap your photo and edit or manage it in the gallery
- Find your pics in the Files app under the Camera folder
So you want to snap a quick pic with your Chromebook and maybe do a little editing or sharing? 📸 If you’re new to Chrome OS, the camera app might look basic, but it actually covers most of what you need. I’ll walk you through how to take a photo, tweak it, and find where it’s saved. No extra downloads, no fuss.
Sometimes it’s not obvious how to get to your photos or even switch cameras on a Chromebook. I’ll break down the steps, throw in some handy tips, and show you how to make the most of the built-in tools. Here’s how you do it, step by step.
Table of Contents
- Open the Camera App and Get Ready to Shoot
- Preview, Edit, and Share Your Photos
- Camera App Settings and Modes
- Where Your Photos Are Saved
- Tips for Better Chromebook Photos
- Advanced: Editing and Sharing Beyond the Gallery
- Troubleshooting Camera Issues
- FAQs
- How do I open the camera on my Chromebook?
- Where are my photos saved?
- Can I edit photos on my Chromebook?
- How do I switch between front and rear cameras?
- What if my camera isn’t working?
Open the Camera App and Get Ready to Shoot
The fastest way to get started is by opening the launcher (that’s the circle icon in the bottom left). Just search for Camera and hit enter. The app is pretty straightforward—no confusing settings, just what you need to snap a photo.
By default, the Camera app uses the front camera, which is perfect if you’re taking a selfie or using it as a webcam. Want to switch to the rear camera? Just tap the little camera switch icon. If you’re not seeing anything from the rear camera, make sure nothing’s blocking it or that your Chromebook actually has one.
Make sure you’re in Photo mode. The app also has Video, Scan, and Portrait modes, but for a standard picture, you want Photo. Tap the shutter button, and you’re done. Easy.
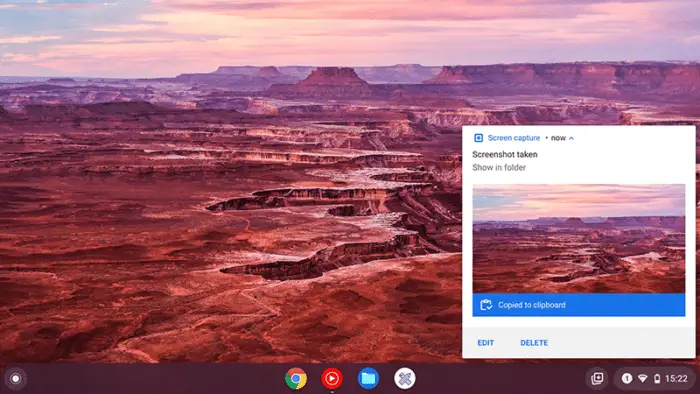
If you want to take a screenshot instead, check out how to take a screenshot on a Chromebook.
Once you snap a pic, you’ll see a thumbnail preview pop up in the corner. Click it, and the Gallery app opens. Here, you can:
- Crop, rotate, or rescale your photo
- Add filters or draw on it
- Use Google Lens to search for stuff in your image (super handy for scanning documents)
- Copy text from images with text detection
- Share, view info, or delete your photo
The editing tools are simple but cover the basics. Most people won’t need a third-party app to manage or tweak their Chromebook photos.
If you’re looking to delete images, here’s a quick guide: how to delete images on Chromebook.
Camera App Settings and Modes
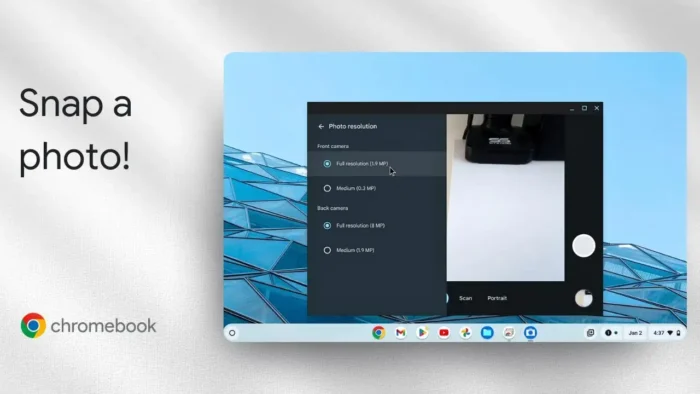
The Camera app isn’t just for point-and-shoot. Dig into the settings, and you’ll find options like:
- Resolution: Pick the highest for the best quality. Most front cameras are around 2MP, while rear cameras can go up to 8MP.
- Aspect ratio: Choose from 4:3, 16:9, or square—whatever fits your style.
- Text detection: Enable this to copy text from photos, great for scanning documents.
- Mirror: Flip your selfie so it doesn’t look reversed.
- Grid: Overlay lines to help with composition. Makes your pics look more balanced.
- Timer: Set a delay if you want to jump in the shot.
- Zoom: Pinch or use the slider to zoom in or out.
These settings are easy to access and help you get the shot you want.
Want to know more about Chromebook hardware? Check out how to check Chromebook hardware specs.
Where Your Photos Are Saved
After you’re done snapping pics, close the Camera app and open the Files app. You can find it by searching Files in the launcher. Head to the Camera folder—this is where every photo and video you take gets saved by default.
You can double-click any photo to open it, or right-click for more options like sharing or moving it to Google Drive. If you want to back up your Chromebook pics, here’s a tip: how to backup Chromebook to Google Drive.
Tips for Better Chromebook Photos
- Use the grid for better framing
- Set the timer for group shots or selfies
- Try different aspect ratios for social media
- Use text detection for quick document scans
- Flip the mirror setting for a more natural selfie
If your Chromebook is running low on storage, you might want to check your Chromebook storage before snapping a ton of pics.
Advanced: Editing and Sharing Beyond the Gallery
If you want more editing power, you can always upload your photos to Google Photos or use a web-based editor. But for most people, the built-in tools are enough.
To share, just right-click the photo in the Files app and select your preferred method—email, Google Drive, or even uploading to social media. If you need to save images from the web, see how to save images on Chromebook.
Troubleshooting Camera Issues
If your camera isn’t working, try restarting your Chromebook. Still stuck? Make sure your Chromebook is up to date. For more help, see how to check Chromebook version.
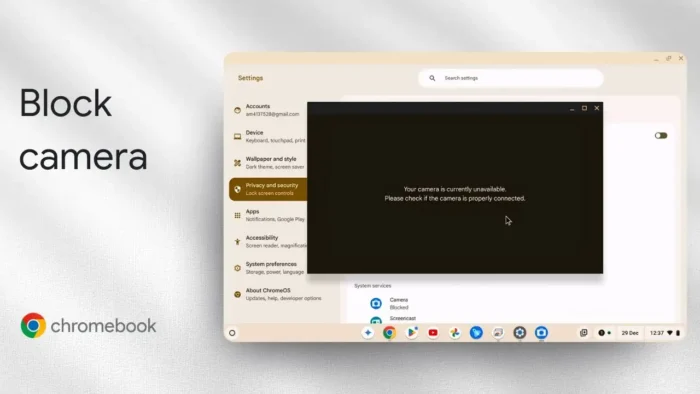
If you want to turn off the camera for privacy, here’s a quick guide: how to disable camera on Chromebook.
FAQs
How do I open the camera on my Chromebook?
Just open the launcher, search for Camera, and click the app.
Where are my photos saved?
All photos and videos go to the Camera folder in the Files app.
Can I edit photos on my Chromebook?
Yes, use the built-in Gallery app to crop, rotate, add filters, or draw.
How do I switch between front and rear cameras?
Tap the camera switch icon in the Camera app.
What if my camera isn’t working?
Restart your Chromebook and check for updates. If it’s still not working, see how to check Chromebook hardware specs.
Ready to snap that pic? Your Chromebook’s got you covered. 😎

