As a part of the Graphical User Interface (GUI), Windows 10 utilizes an icon to represent a file or program. Sometimes, this icon also forms a shortcut that lets the user quickly launch an app without having to painfully visit the original directory. But if you feel the icon isn’t the right size for you, consider changing its apparent size.
The operating system offers plenty of options to display an arrangement of icons. You can make them sorted, grouped, and listed in any way you preferred. But in this article, I’m going to focus on changing the icon size whether it’s the desktop icons, folder icons, or Start menu icons.
Check out the following guides for more.
Table of Contents
Changing desktop icon size
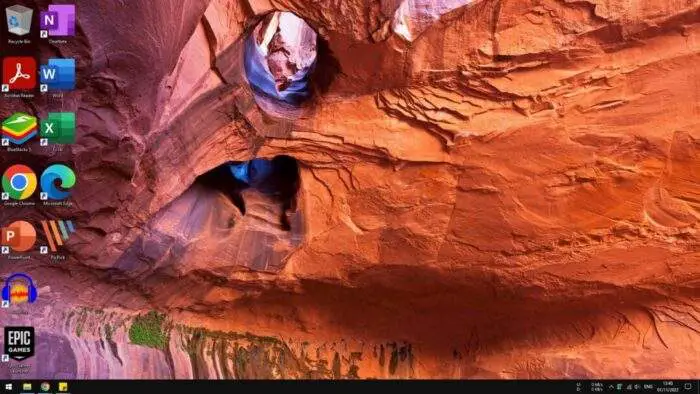
1. Reveal your desktop space. You may use the Windows+D shortcut.
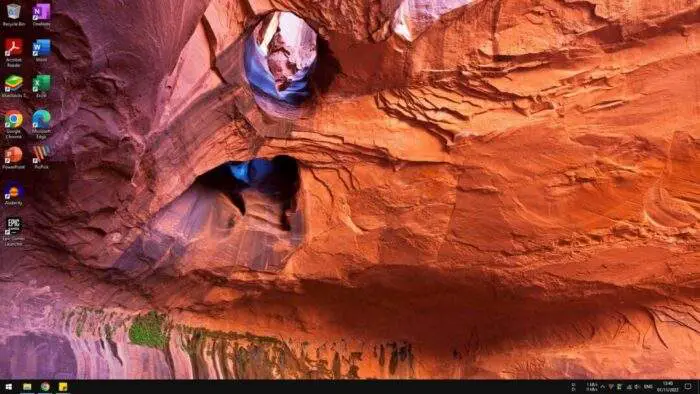

2. Right-click on an empty area. Then go to View and select the size you prefer.
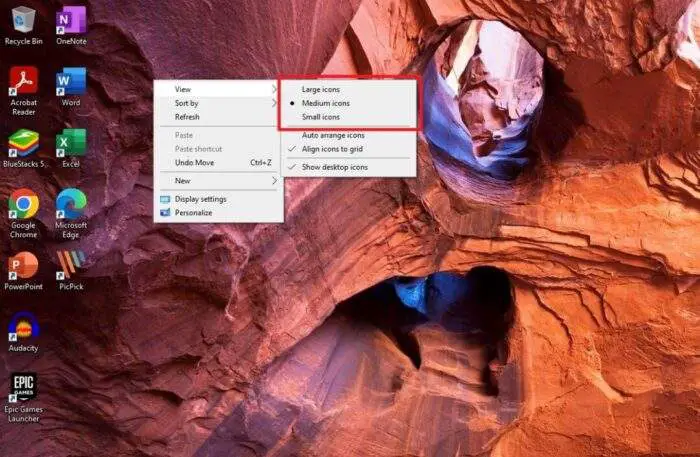

3. The new size would be applied immediately. In this example, I made them look bigger.

Changing File Explorer icon size
1. Open any folder directory with which icon you want to resize. In this example, I want to make these picture icons larger.
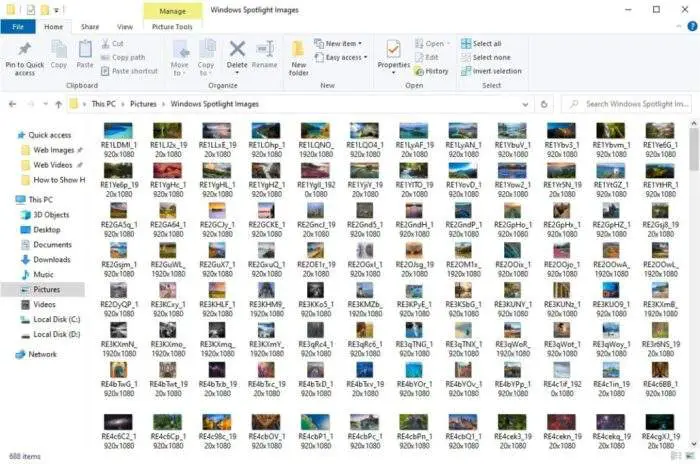

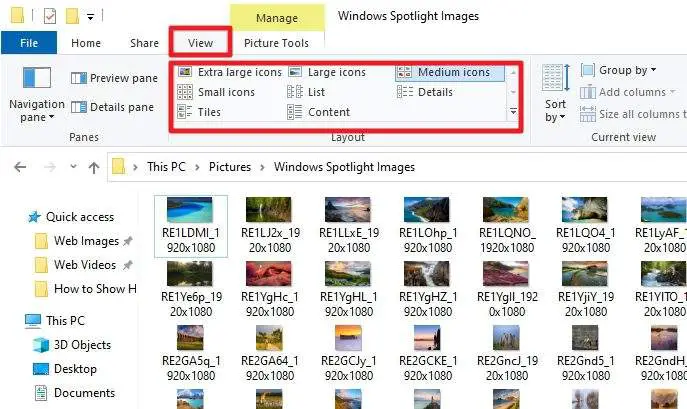
2. Navigate to the View menu. Then, select the icon size you want.

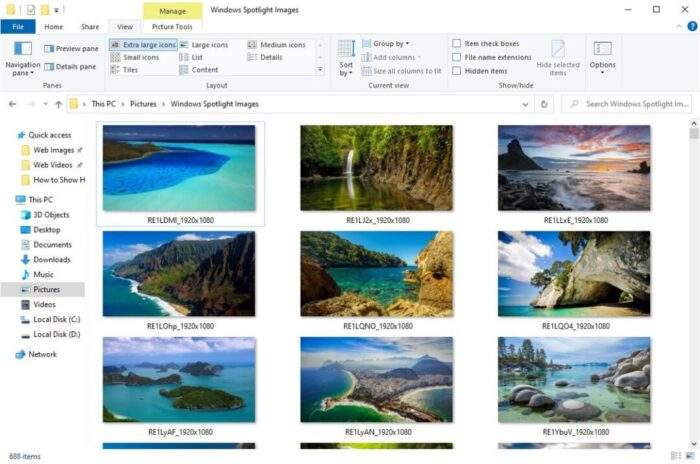
3. Now the icon size has been changed.

1. Open the Start menu.
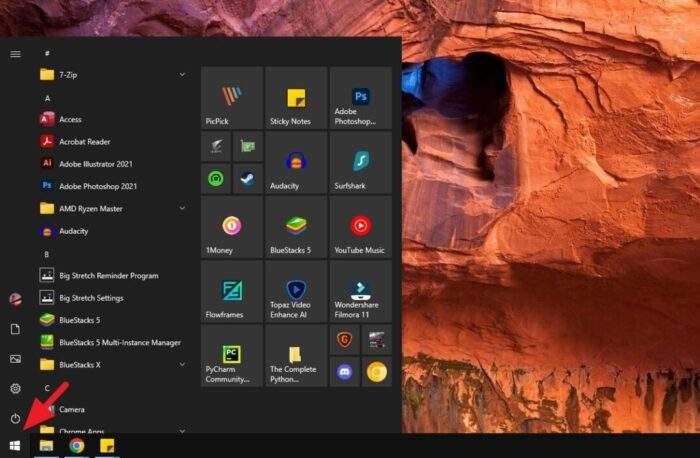

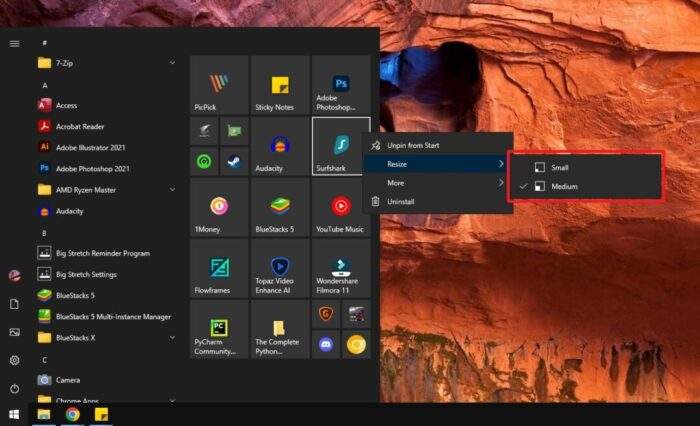
2. Right-click on an icon, hover above Resize and select a new size.

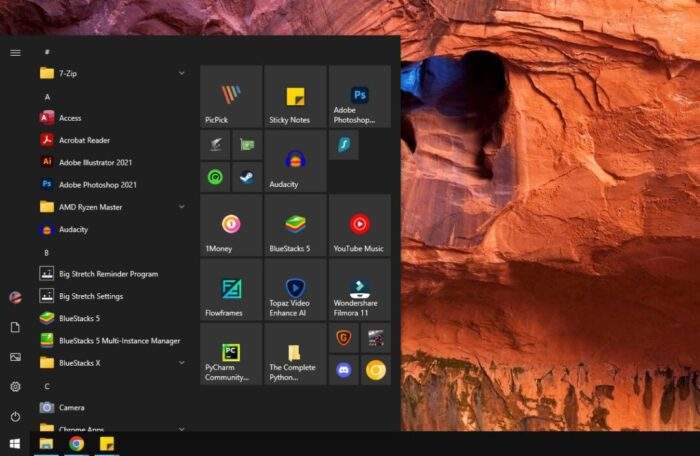
3. The icon has been resized.

Tip: Resizing icon size with a mouse scroll
There are a few presets for displaying icons on Windows. But you can actually choose the size from a finer selection. For example, it’s possible to pick a size between “Large” and “Medium”. Here’s how to do it.
- Open a folder directory or desktop.
- Press and hold Ctrl, then scroll up or scroll down the mouse wheel.
- Voilà! You just unlocked new icon sizes.
As a recommendation, select the appropriate size based on the monitor’s size and pixel density. But more importantly, adjust the icon size to a level that is comfortable for both of your eyes.
