Key takeaways:
- Silence detection in Filmora cuts out awkward pauses fast
- You can adjust settings for better results
- Shorter, tighter videos keep viewers hooked
Ever record a video and cringe at all that awkward silence? Yeah, it happens to everyone. Long gaps can kill the vibe and make your content drag. But Filmora’s silence detection with AI can trim those dead spots in seconds—and I’ll show you how to use it for smoother, more watchable videos.
Why Awkward Silence Ruins Your Video Flow and How AI Can Fix It
I’ve seen it: you finish recording, play it back, and notice the weird pauses between sentences. It’s not just you—everyone has those moments. But viewers are quick to click away if your video feels slow or boring. That’s where Filmora’s silence detection comes in. This AI-powered tool finds the silent gaps and slices them out, making your video feel way more professional.
Getting Started With Silence Detection in Filmora
First, make sure you’re running the latest version of Filmora. If you’re not sure, check out how to update Filmora for a quick walkthrough.
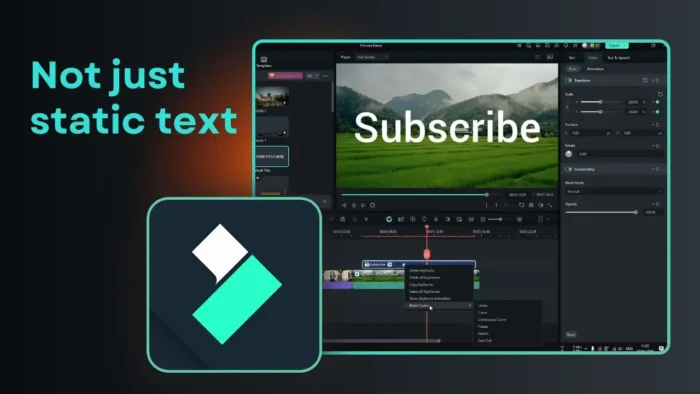
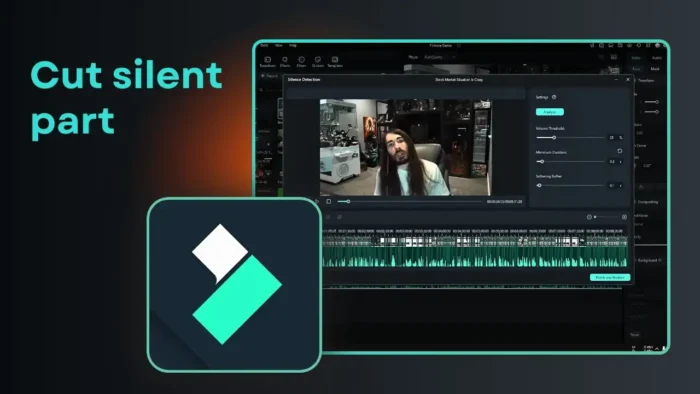
Open your project and select the clip you want to edit. Look for the silence detection tool—usually right in the toolbar. Click it, and you’ll see a bunch of options. There’s a duration threshold, volume, and softening. If you’re just starting out, the default settings work fine. But if you want more control, play around with those sliders.
Step-by-Step: Using Silence Detection to Cut Out the Awkward Bits
- Select your video clip in the timeline.
- Click on silence detection.
- Adjust settings if you want (duration threshold, volume, softening).
- Hit analyze and let Filmora do its thing. This might take a minute, especially for longer videos.
- When it’s done, you’ll see a bunch of cuts where Filmora found silence.
- Preview the changes. If it looks good, click finish to apply.
You’ll notice the video is tighter, with all those empty gaps gone. The example in the tutorial trimmed almost a minute off an 8-minute video—pretty wild.
Tips for Better Results With Silence Detection
- If you want to keep some natural pauses, increase the duration threshold.
- Too many cuts? Try lowering the sensitivity.
- After trimming, watch your video all the way through. Sometimes the AI can be a little too aggressive, so you might need to tweak a few cuts manually.
If you want to make your edits even cleaner, check out how to remove background noise in Filmora for next-level audio polish.
Why AI Editing Tools Are a Game Changer for Creators
Let’s be real: manual editing is a pain. Going through every second of footage just to cut out a few pauses? No thanks. AI tools like silence detection save you hours and make your videos look pro—even if you’re new to editing.
Want to add even more polish? Try adding transitions in Filmora or improving your video quality. These little tweaks can make a big difference.
Common Problems and How to Fix Them
Silence Detection Not Working?
- Make sure your audio track is clear and not too noisy.
- Update Filmora to the latest version.
- If the tool is missing, check if your version supports AI features.
Cuts Feel Too Abrupt?
- Use the softening option to smooth out transitions.
- Manually adjust any rough cuts in the timeline.
Video Still Feels Slow?
- Combine silence detection with speed adjustments or jump cuts.
- Check out how to trim videos in Windows 10 for more editing tricks.
How Silence Detection Compares to Manual Editing
| Feature | Silence Detection (AI) | Manual Editing |
|---|---|---|
| Speed | Super fast | Slow |
| Accuracy | Good, needs review | Very precise |
| Ease of Use | One click | Lots of clicks |
| Best For | Beginners, quick edits | Perfectionists |
If you’re just starting with video editing, AI tools like this are a lifesaver. But even if you’re a pro, they can speed up your workflow.
Extra Editing Tips to Make Your Videos Stand Out
- Use audio crossfade effects for smoother transitions between clips.
- Want to blur something out? Here’s how to blur faces in Filmora.
- If you’re dealing with weird audio, try removing fisheye distortion.
And if you need to record your screen for tutorials, check out how to record your desktop screen in Filmora.
FAQs
How do I enable silence detection in Filmora?
Just select your clip, click the silence detection tool, and hit analyze. Adjust settings if you want, then apply the cuts.
Can I undo the silence detection cuts?
Yep, just use the undo button or Ctrl+Z to go back if you don’t like the results.
Does silence detection work with music or background noise?
It works best with clear speech. Heavy background noise or music can confuse the AI, so results may vary.
Will this feature cut out natural pauses in my speech?
It might, especially if the threshold is too low. Adjust the settings to keep some natural flow.
Is silence detection available in all versions of Filmora?
No, it’s only in newer versions with AI features. Update your software if you don’t see it.
🎬 Editing just got a whole lot easier. Try out silence detection and see how much tighter your videos can be!